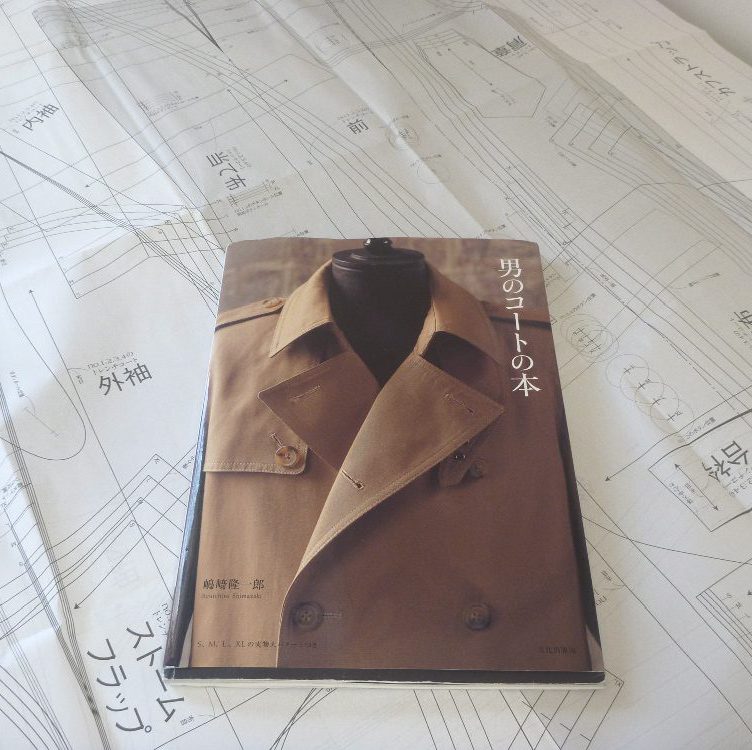

Work continues on my boiled wool coat. This will be a pretty “geek heavy” post, so you’ve been warned!
With the pockets completed it’s time to baste the prepared canvas to the coat fronts. I adapt the sequence that Roberto Cabrera uses for a suit jacket. Basically one bastes from the shoulder down the length of the coat (you will go through the pockets), across the waist to the front edge, down the front edges, up the lapel roll line, and then across the shoulder and down around the armscye. All the time one is smoothing the fabric so that the two layers will act as one.
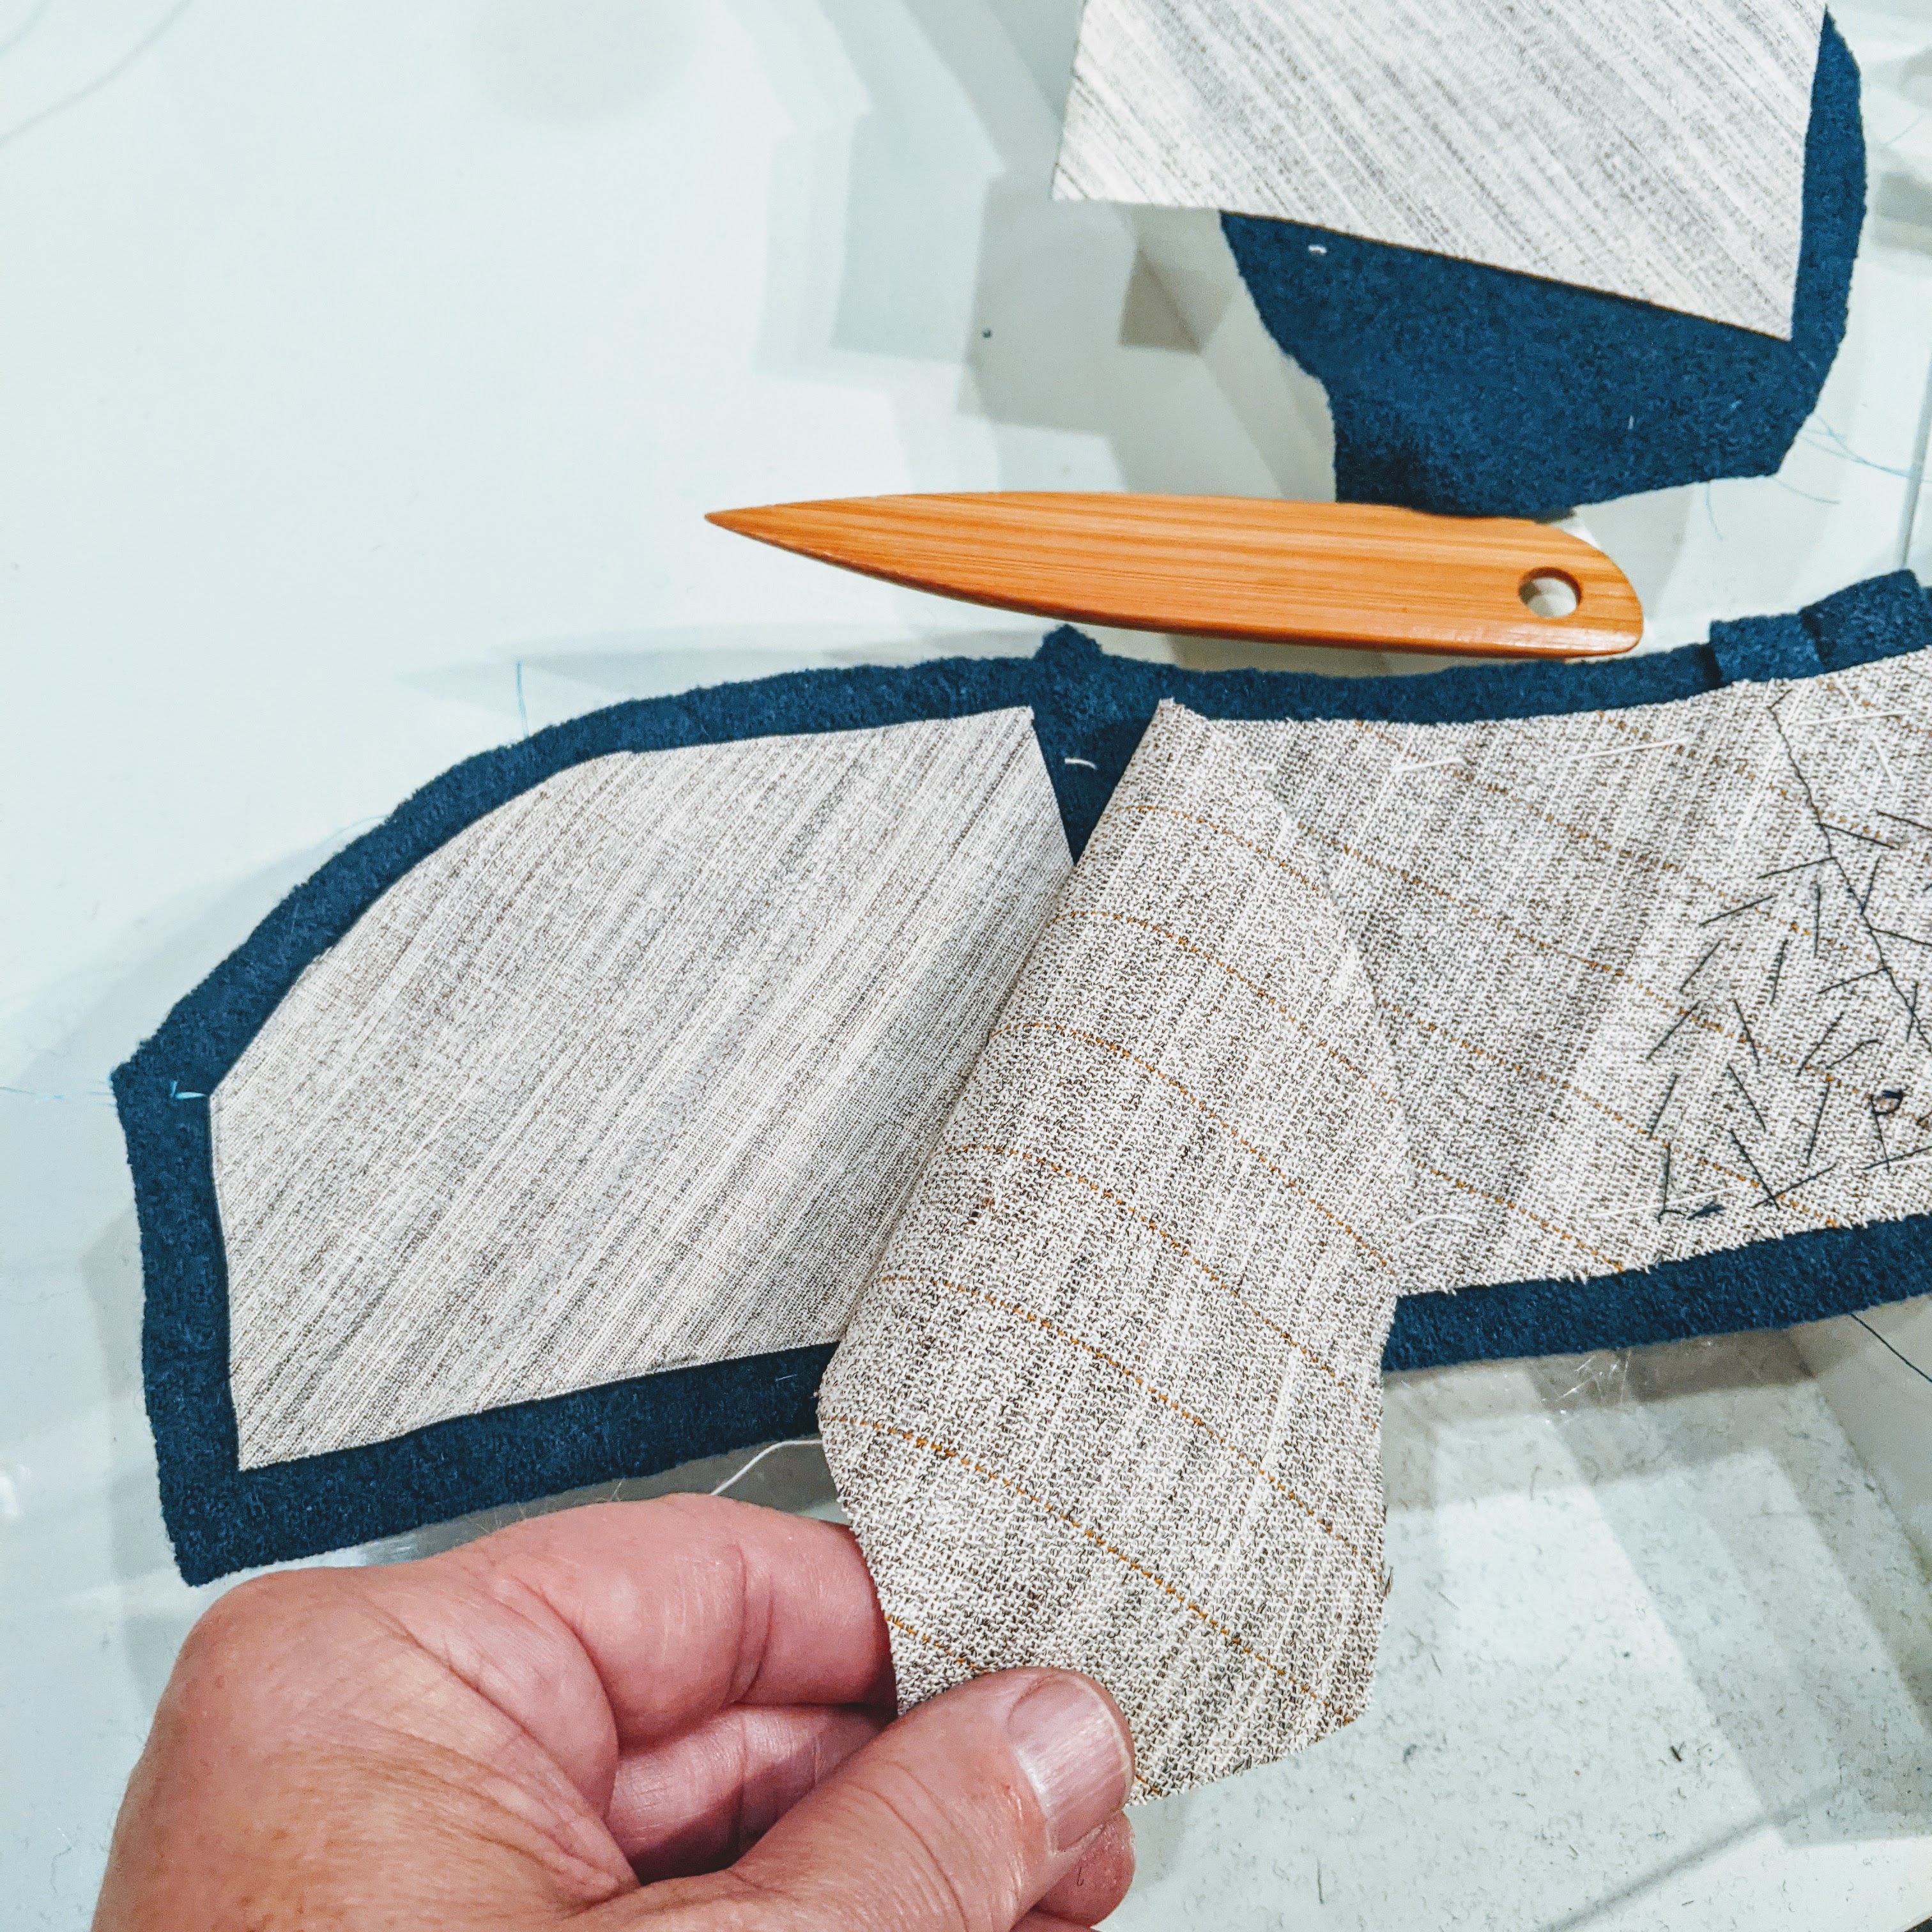
The undercollar and the undercollar interfacing are cut on the bias. This helps the collar conform the the wearer’s neck. I like a substantial collar on all my coats. Adding an extra layer of canvas interfacing helps. Here I’ve used a slightly lighter weight canvas at the edges. I’ll baste it in place and then pad stitch through both layers. The pad stitching is worked in a semicircular pattern from the center of the collar outward.
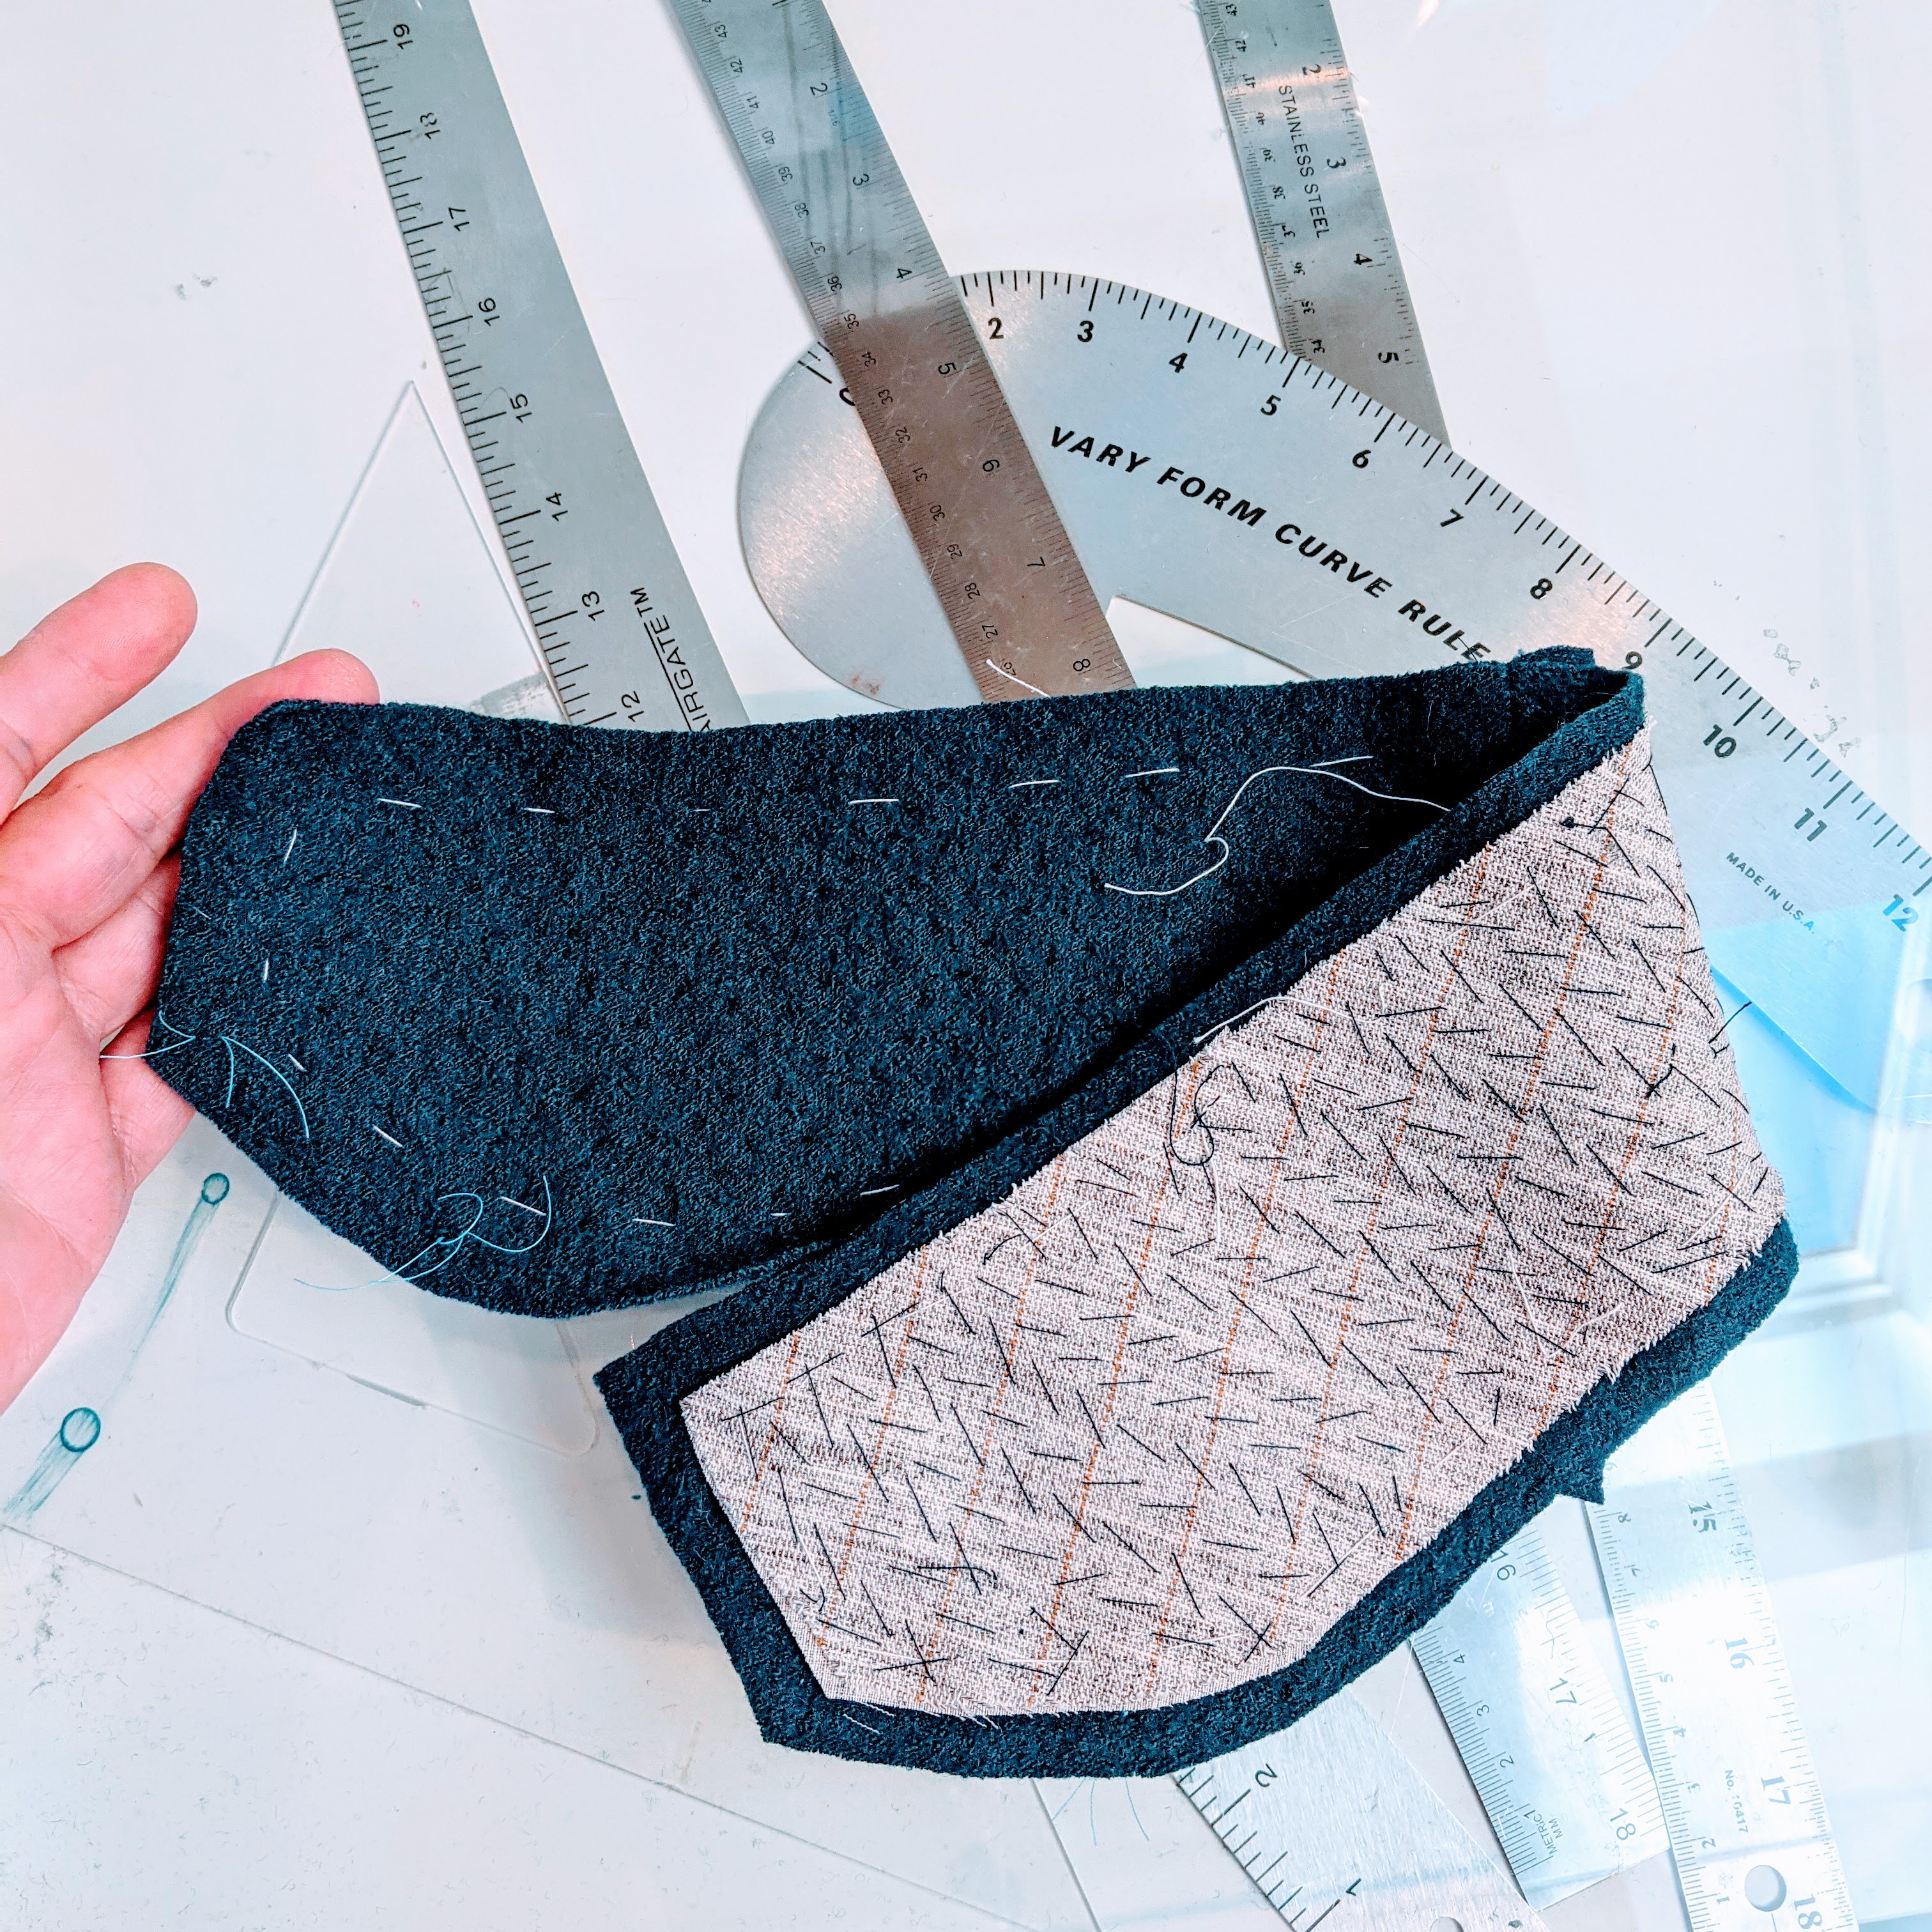
Here is the completed undercollar. You can see the dimpled effect that all the little pinprick stitches create. It’s hard to show here, but the last couple inches of pad stitching are made with the collar held in a curve. That bit of a curve will keep the ends of the collar from flipping up in the finished coat. The collar will want to curve back towards the wearer, a much more attractive look.
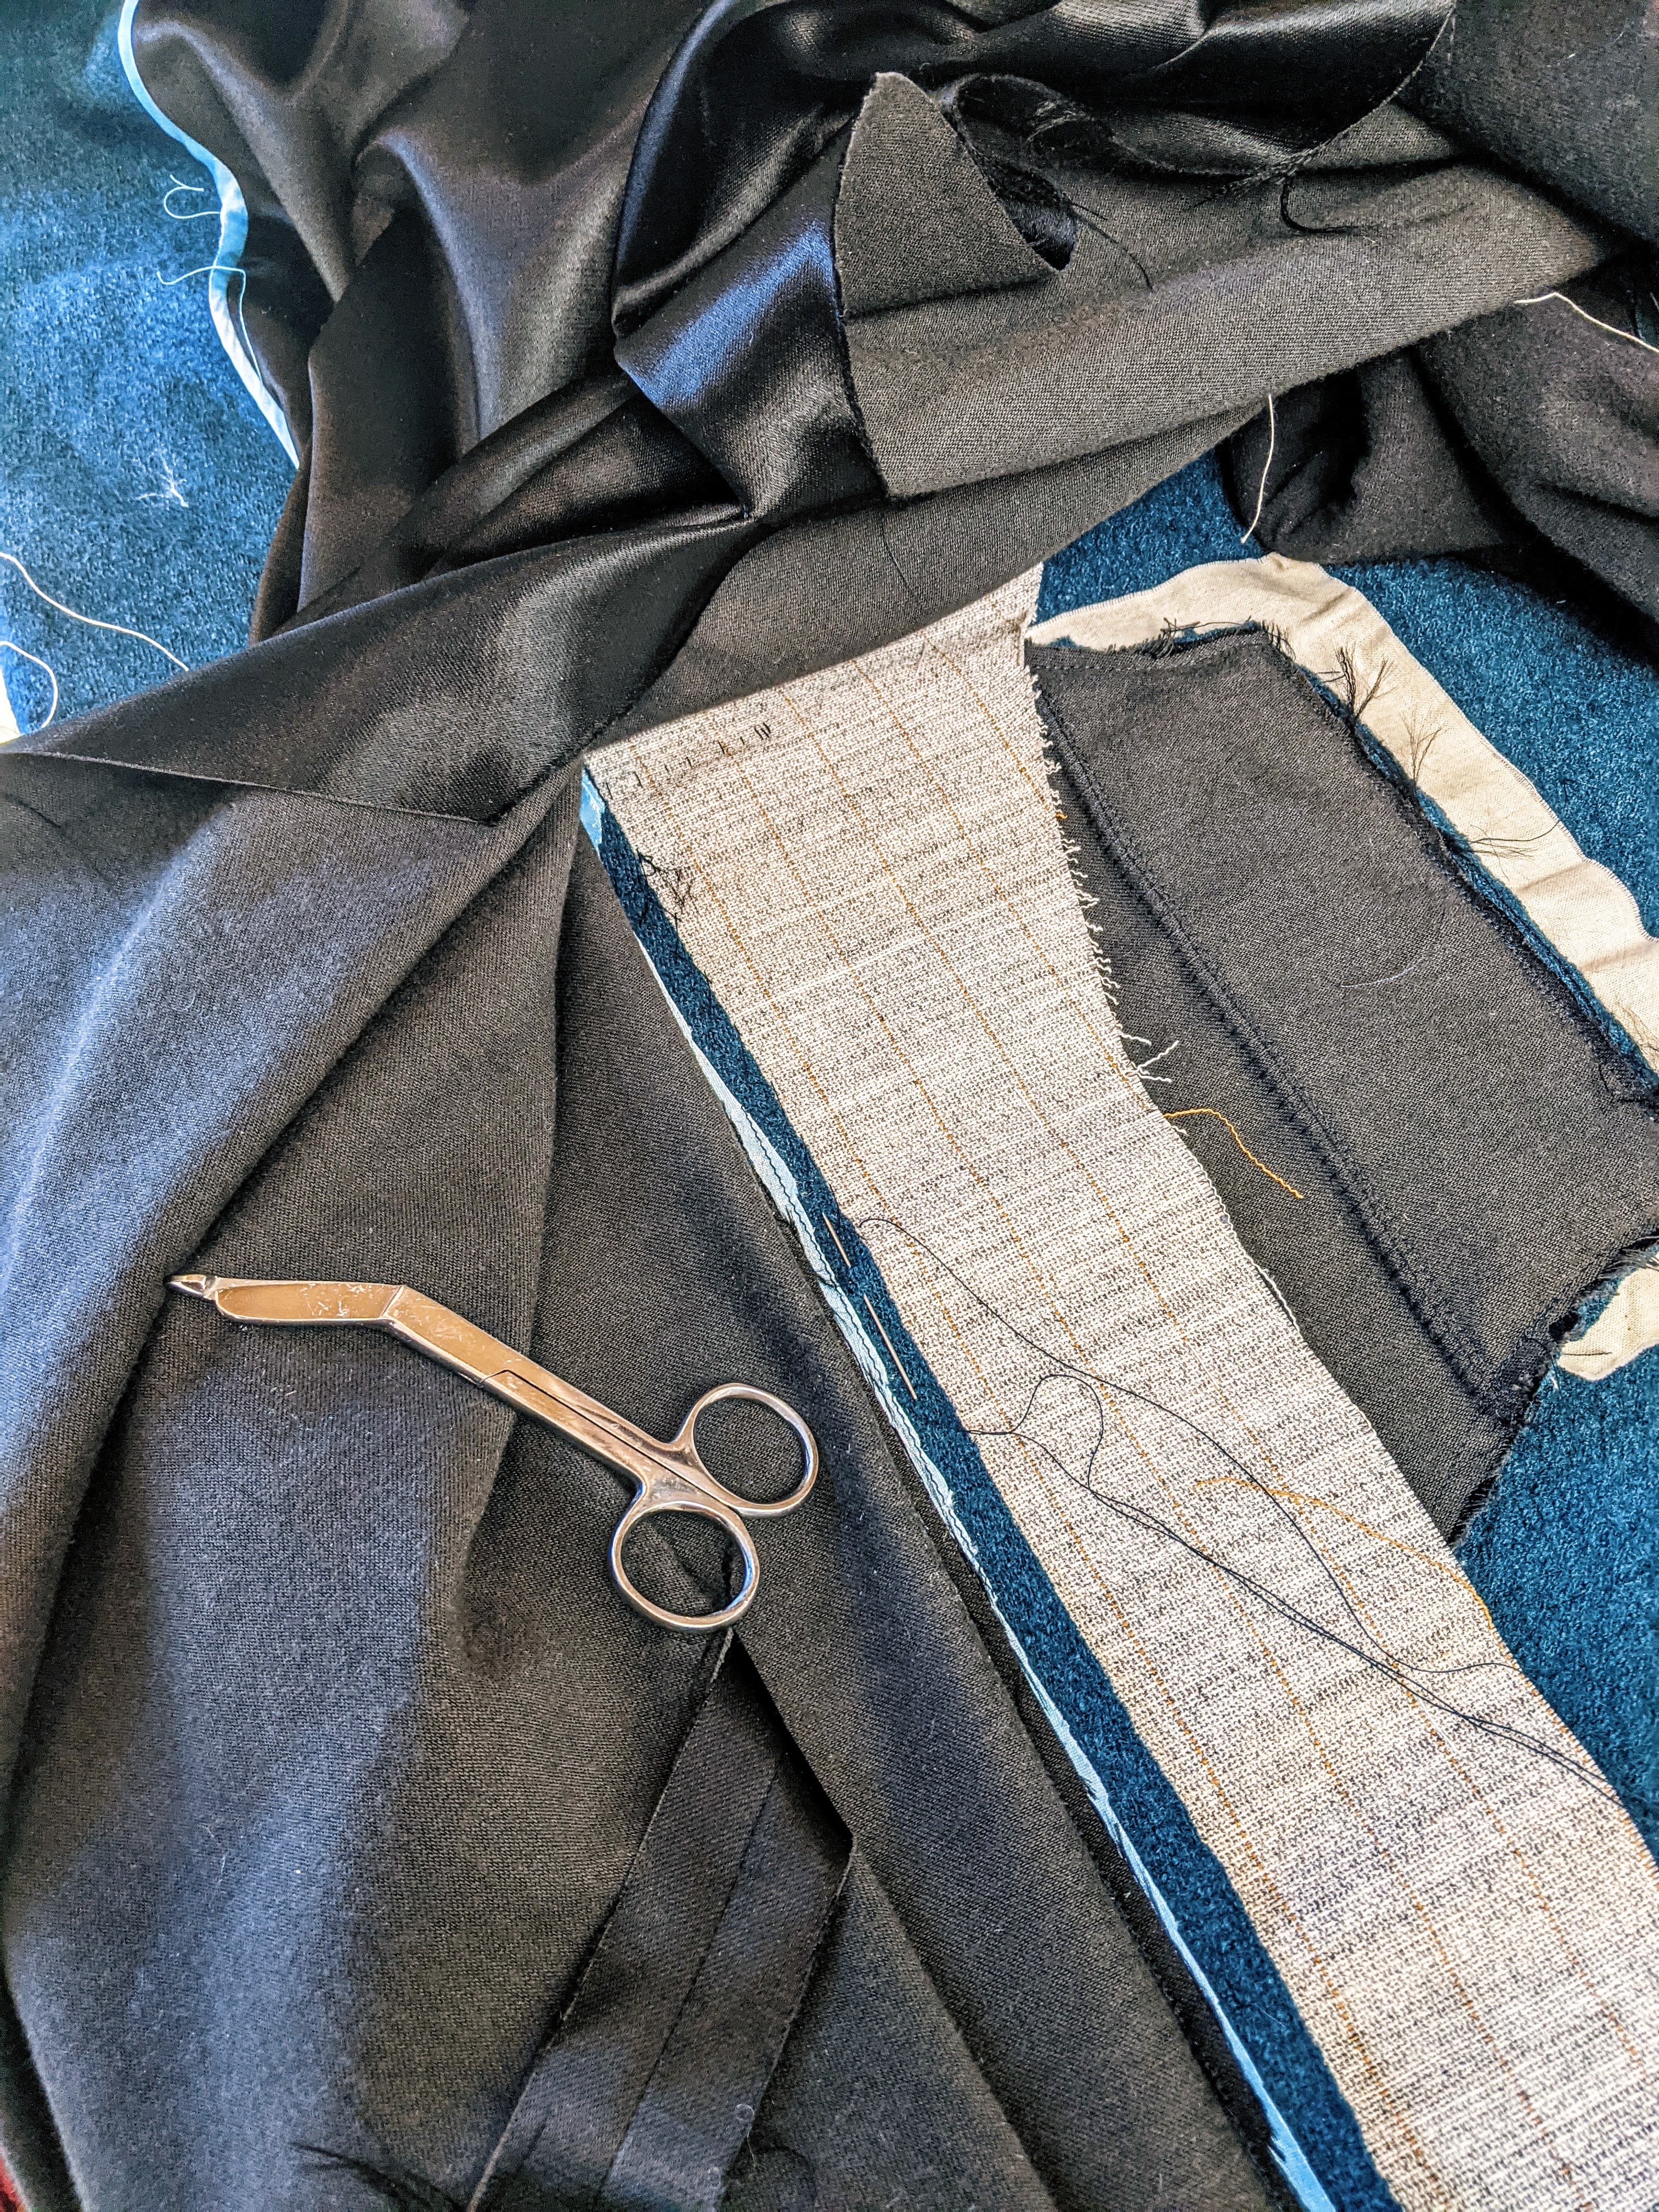
I got carried away with the pad stitching and completely forgot to take any pictures of the lapel progress. You can see it here. I start from the roll line and work my way toward the edge. Just like the collar, the lapel is held in a curve during the process. This will make it sit nicely across the chest. You can also see that I taped the coat fronts. I use a 3/8″ cotton twill tape. One side is stitched into the muslin extension of the canvas, the other is stitched into the coat fabric as invisibly as possible. It helps add more structure to the coat opening. I have never regretted adding any bit of structure to any of my makes.
One of the advantages of slow sewing is that one has time to analyze the garment over time and through repeated handling. I frequently notice that changes start to “make themselves heard”. This is especially true for a pattern hack like this project. The instructions are pretty much “out the window”. This coat was telling me that it wasn’t going to be substantial enough for my winter needs. Even with a flannel backed Kasha lining I was starting to have my doubts that it would be warm enough. I hate being cold!
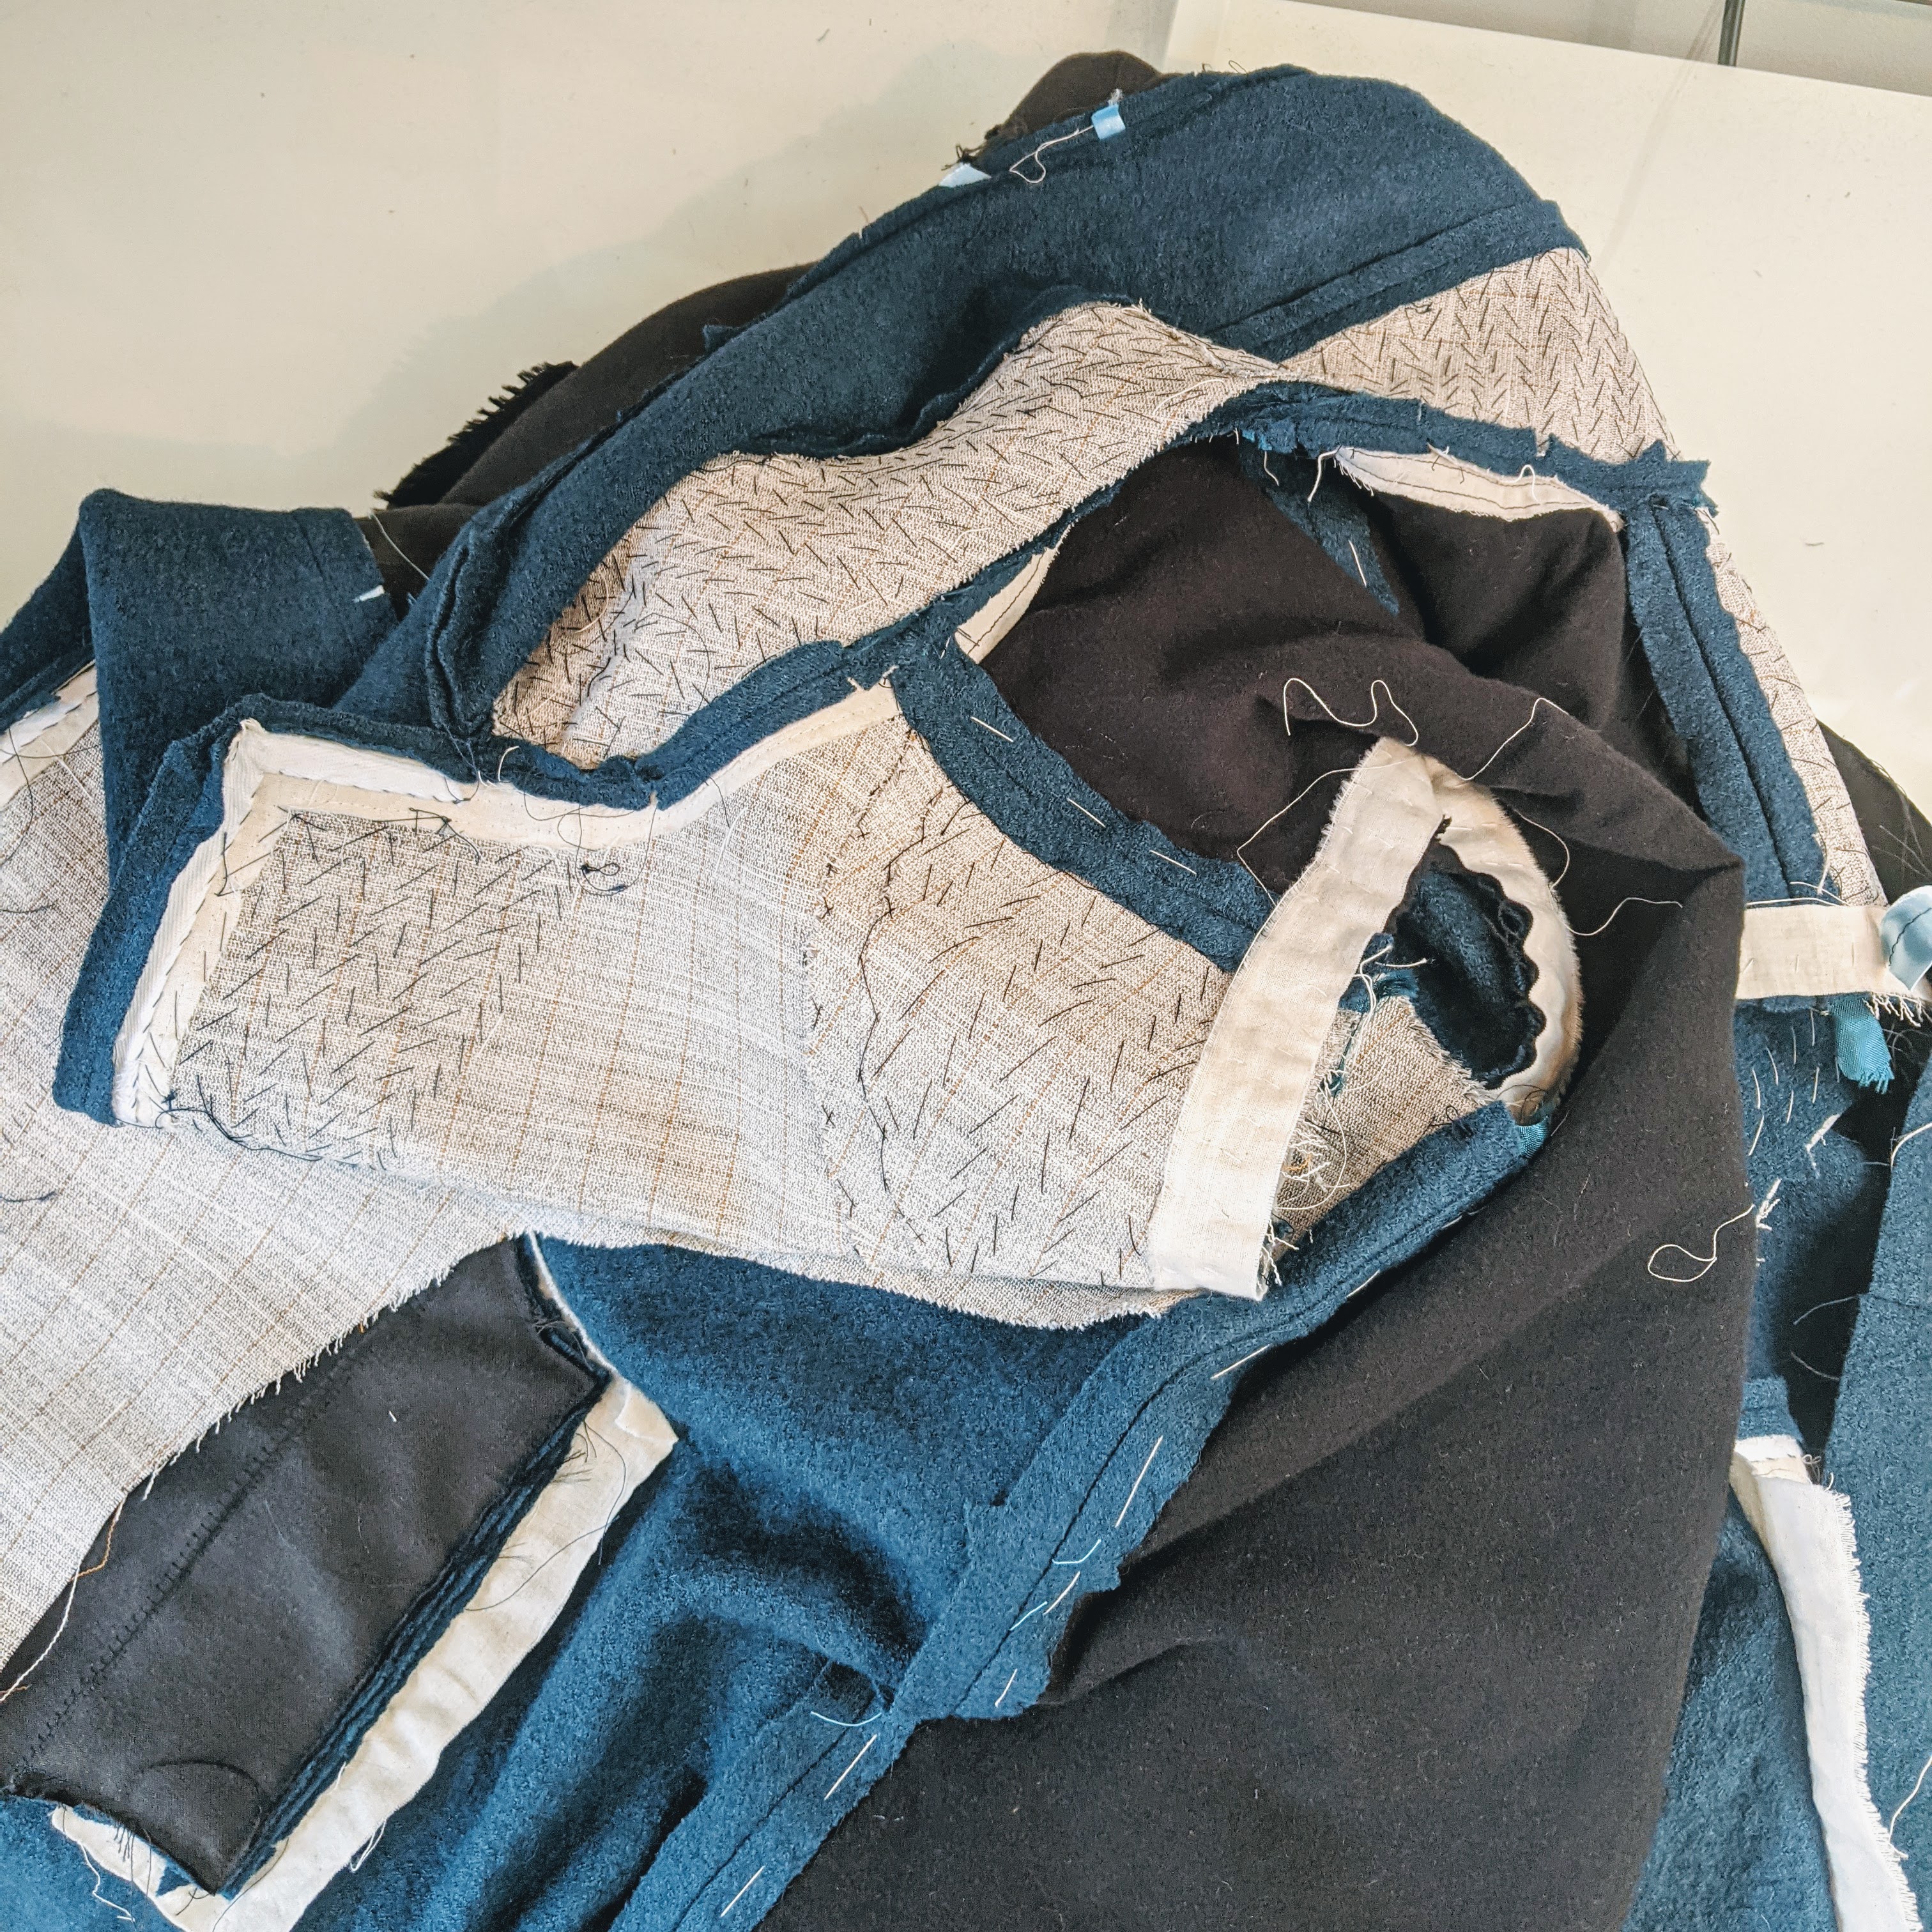
So I decided to add a flannel interlining to the back and sleeves. To do this, the seam allowances and hems of the flannel are removed, and the pieces are tucked under the seam allowances of the coat . Then the seam allowance is cross stitched to the flannel to hold it in place. It’s not as complicated or time consuming as it might sound, and I’m glad that I listened to what this coat was screaming at me. You can see the black flannel in the photo above.
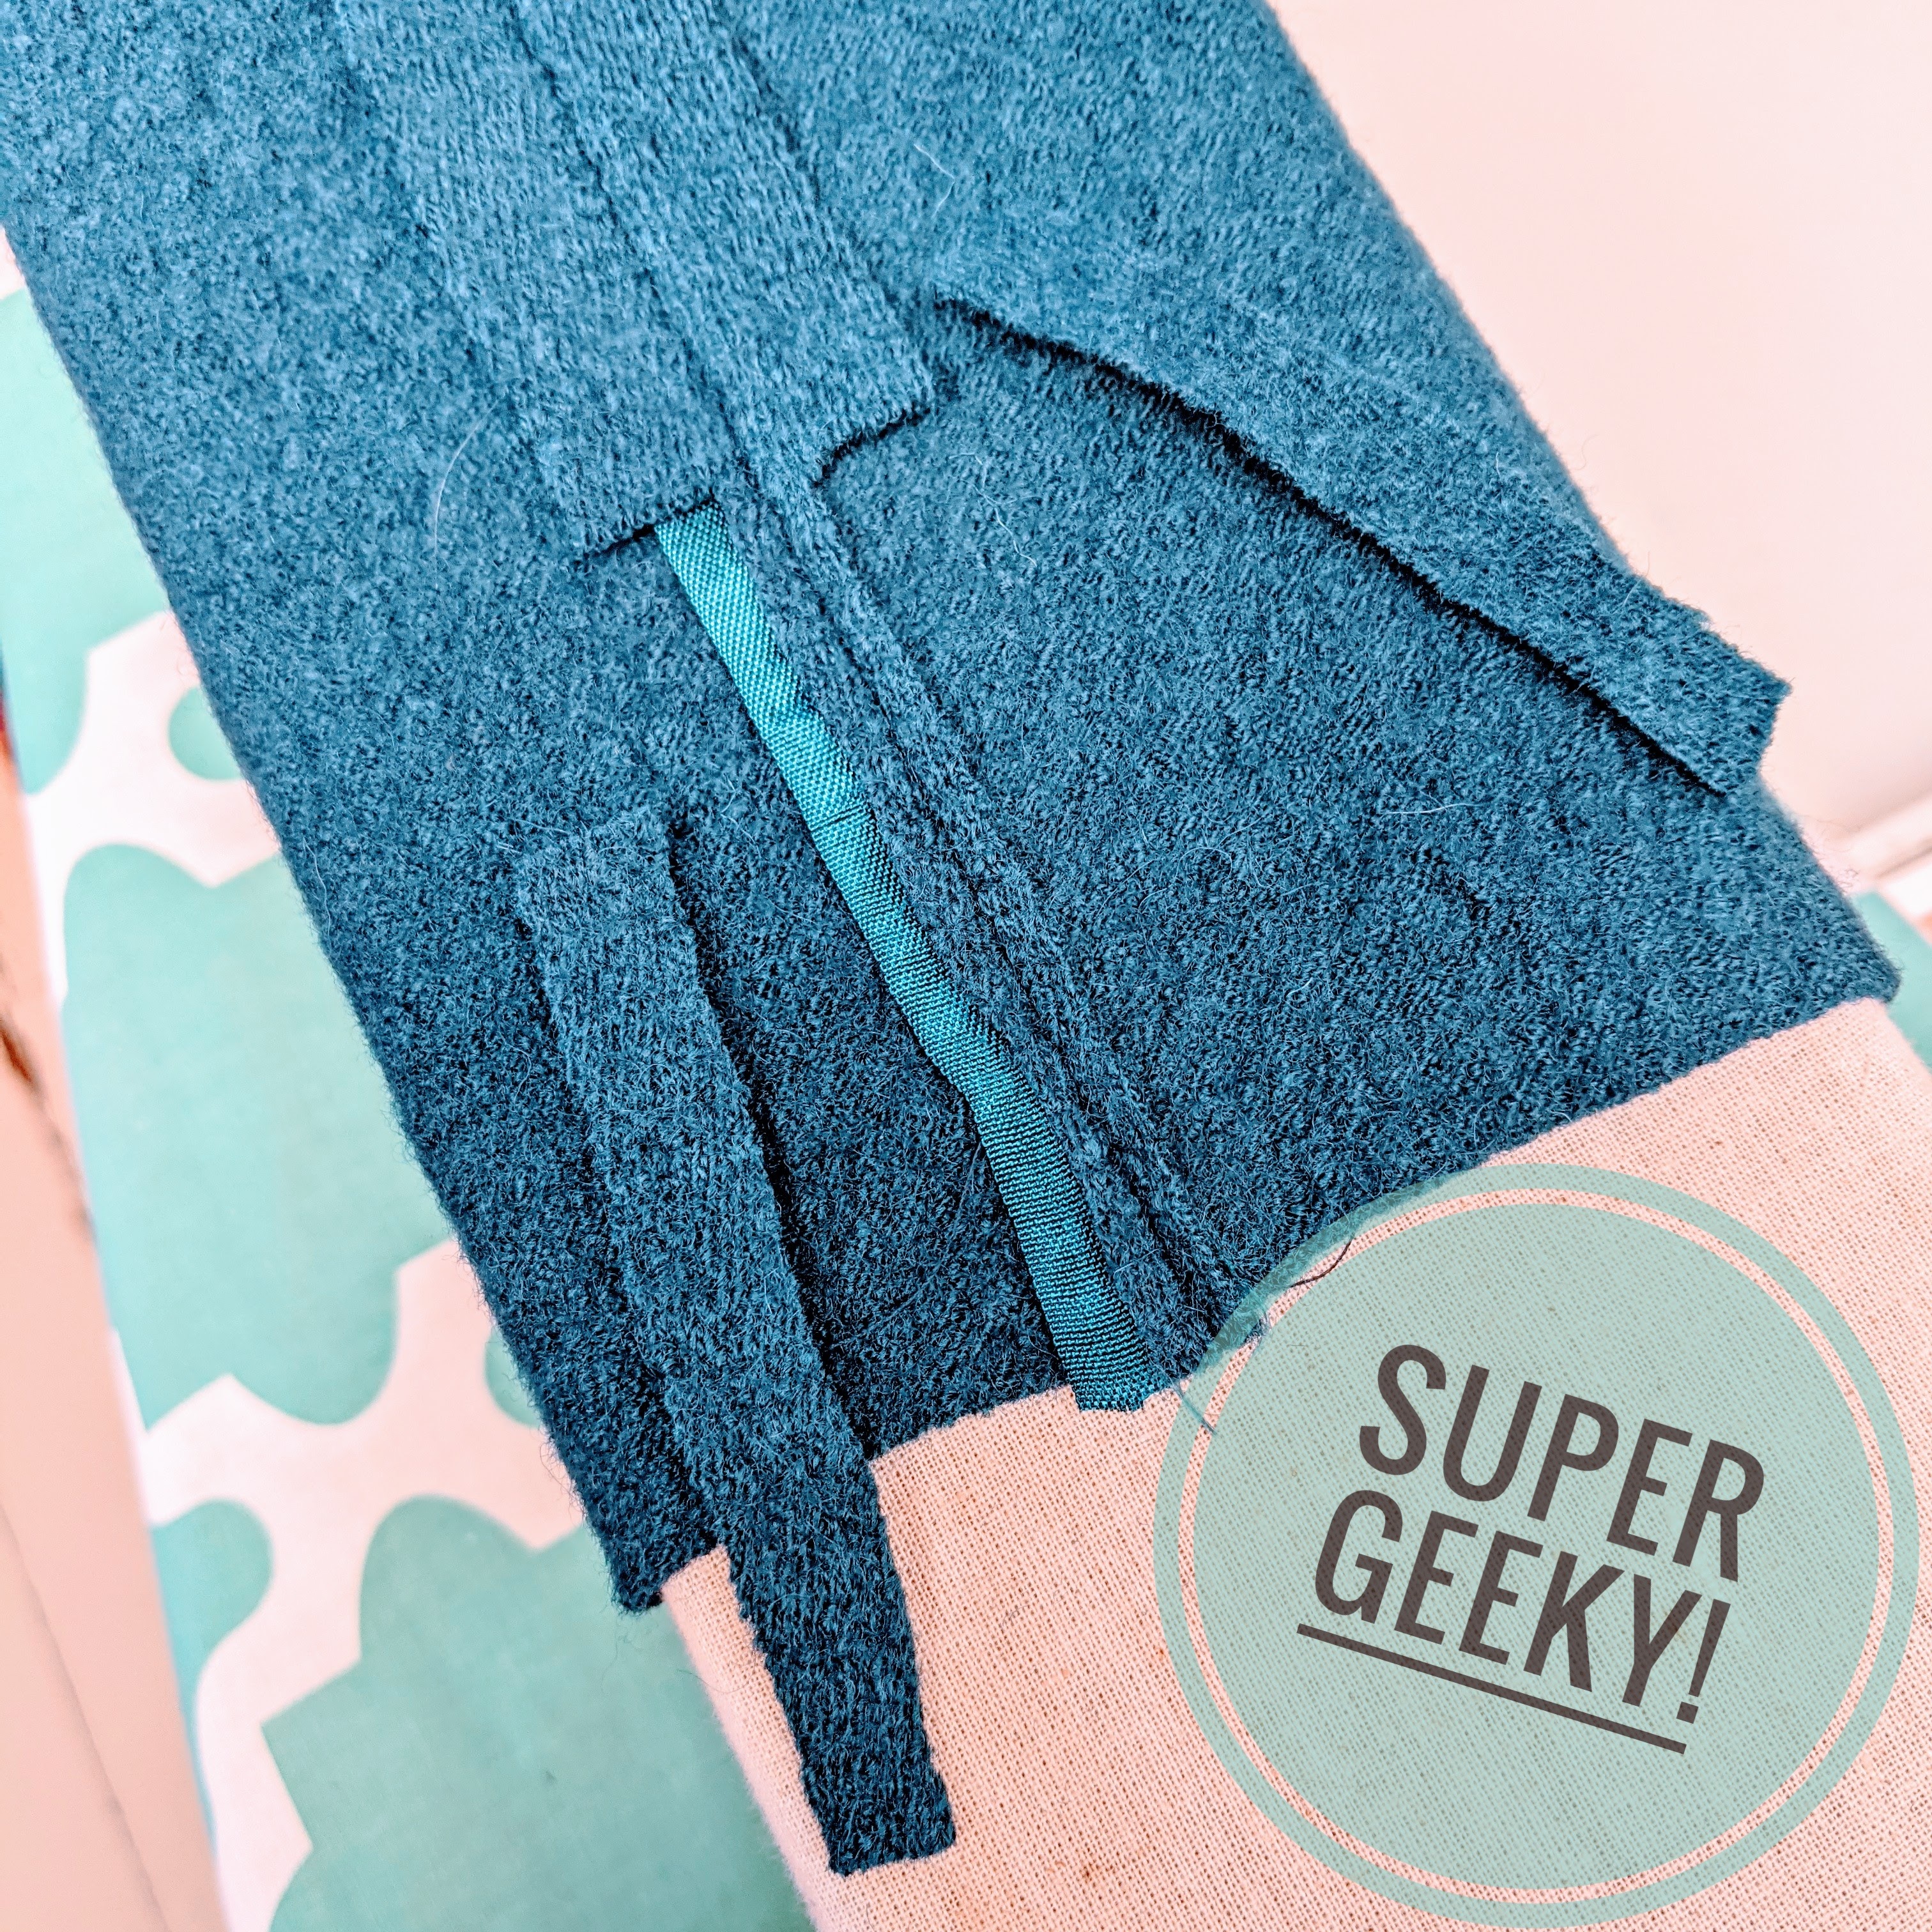
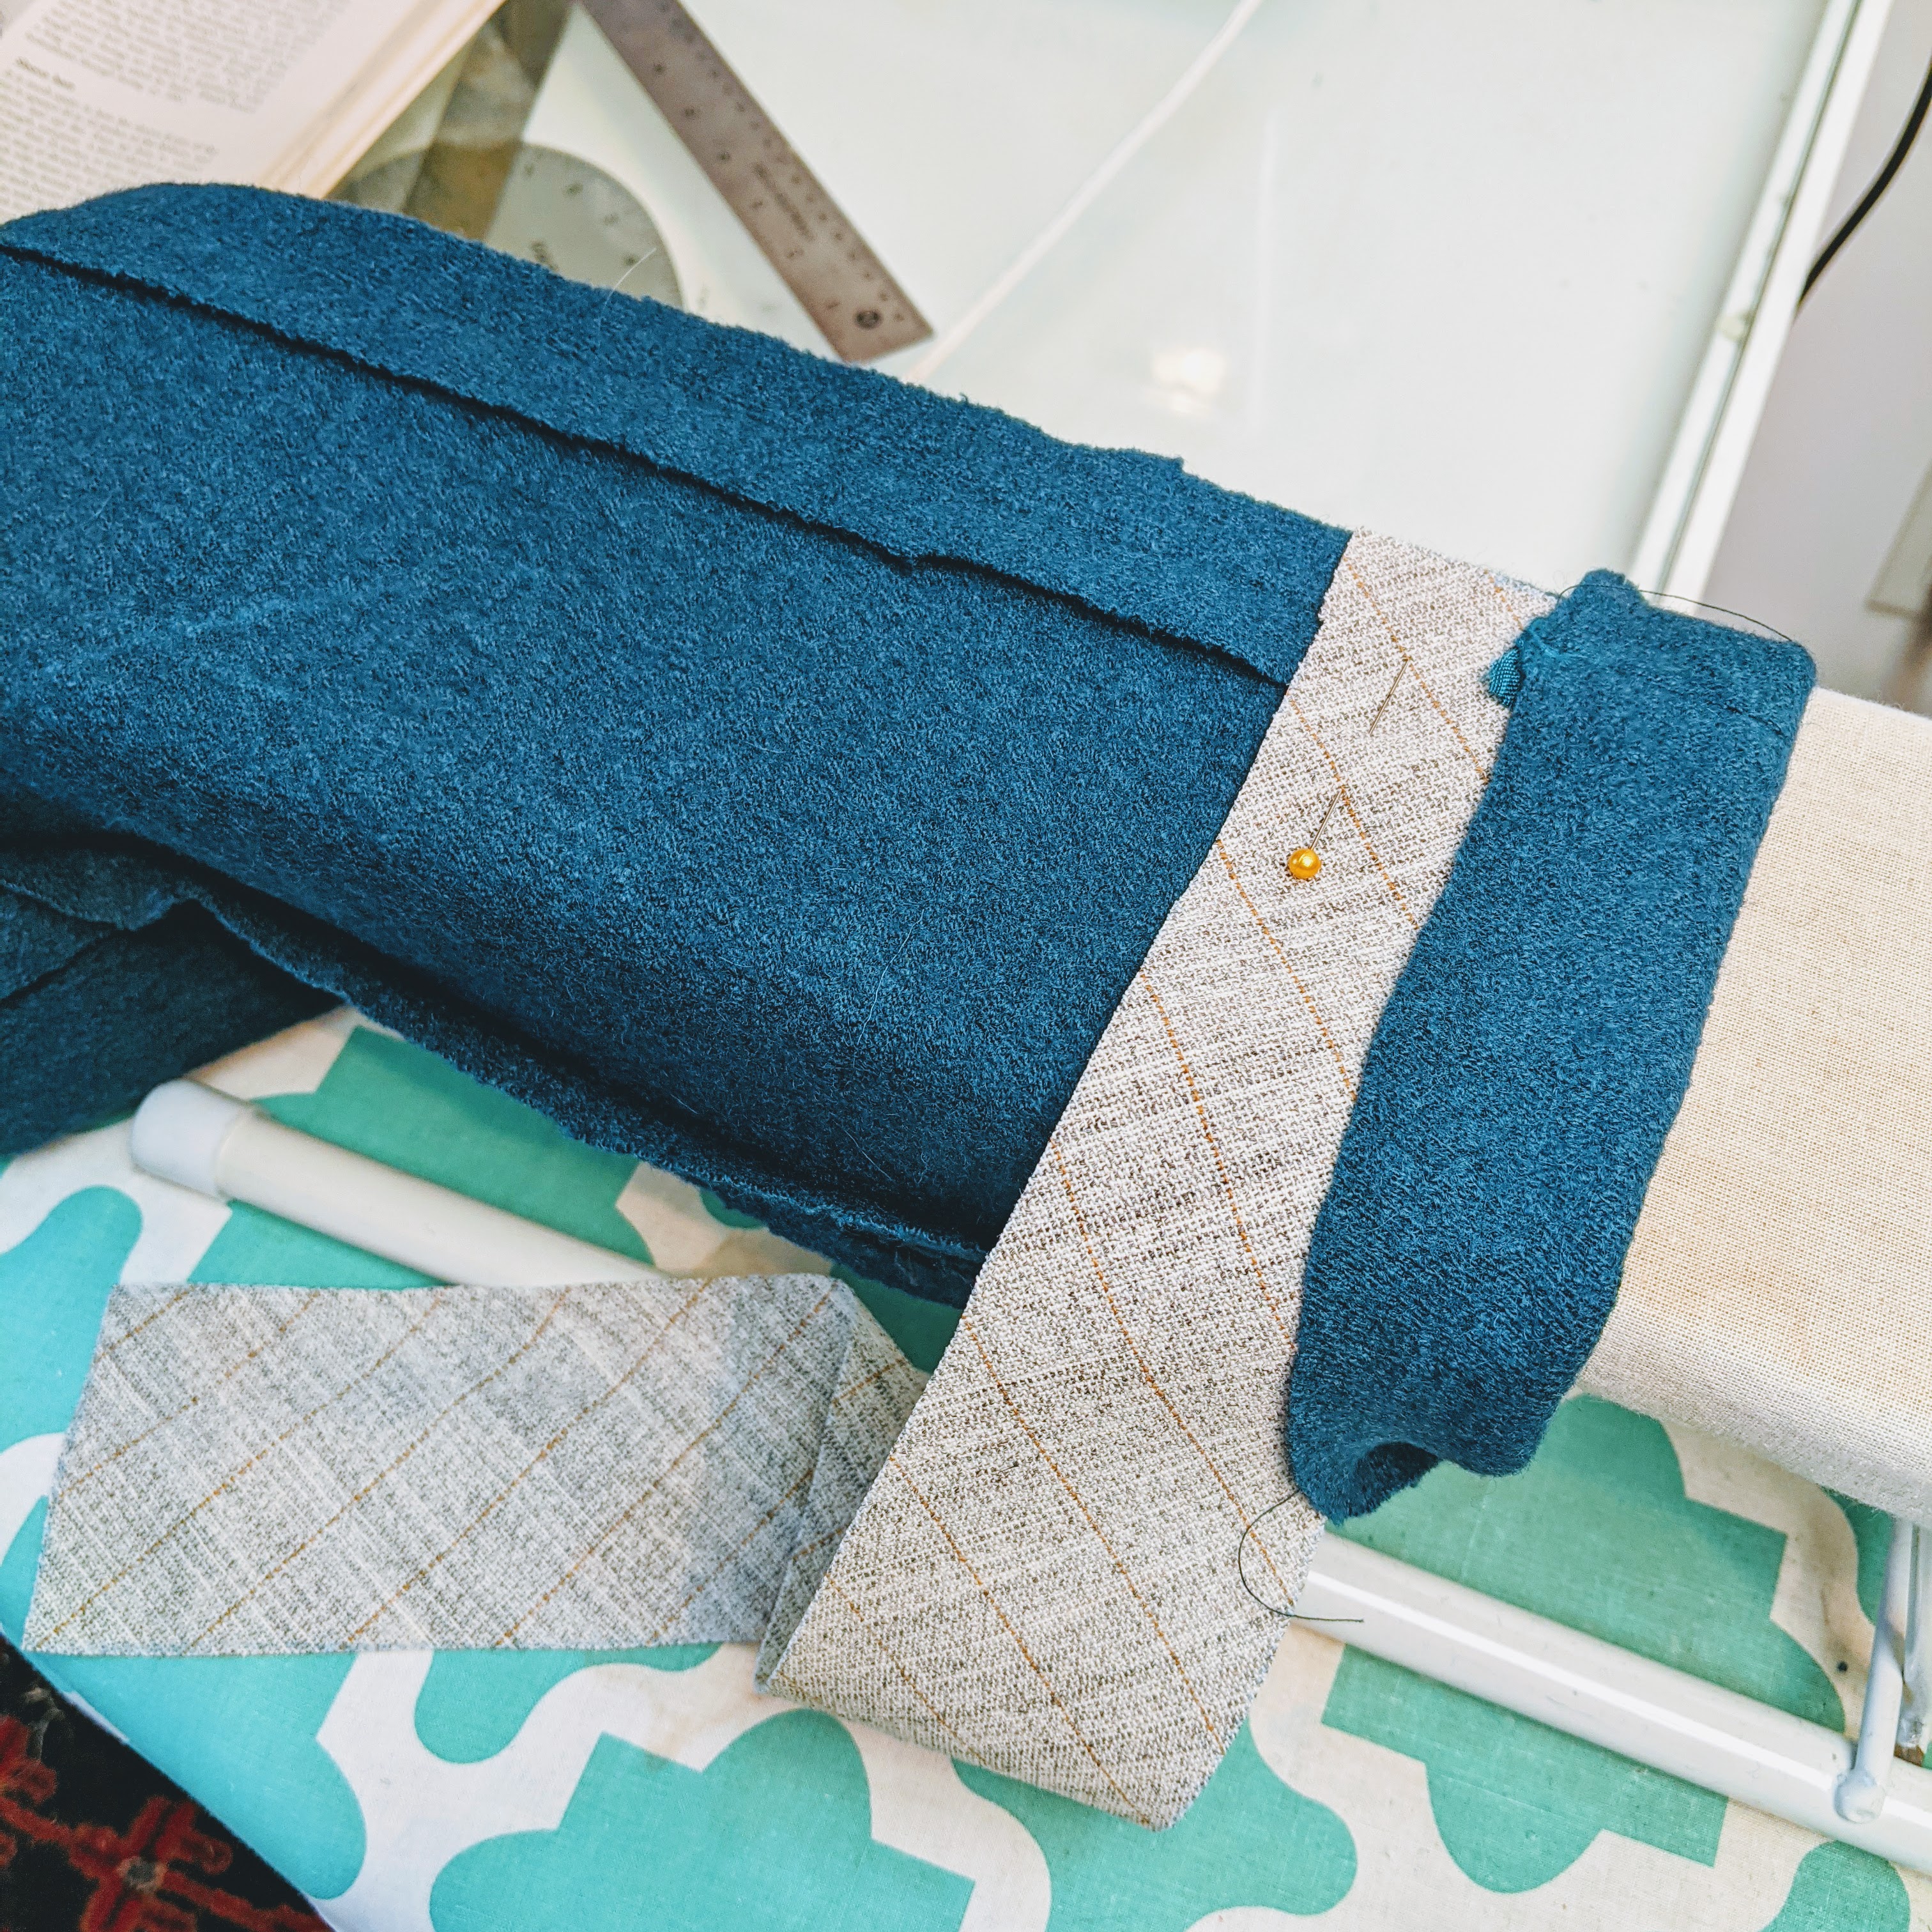
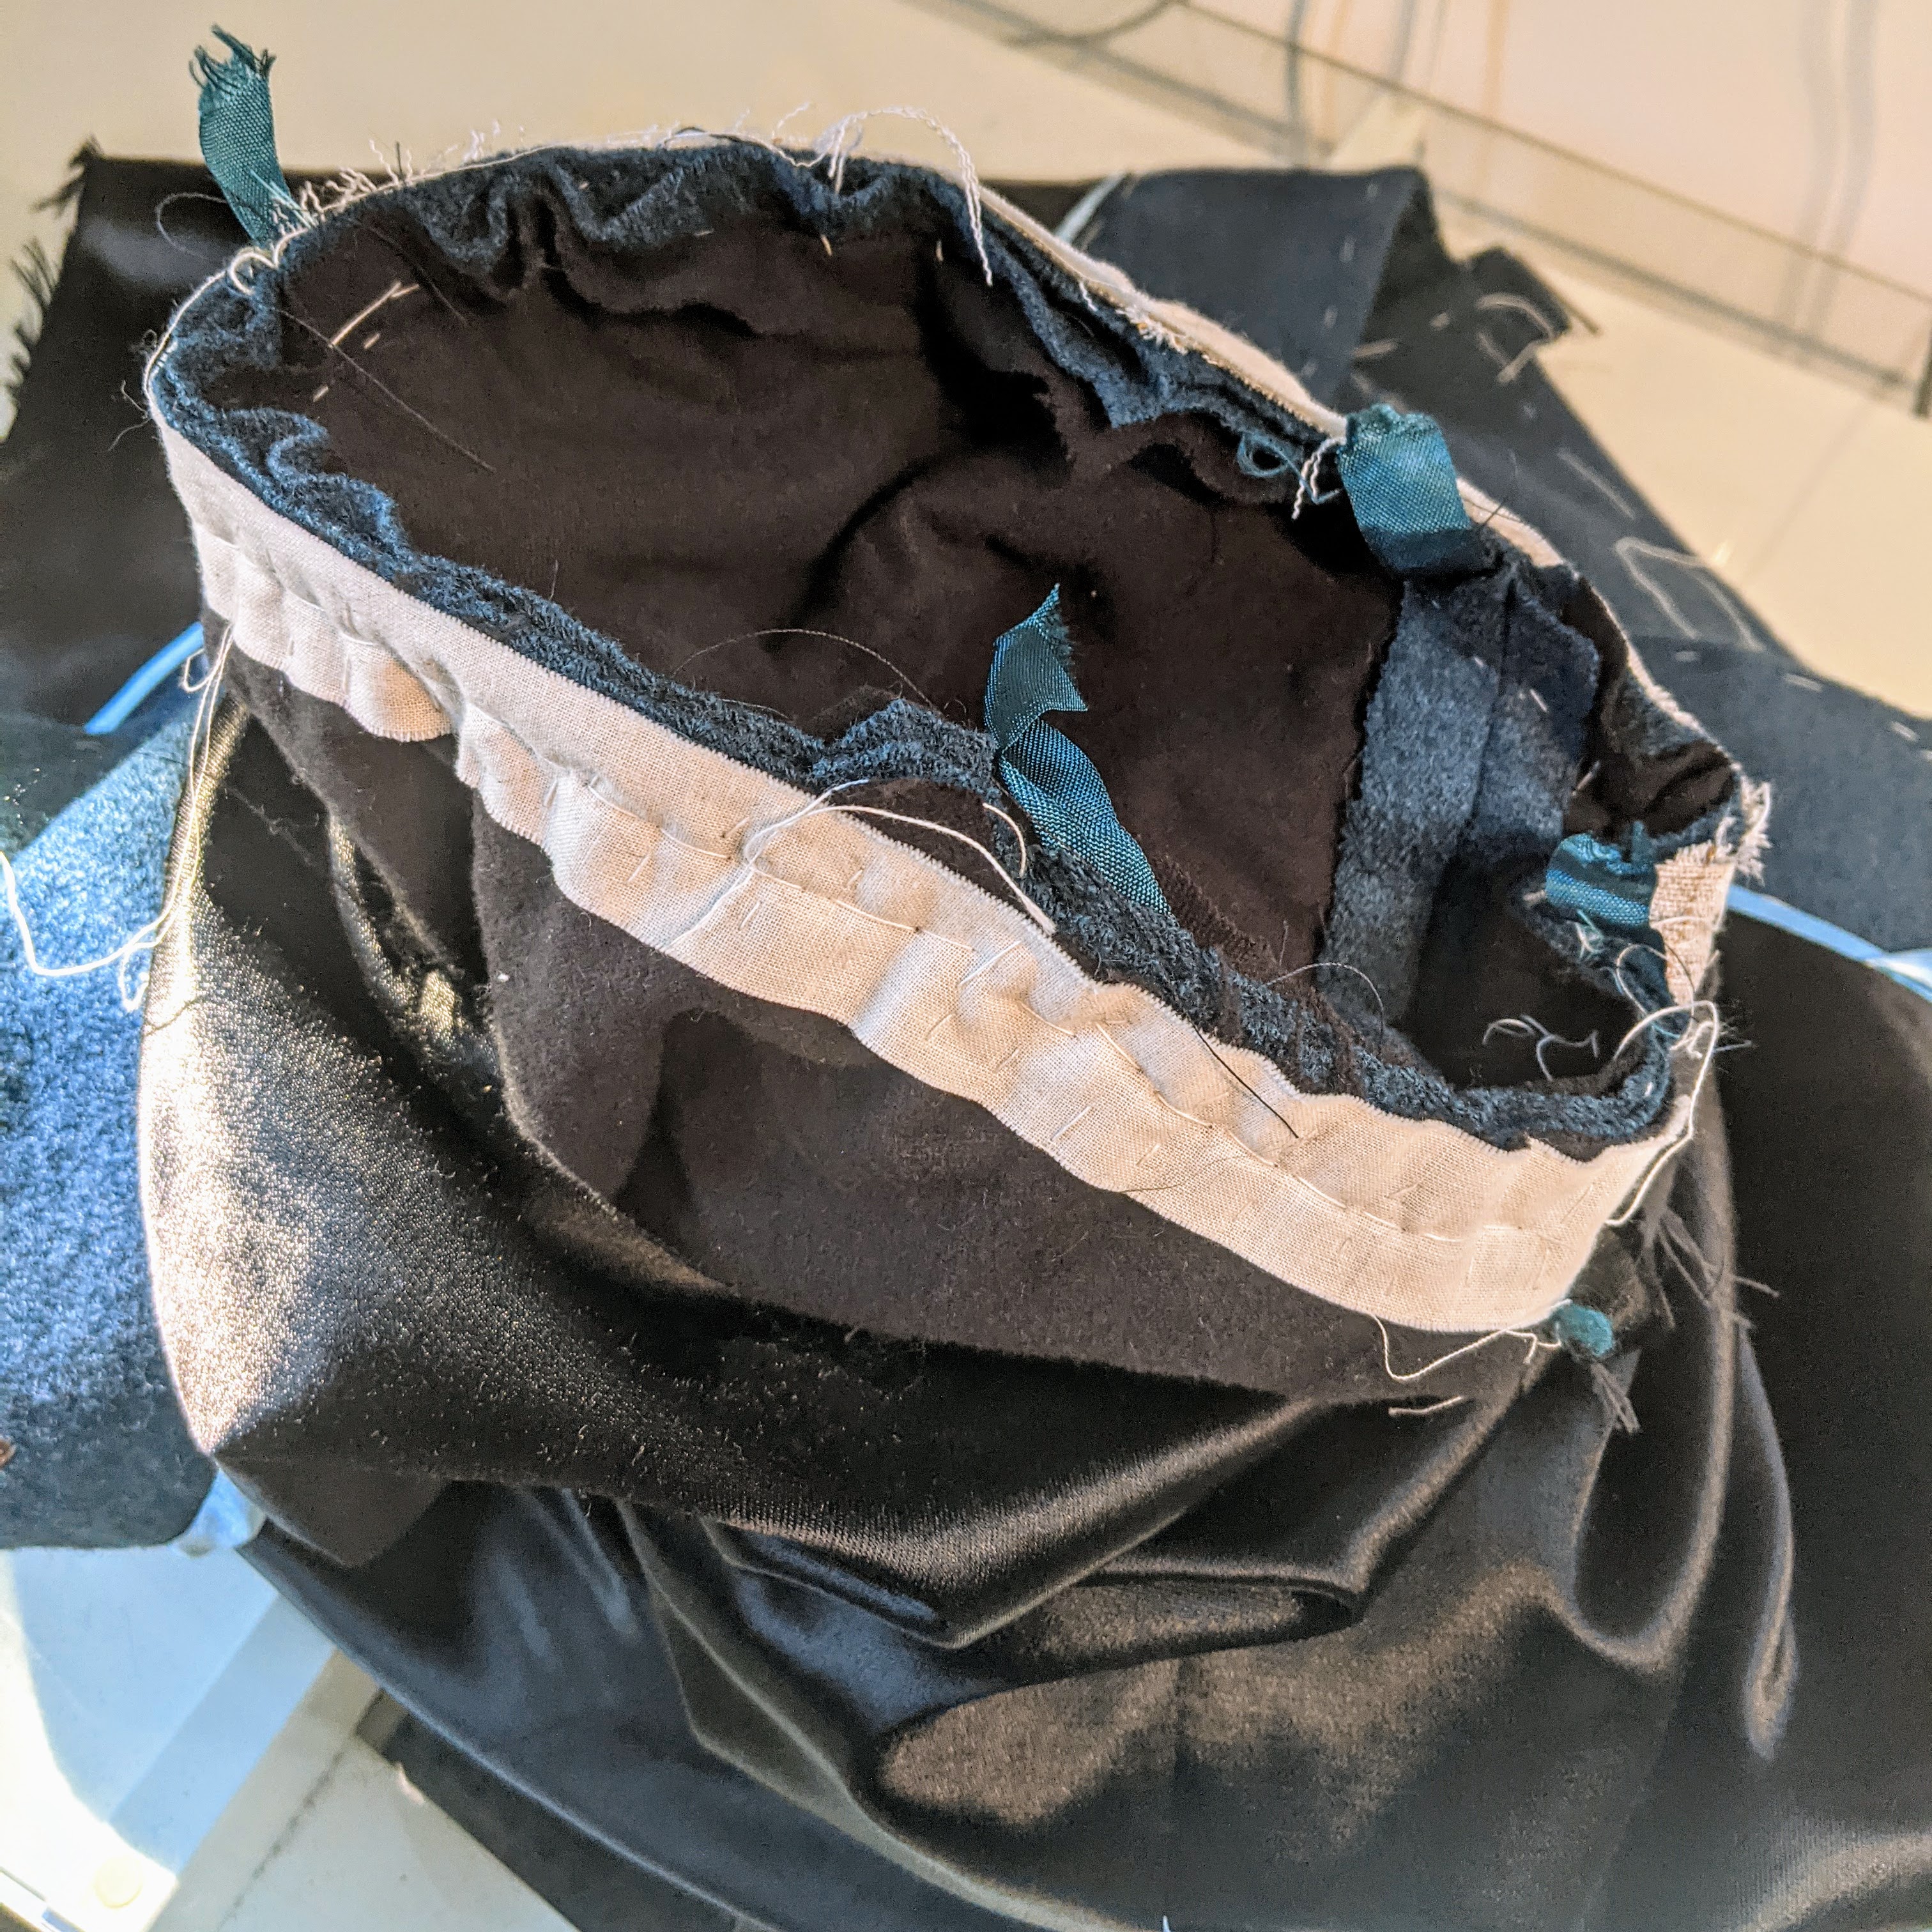
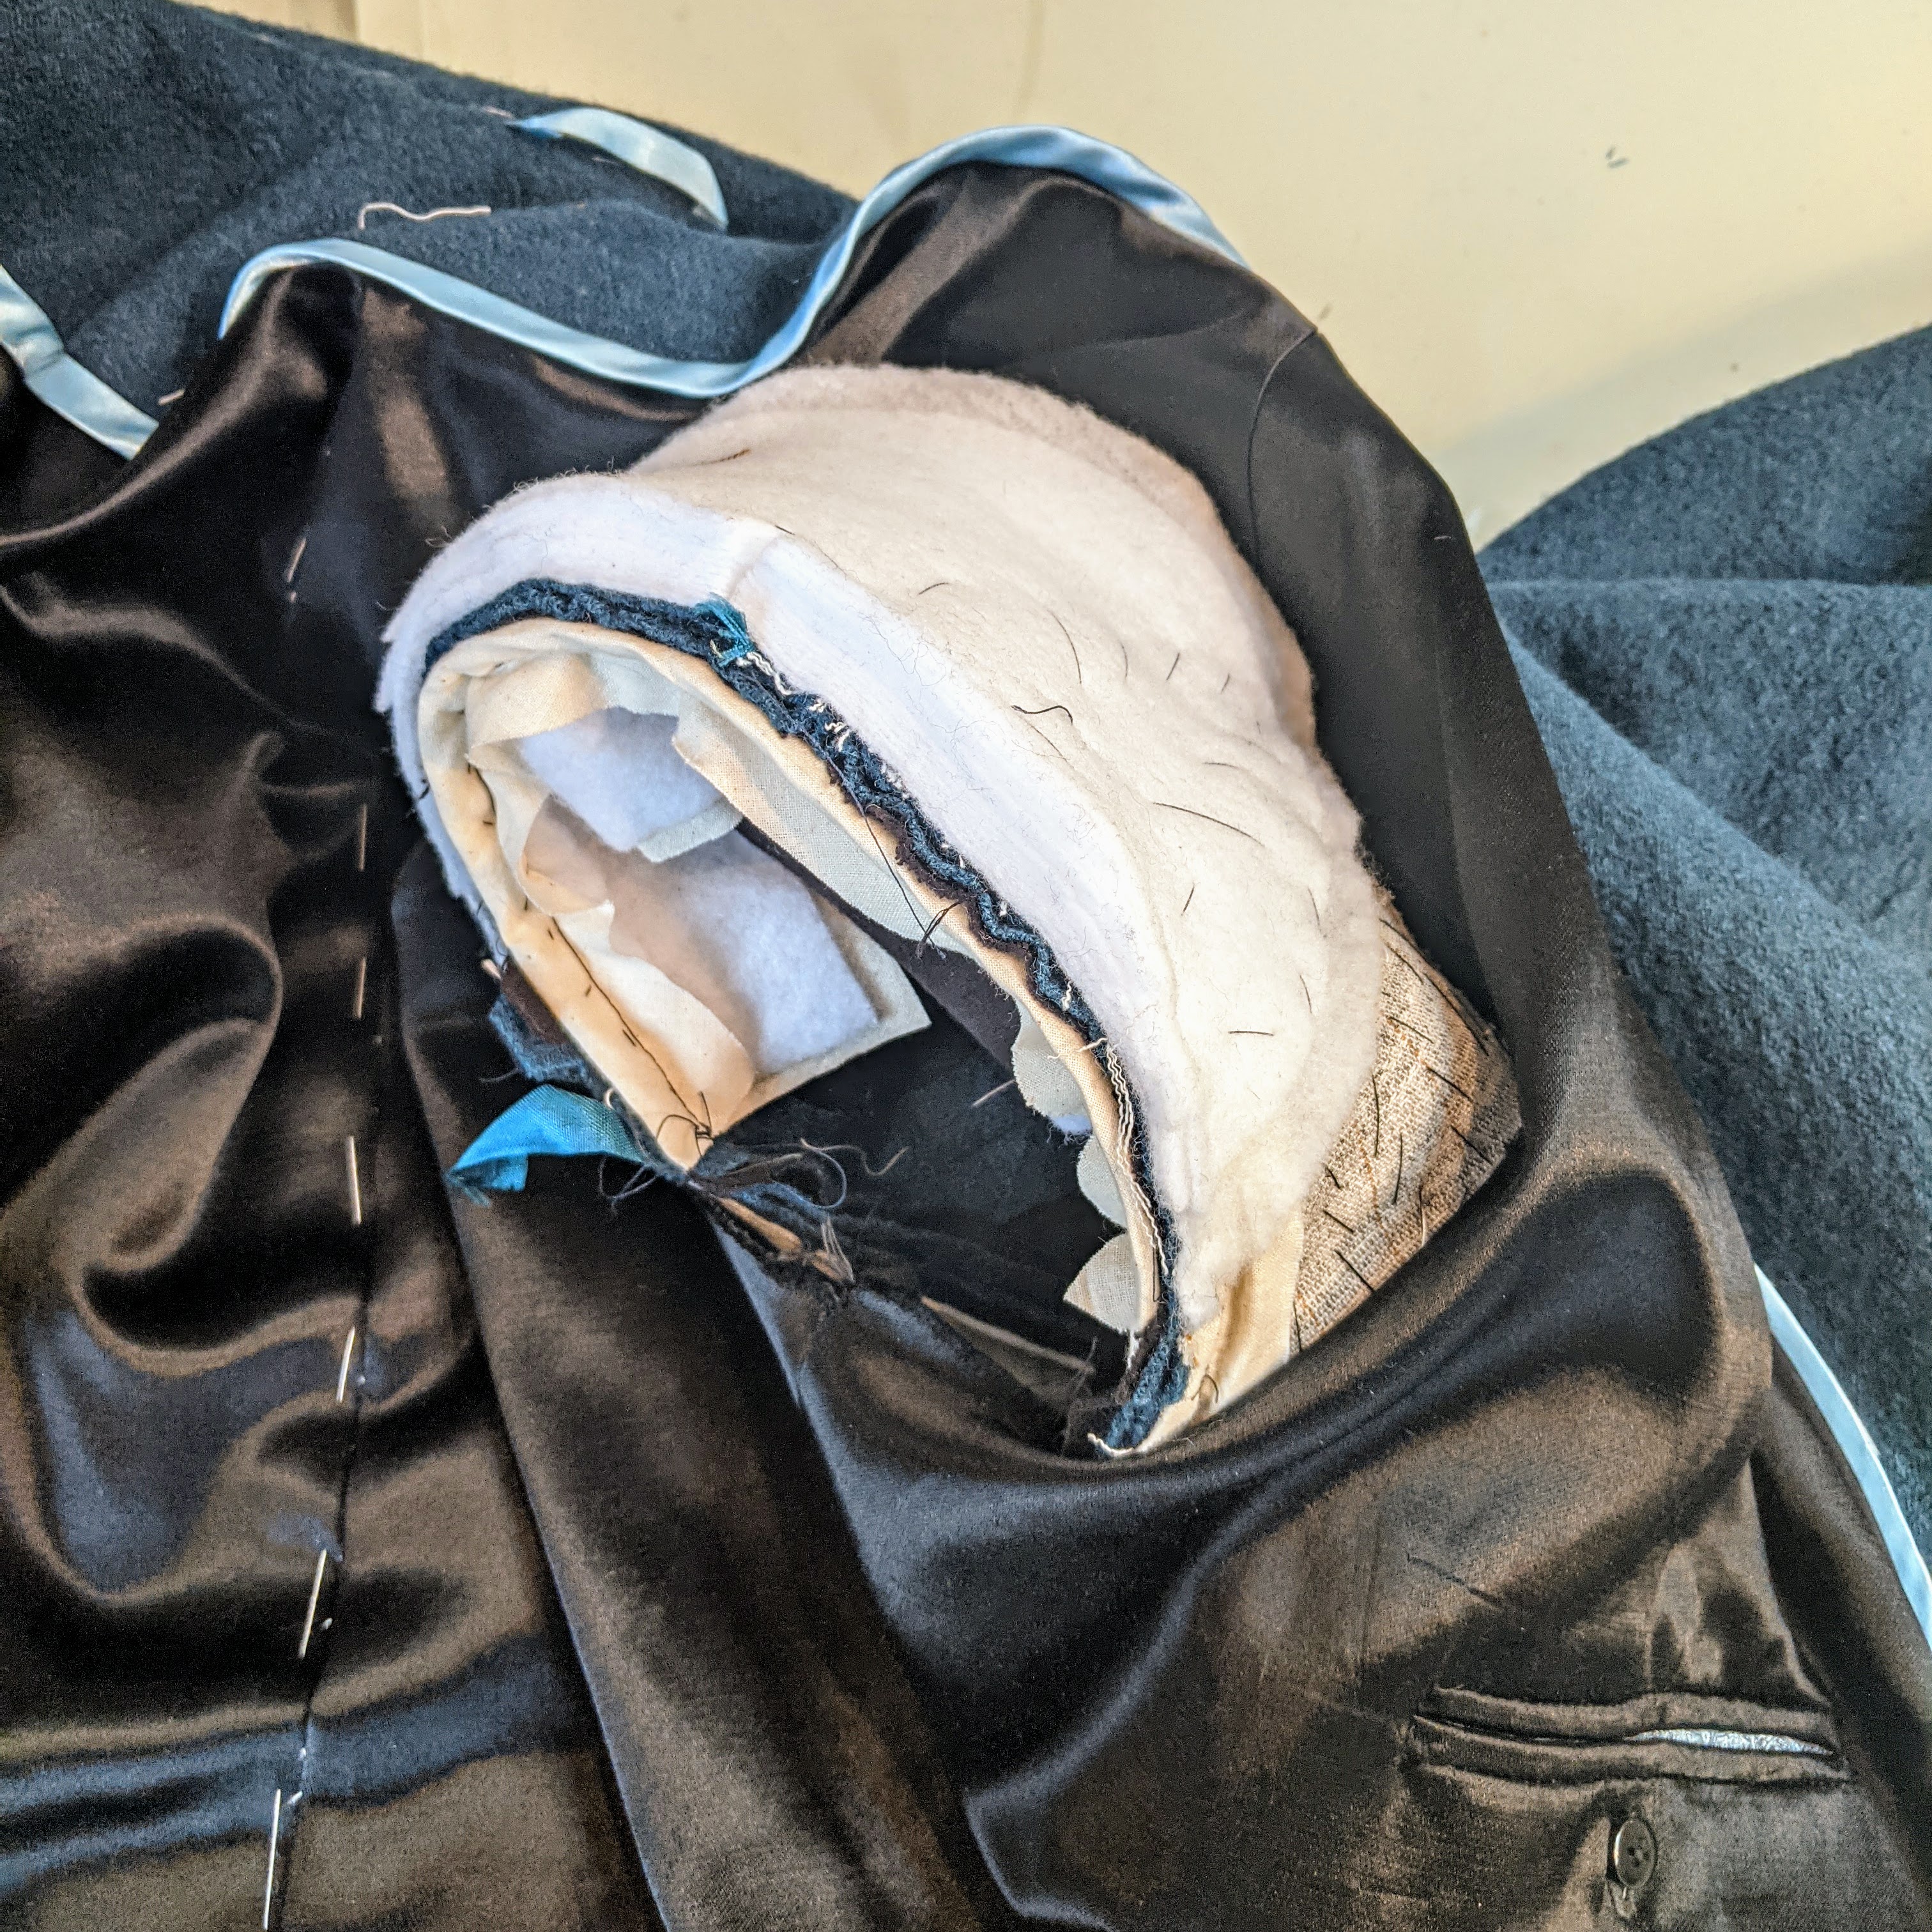
OK. This is very super geeky, but I love a really substantial cuff on my outerwear. Here’s how it gets done. You will want to trim the seam allowances in the hem. My hem is 1.5 inches, so I trim back 3 inches. (you can see the snug hug seam binding that’s stabilizing the sleeve seams). A strip of bias hair canvas 1 inch wider than the hem is placed down into the fold. It’s only necessary to secure this strip to the sleeve allowances. The actual hem is made between the coat fabric and the canvas. This can be a catch stitch. Done this way, nothing will be visible from the outside. Eventually, the lining will be brought down and stitched to the coat fabric. I baste a line around the cuff as a guide to keep everything even. The goal is to create a tuck that will make the sleeve lining end about 1/2 inch up inside the sleeve. This tuck will keep the lining from pulling up the sleeves when the coat is worn. Trust me, you will love how elegant this can feel.
We all know or follow one of those sewists who makes the most spectacular linings. You know… the ones with the hand pickstitching, or a contrasting piping. All the gorgeous details that are hardly ever seen, but are so enviable. So the question becomes, If I’m going to riff off a couture coat, shouldn’t I pull out all the stops and go for it?
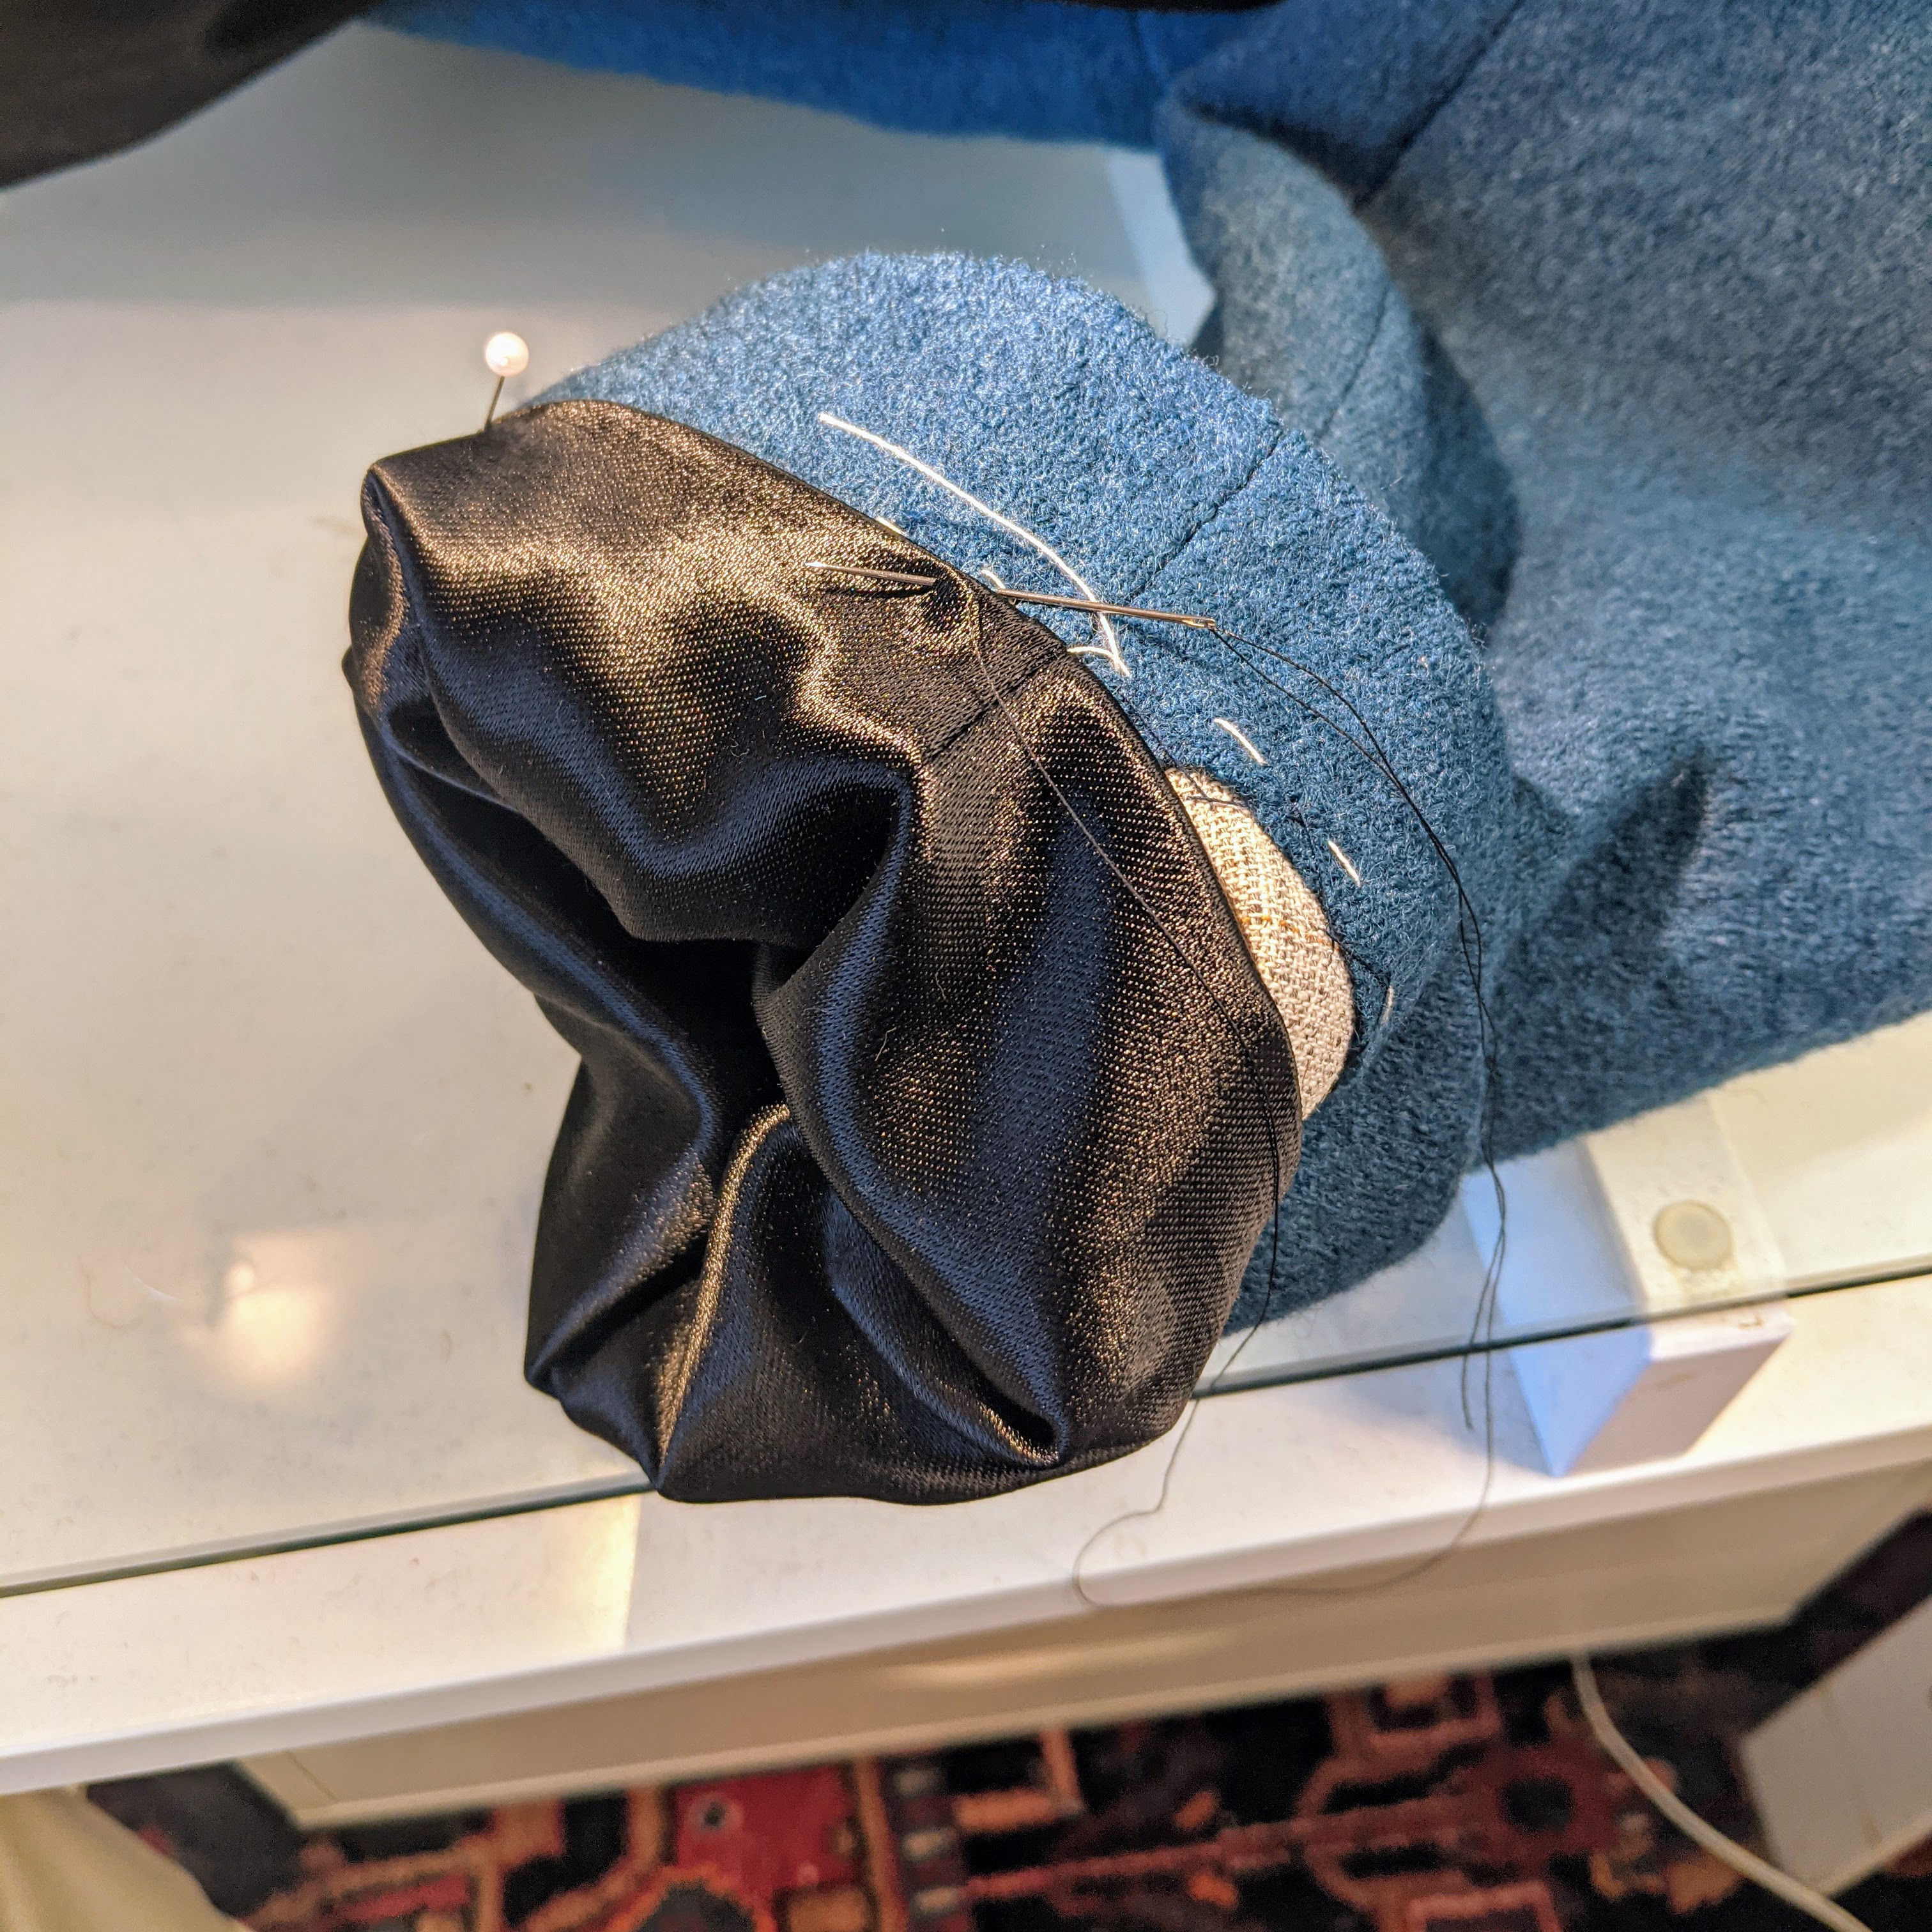
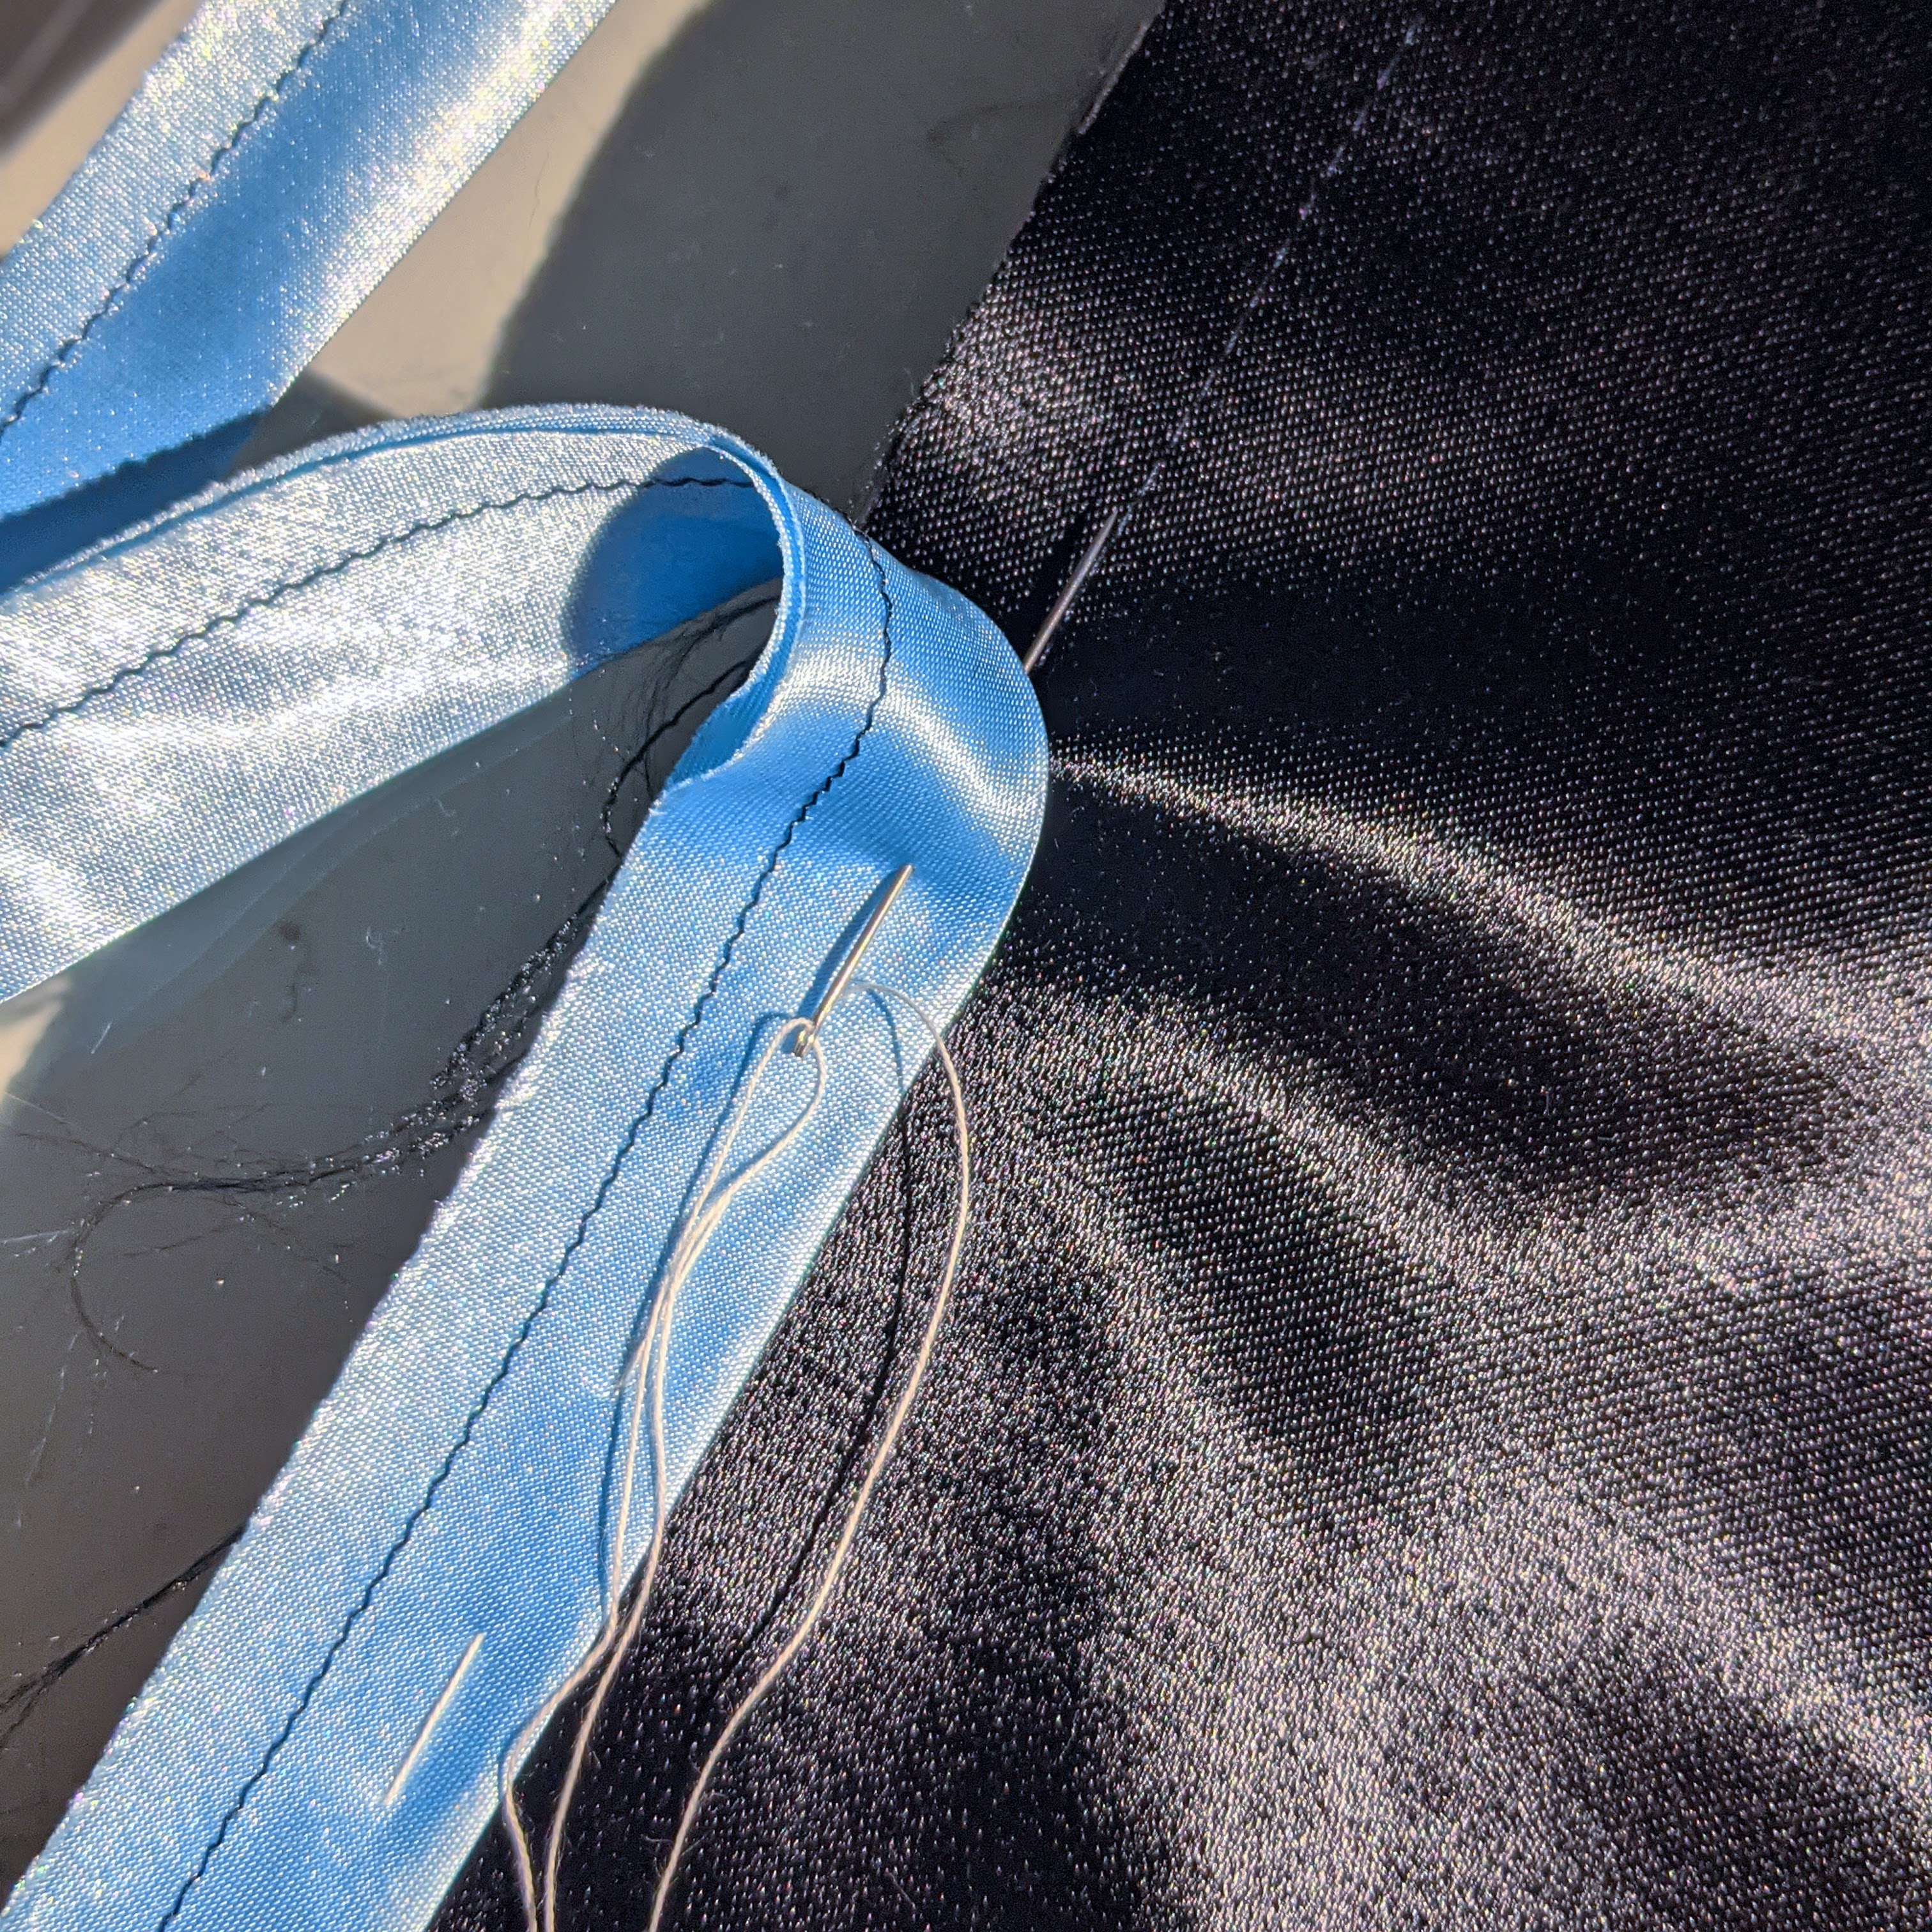
So before I know it, I’m standing at the cutting counter at JoAnn’s, buying a yard of baby blue poly satin that screams “Frozen Costume”! After a couple of failed bias piping attempts (we’re talking very wavy and uneven), I settled on this process. I found the bias easier to control if I pressed it in half and sewed it shut. Then I machine basted the seam allowance on the lining. I was then able to baste the piping into the basted line. This gave me more control and a more consistent width. When it came time to attach the facing, I simply sewed over the machine basting as my guide. It was successful enough that I would totally do it again, and that’s saying something.
After attaching the facing to the coat, the lining was flipped out of the way which allowed the facing seam allowance to be secured to the canvas. This keeps the facing and lining from flopping around inside the coat. All this awkward sewing is the price I pay for not going full on couture and putting the lining in by hand. But in the end, it works. So there’s a win!
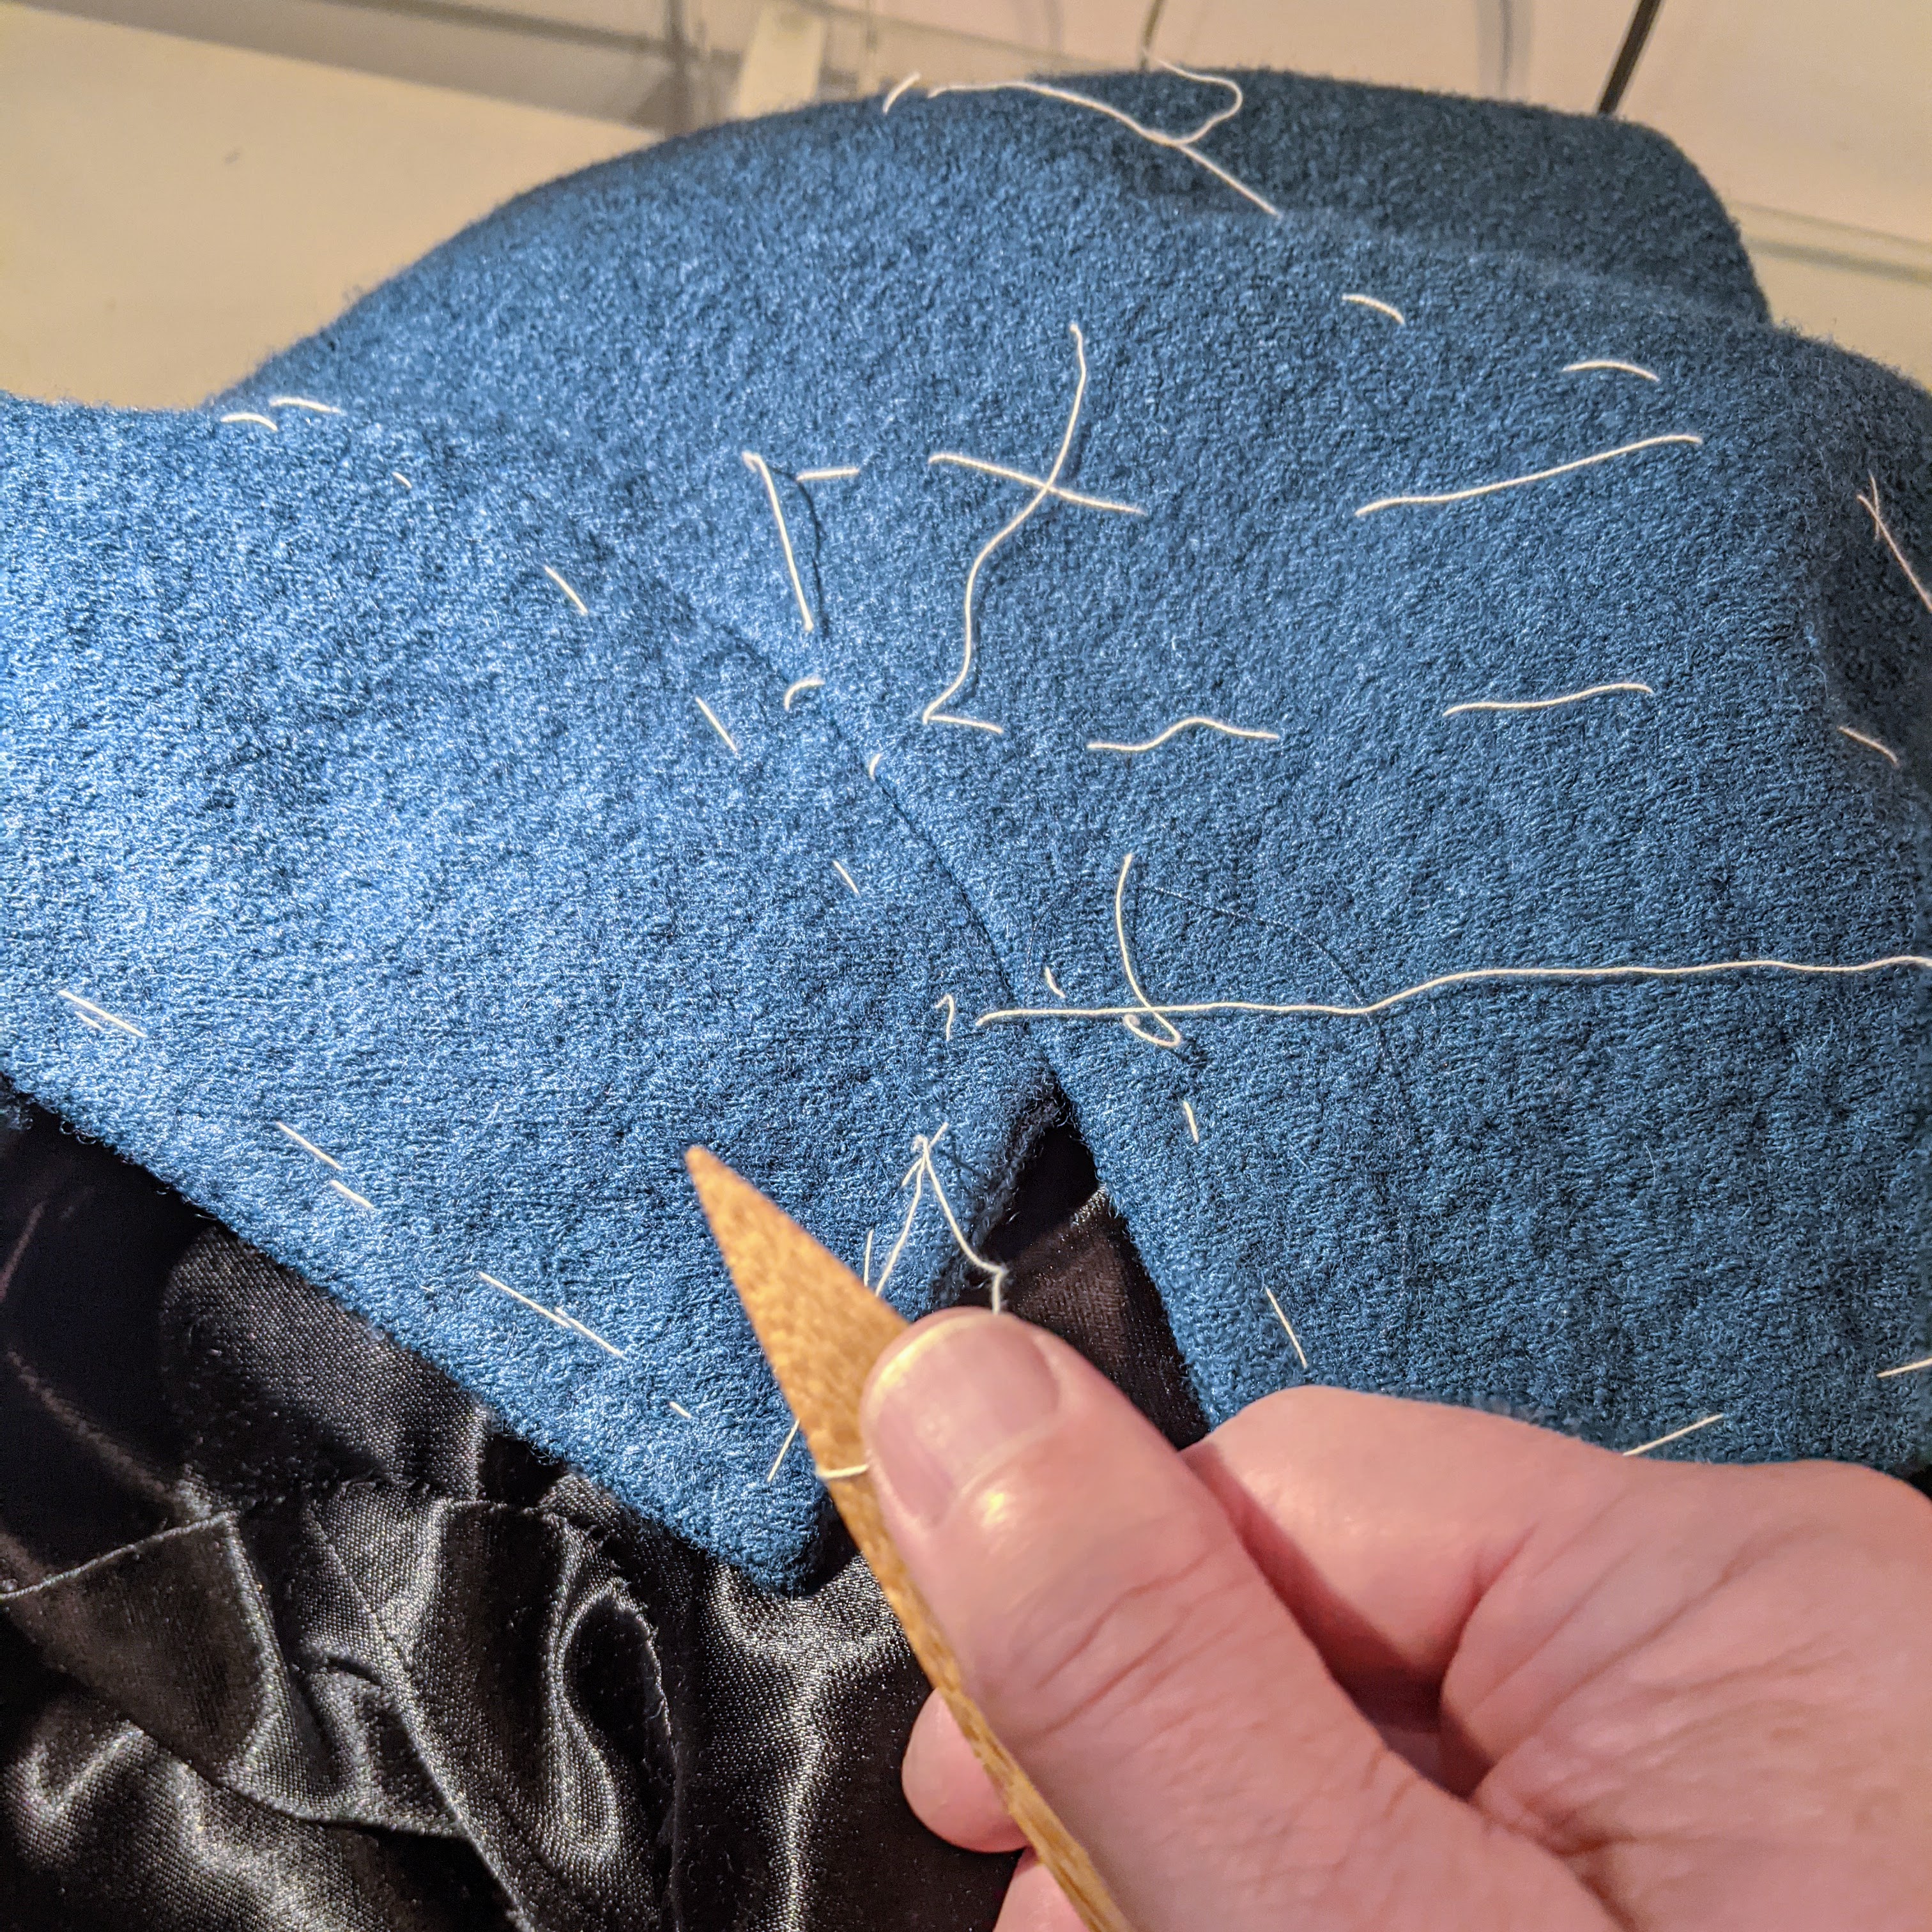
Let’s wrap it up with setting the sleeves. If you’re a tailoring geek like me, you know it’s all about “the set of the sleeve”. We all want that swoon worthy sleeve! I start by reinforcing the arm hole with a strip of muslin that’s basted over the eventual seam line. This prevents stretching. I should also note that I staystiched the arm areas right after I cut out the pattern. It’s a good habit to get into since you’ll be handling the fabric a lot before you ever get to setting the sleeves.
I love the Sienna Maker Jacket sleeves because there isn’t a ridiculous amount of ease to deal with. I pin the sleeve in place and then baste it into position with small stitches. After going around the armscye once I can remove the pins. I continue to baste around a second time, this time placing the stitches between the first round of basting. When it’s time to go to the machine there are no pins, which makes the process so much easier. (and less painful!) I sew with the sleeve facing up, and with my left hand I can reach in under the sleeve and better control the body of the coat. I almost never get an infuriating catch in the sleeve when I use this method.
I wrestle in the shoulder pads and sleeve heads.

I finagle the lining.
I remove a mile of basting thread.
A hint of things to come!

Work of a perfectionist! Look great so far. Can’t wait for the big reveal!
LikeLike
Wow this is coming along so well and looking great , no doubt the finished coat will be superb as you are so meticulous. I wouldn’t attempt this as the cost alone of the wool for my sewing would put me off.
You have learnt great sewing skill how did you learn? Thanks for posting.
LikeLike
The wool for this coat is from Metro Textiles in NYC. I bought it during a 50% off sale, so it was only $14 a yard. I actually paid more per yard for the lining! All told I probably have $160 in material costs when I include the interfacing, thread, hardware etc. I could never buy a coat of this quality for that. Plus, because the wool is so wide, I have enough scraps to make a matching vest!
LikeLike
I do love hearing all the details of your tailored makes. And there’s always something to learn – I will be using your method of pre-shrinking fabric detailed in your last post when I start on my own Sienna jacket shortly. I’m looking forward to the next post with the coat reveal.
LikeLike
This is an impressive project. I did pad stitching on a blazer jacket eons ago…….but I learned how you can control the shape that way……much like molding…….your project is becoming a work of art! It almost makes me want to do some slow stitching myself……hey why not, what else is there to do!
I have my eyes on a Chanel type jacket. Thanks for your continuing inspiration!!!
LikeLike
Thank you for the inspiration!
Merry Christmas,
Rachel
https://www.saatchiart.com/account/artworks/6640 http://ccca.concordia.ca/artists/Ranjan_Sen
>
LikeLike
My geeky heart is very happy. I’ve read the Cabrera, but you have absorbed it. I really appreciate the photos and the play by play in your posts, but I adore the attention to process and detail. Doing things in order and not skipping a step results in better work every time.
Thanks for the reminder.
Stephanie
LikeLike
I cannot wait to see the finished coat!
LikeLike
Great details! Really looking forward to seeing the finished coat!
LikeLike
You are so meticulous. Your work is amazing! Love your detail.
LikeLike