
I love working with wool! All the wool I’ve worked with to date has been woven, so boiled wool is a new experience. It’s actually a dense knit, and unlike a woven it doesn’t ravel. Not a shred! Still, I pre-treat it as I would for any wool. My TNT method is the London Shrink. I’ve shown this method in the past, but it may be new for some of you. It’s ridiculously easy, and much kinder to your fabric than a trip to the dry cleaners. Here goes…..

I have a long table out on my porch which is perfect for this. Because most wool fabrics are 60″ wide, you will need some cotton sheeting that has been torn into strips 30″ wide. A bedsheet from the thrift store is perfect for this!
Soak the sheeting and wring out as much water as possible. Then sandwich it between the wool. Fold the whole lot up into a package and wrap it with plastic wrap or a plastic trash bag; whatever you might have on hand. You will just want it well sealed to keep the moisture in.

I usually let this sit overnight. When it’s unwrapped the next day, the wool will have absorbed the water from the sheeting, and it will be a uniform dampness. Now just flatten the fabric out and let it air dry. I find that it usually “fluffs” the fabric up a bit, and it usually becomes softer. The fabric is now ready to be cut out.
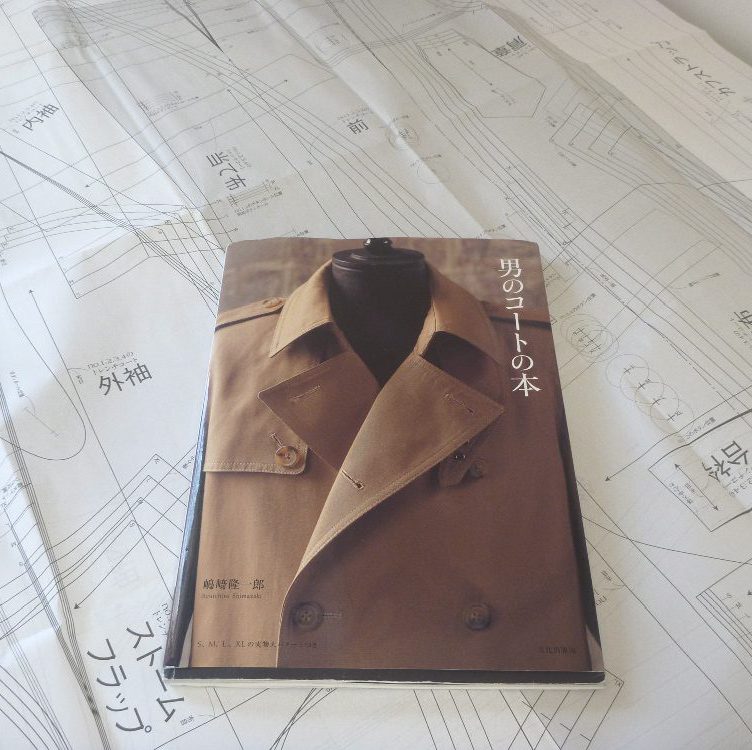
Closet Core’s Sienna Maker Jacket is designed as an unlined jacket with neatly finished seams on the inside. However, I’m wanting my version to be lined and more structured / tailored. It’s not overly difficult. It mostly involves having some kind of a plan, since the pattern instructions are “out the window” as they say. I use my usual standby, Edna Bishop’s The Bishop Method of Clothing Construction, as well as incorporating features from other patterns that I’ve used in the past. Here’s an example of of a technique I’m adapting.
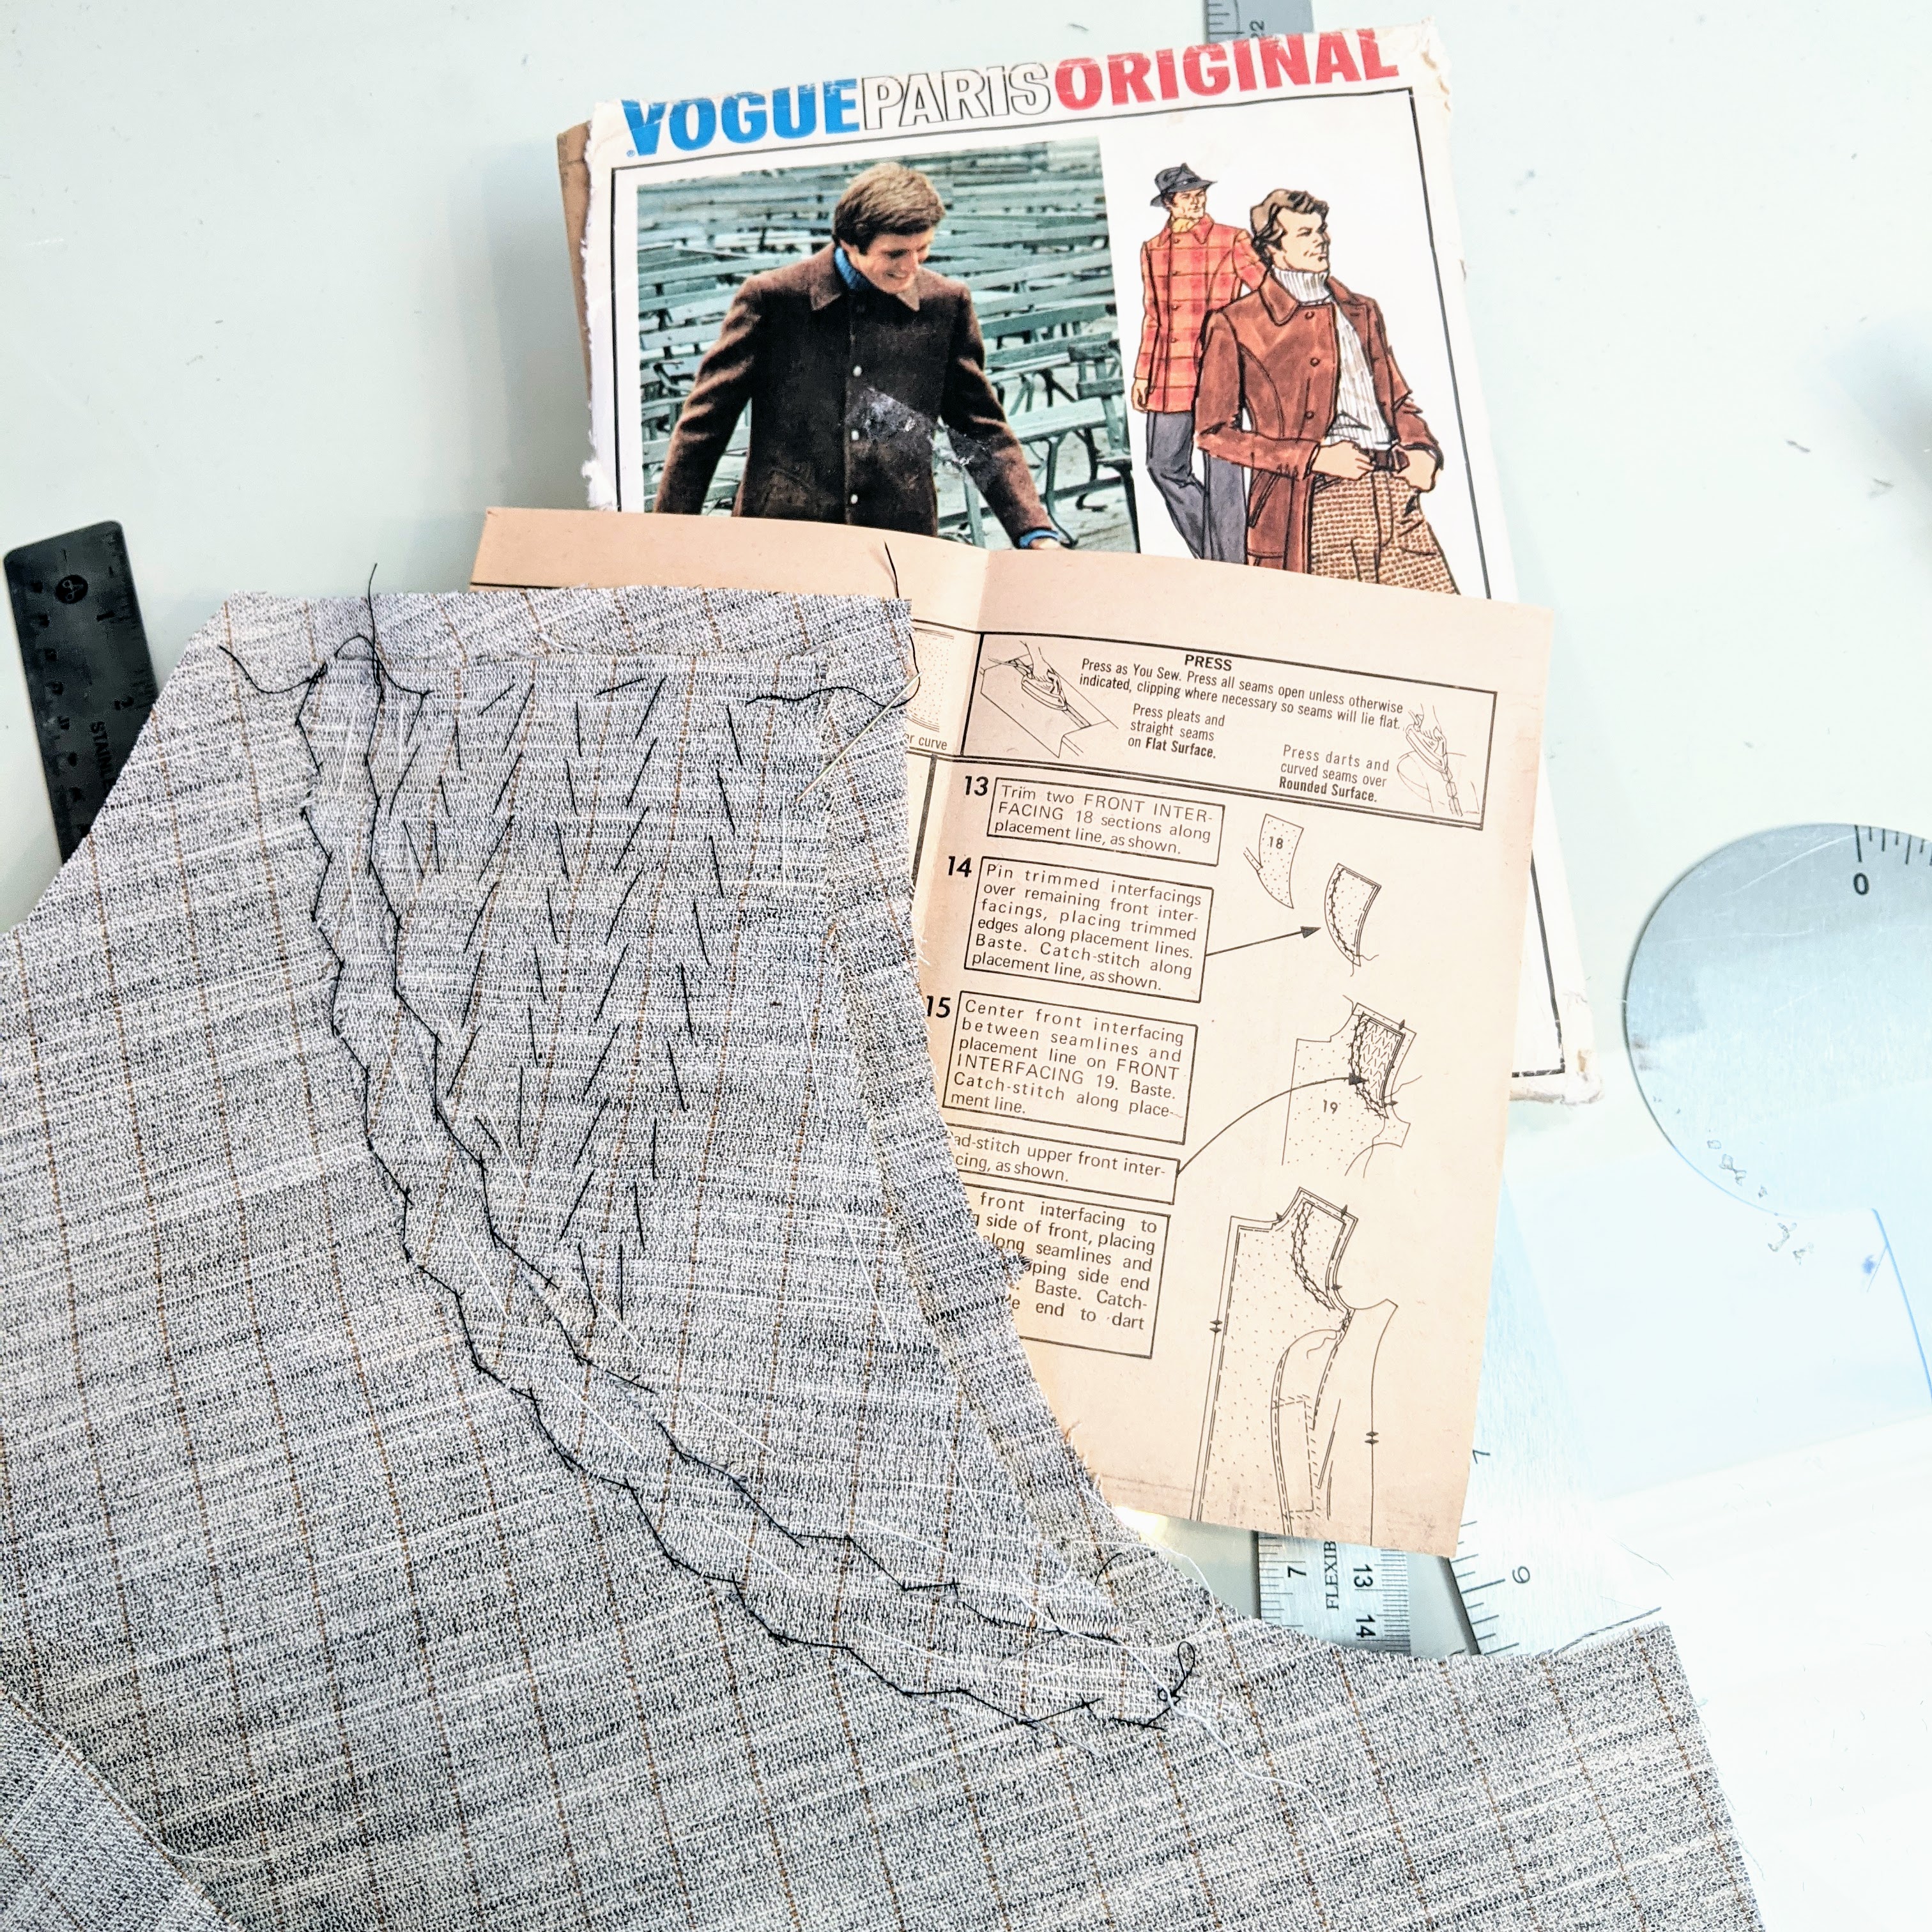
I’m going to incorporate this chest piece from my Pierre Cardin coat that I made two years ago. It made a great structured shoulder on that coat, so I’ll just copy it for this coat. It’s pretty simple; just two layers of canvas pad stitched into place. I learn something new with each project that I sew, and I like to take those “lessons learned” forward. If this coat comes out as lovely as my Pierre Cardin coat I’ll be very happy. Will this make a huge difference? I’m not sure, but if it does it will be worth the little bit of effort that I expended. (Plus, I love doing this kind of stuff!)
Here’s another repeat technique.
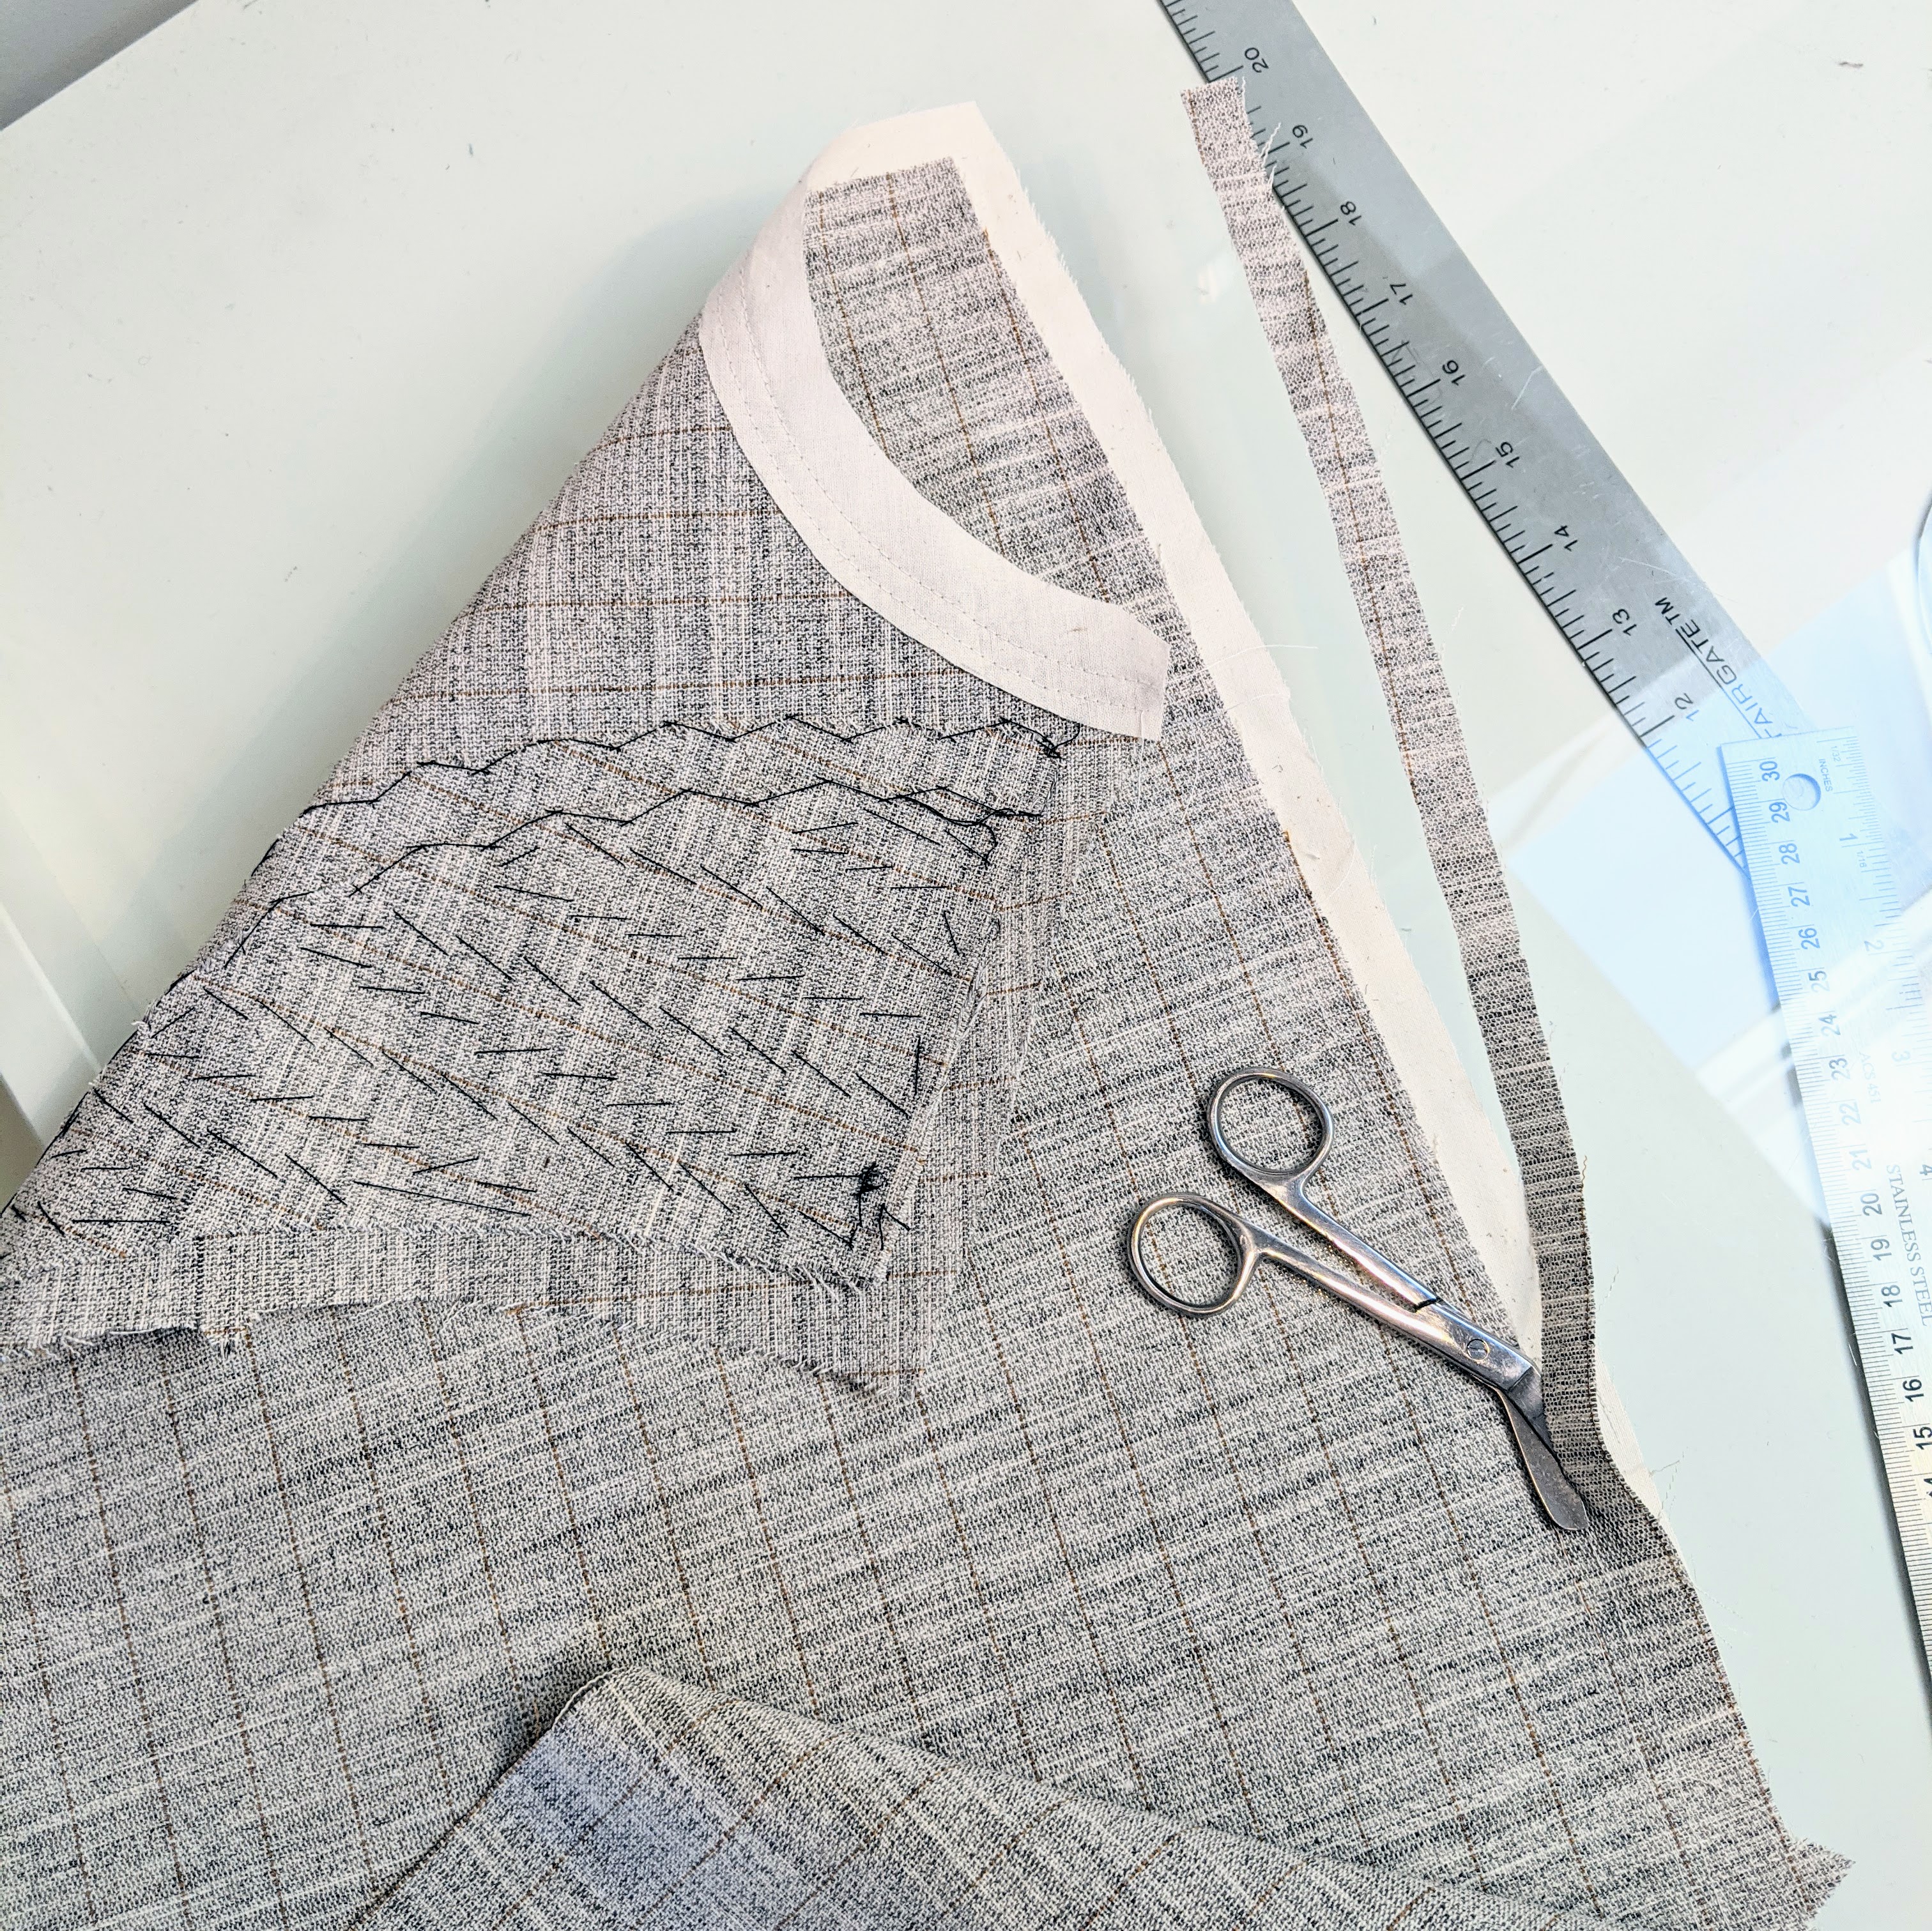
The Sienna Maker Jacket has a self facing, which could become very bulky with boiled wool and hair canvas interfacing. So I’m “replacing” the facing edge of the canvas with muslin. This is a technique that I used on my recent Thread Theory Belvedere Waistcoat. (Mini tutorial here). Just another gem from Edna Bishop.
At this point the canvas gets put aside. The pockets have to be made first. Again, I’m taking a technique from another source and applying it to my pattern. I’m going to use the double piping pocket from Roberto Cabrera’s text on tailoring, which normally would become the flapped pockets on a blazer. My plan is to make it slightly bigger, skip the flap, and rotate it 90 degrees. I made a trial run on some scraps to to assure myself that it would be possible. I showed this on the previous post. I always like to practice the tricky bits on any project. It’s just part of sewing when you’re way off script.
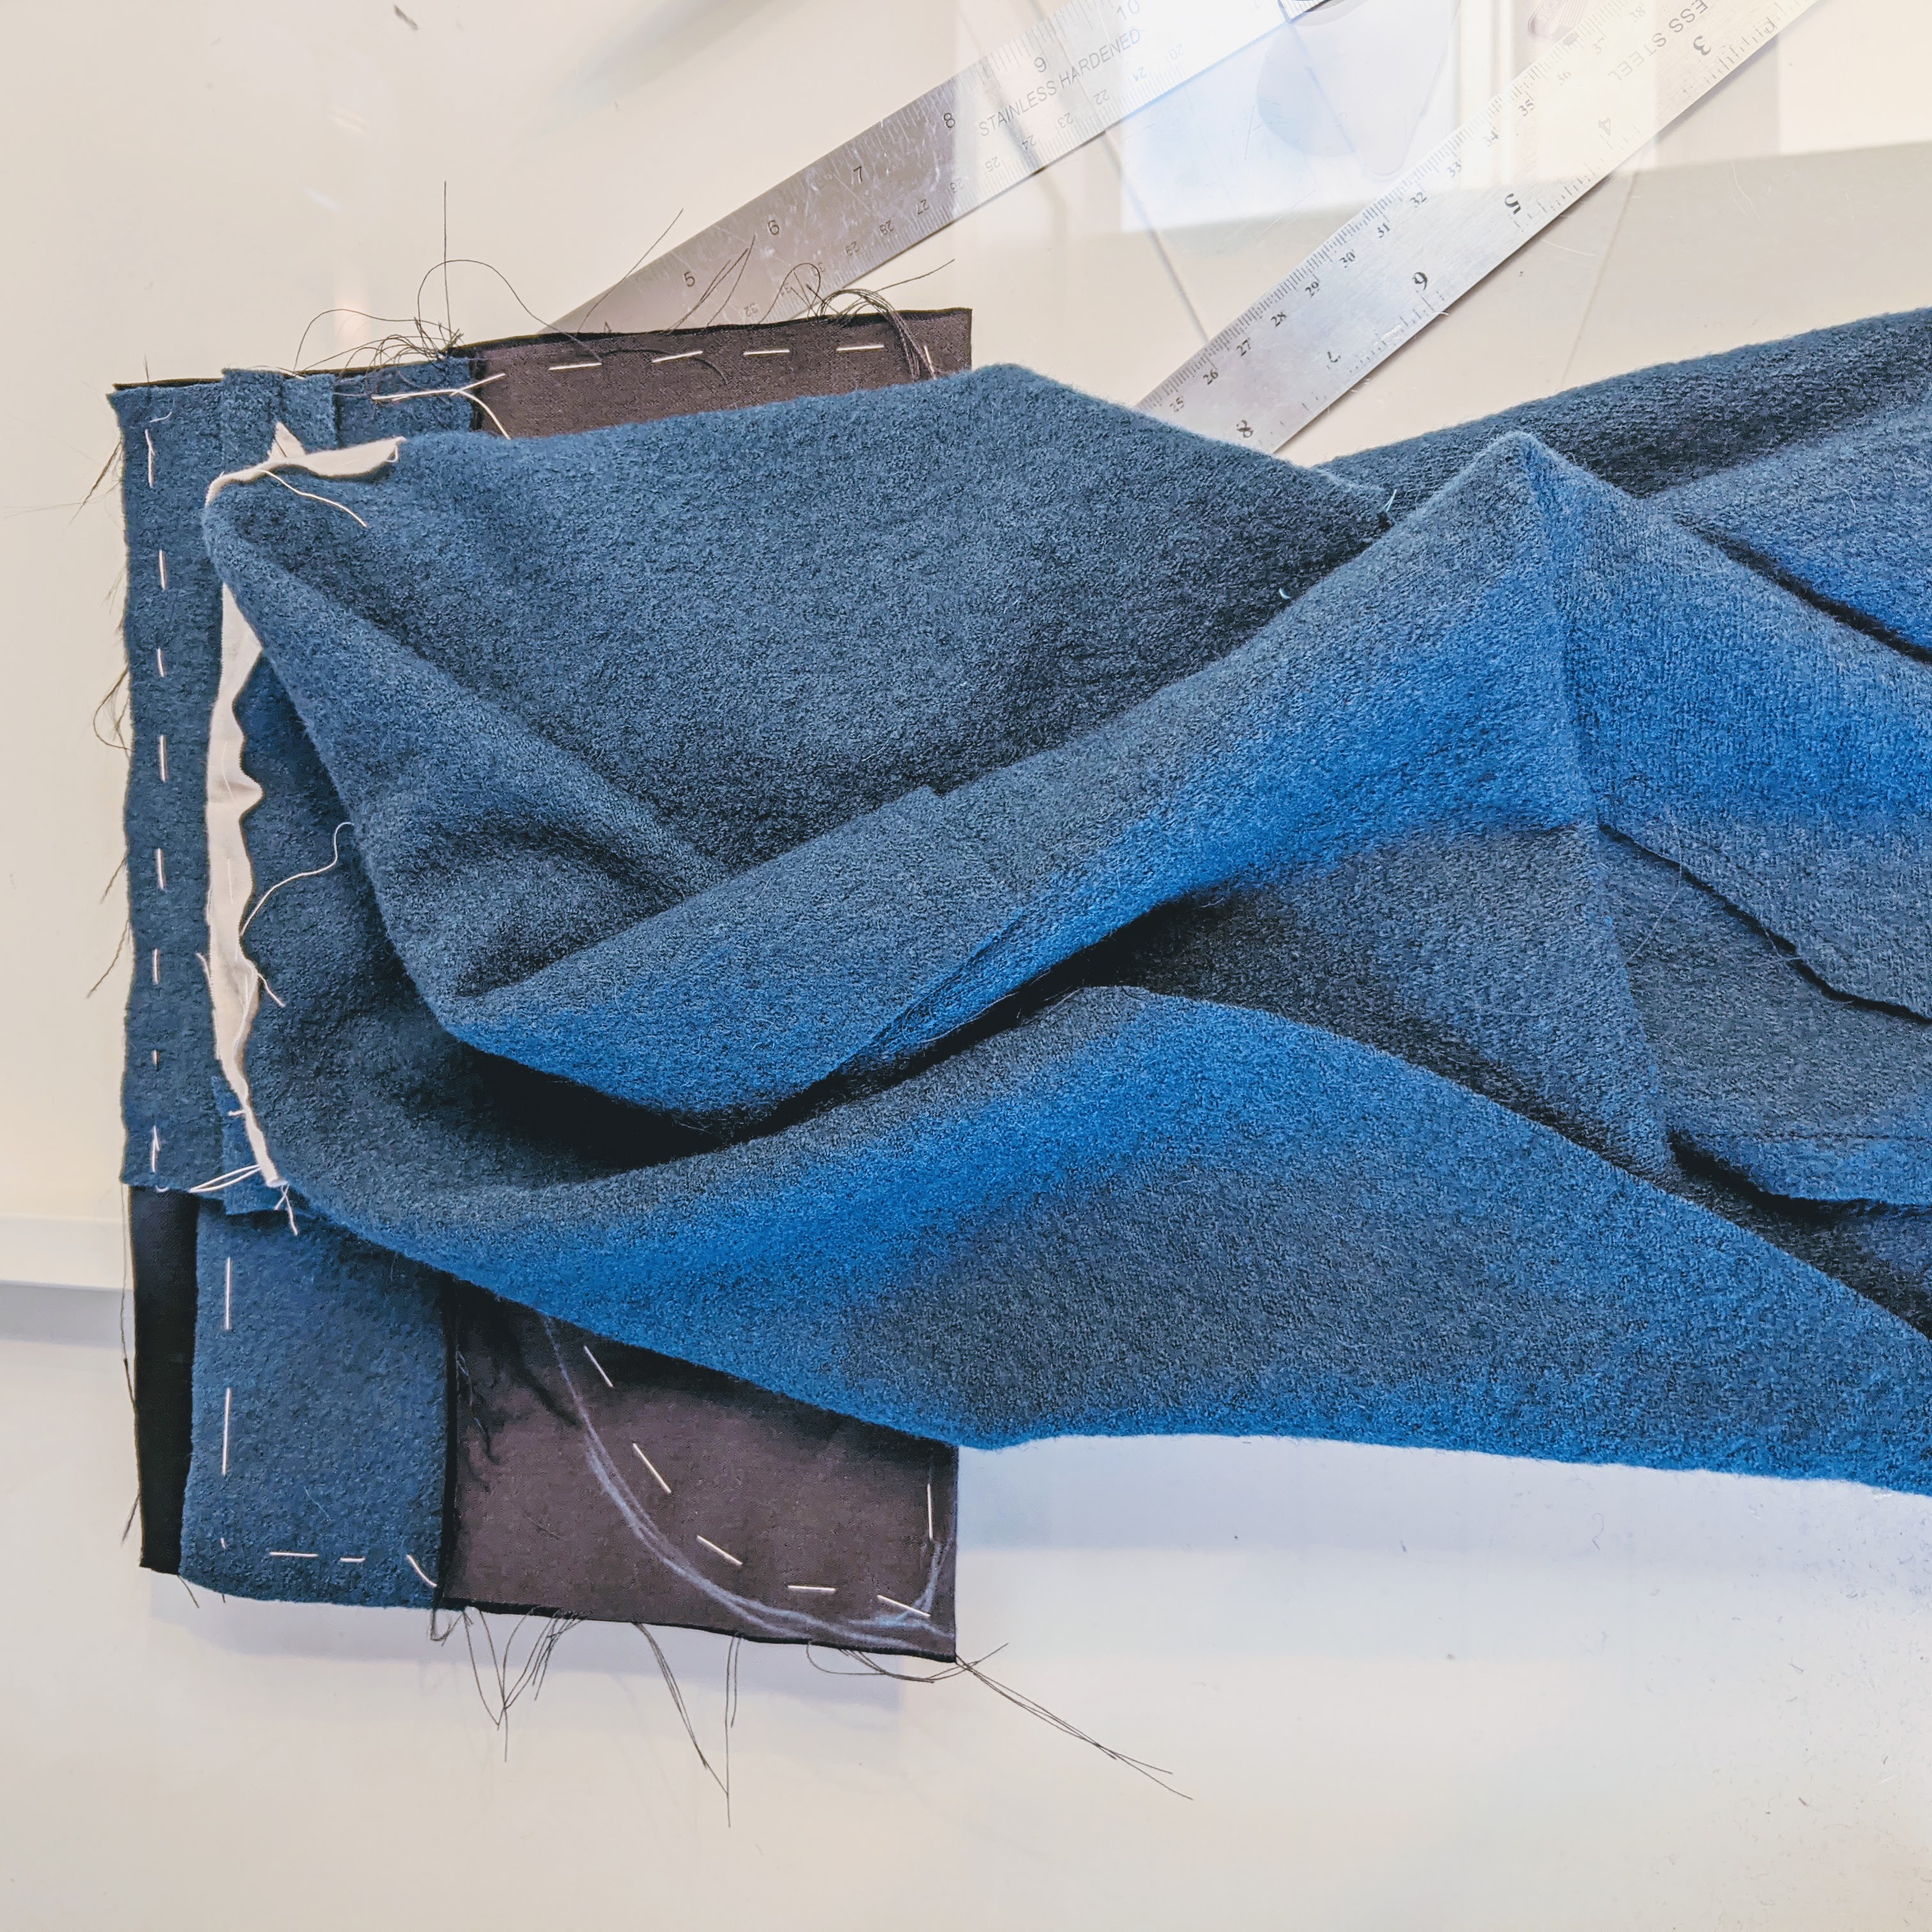
This, believe it or not, is the pocket under construction, viewed from the inside. The pocket opening is at the upper left, and the coat front is wadded up and running off to the right. The black fabric is the pocket bag. Because I have no pattern for the pocket bag, I’m taking a great suggestion from David Page Coffin’s book Making Trousers. Unsure of the pocket size? Just make the pocket bag extra large and then sew it and trim it to the size that works. In this picture I have roughly chalk marked a stitching line for the bottom of the pocket bag.

Here it’s been stitched and the excess fabric is trimmed away. The pocket actually felt a little too deep after this, so I simply stitched a new line and trimmed it some more to get the right feel. Easy!
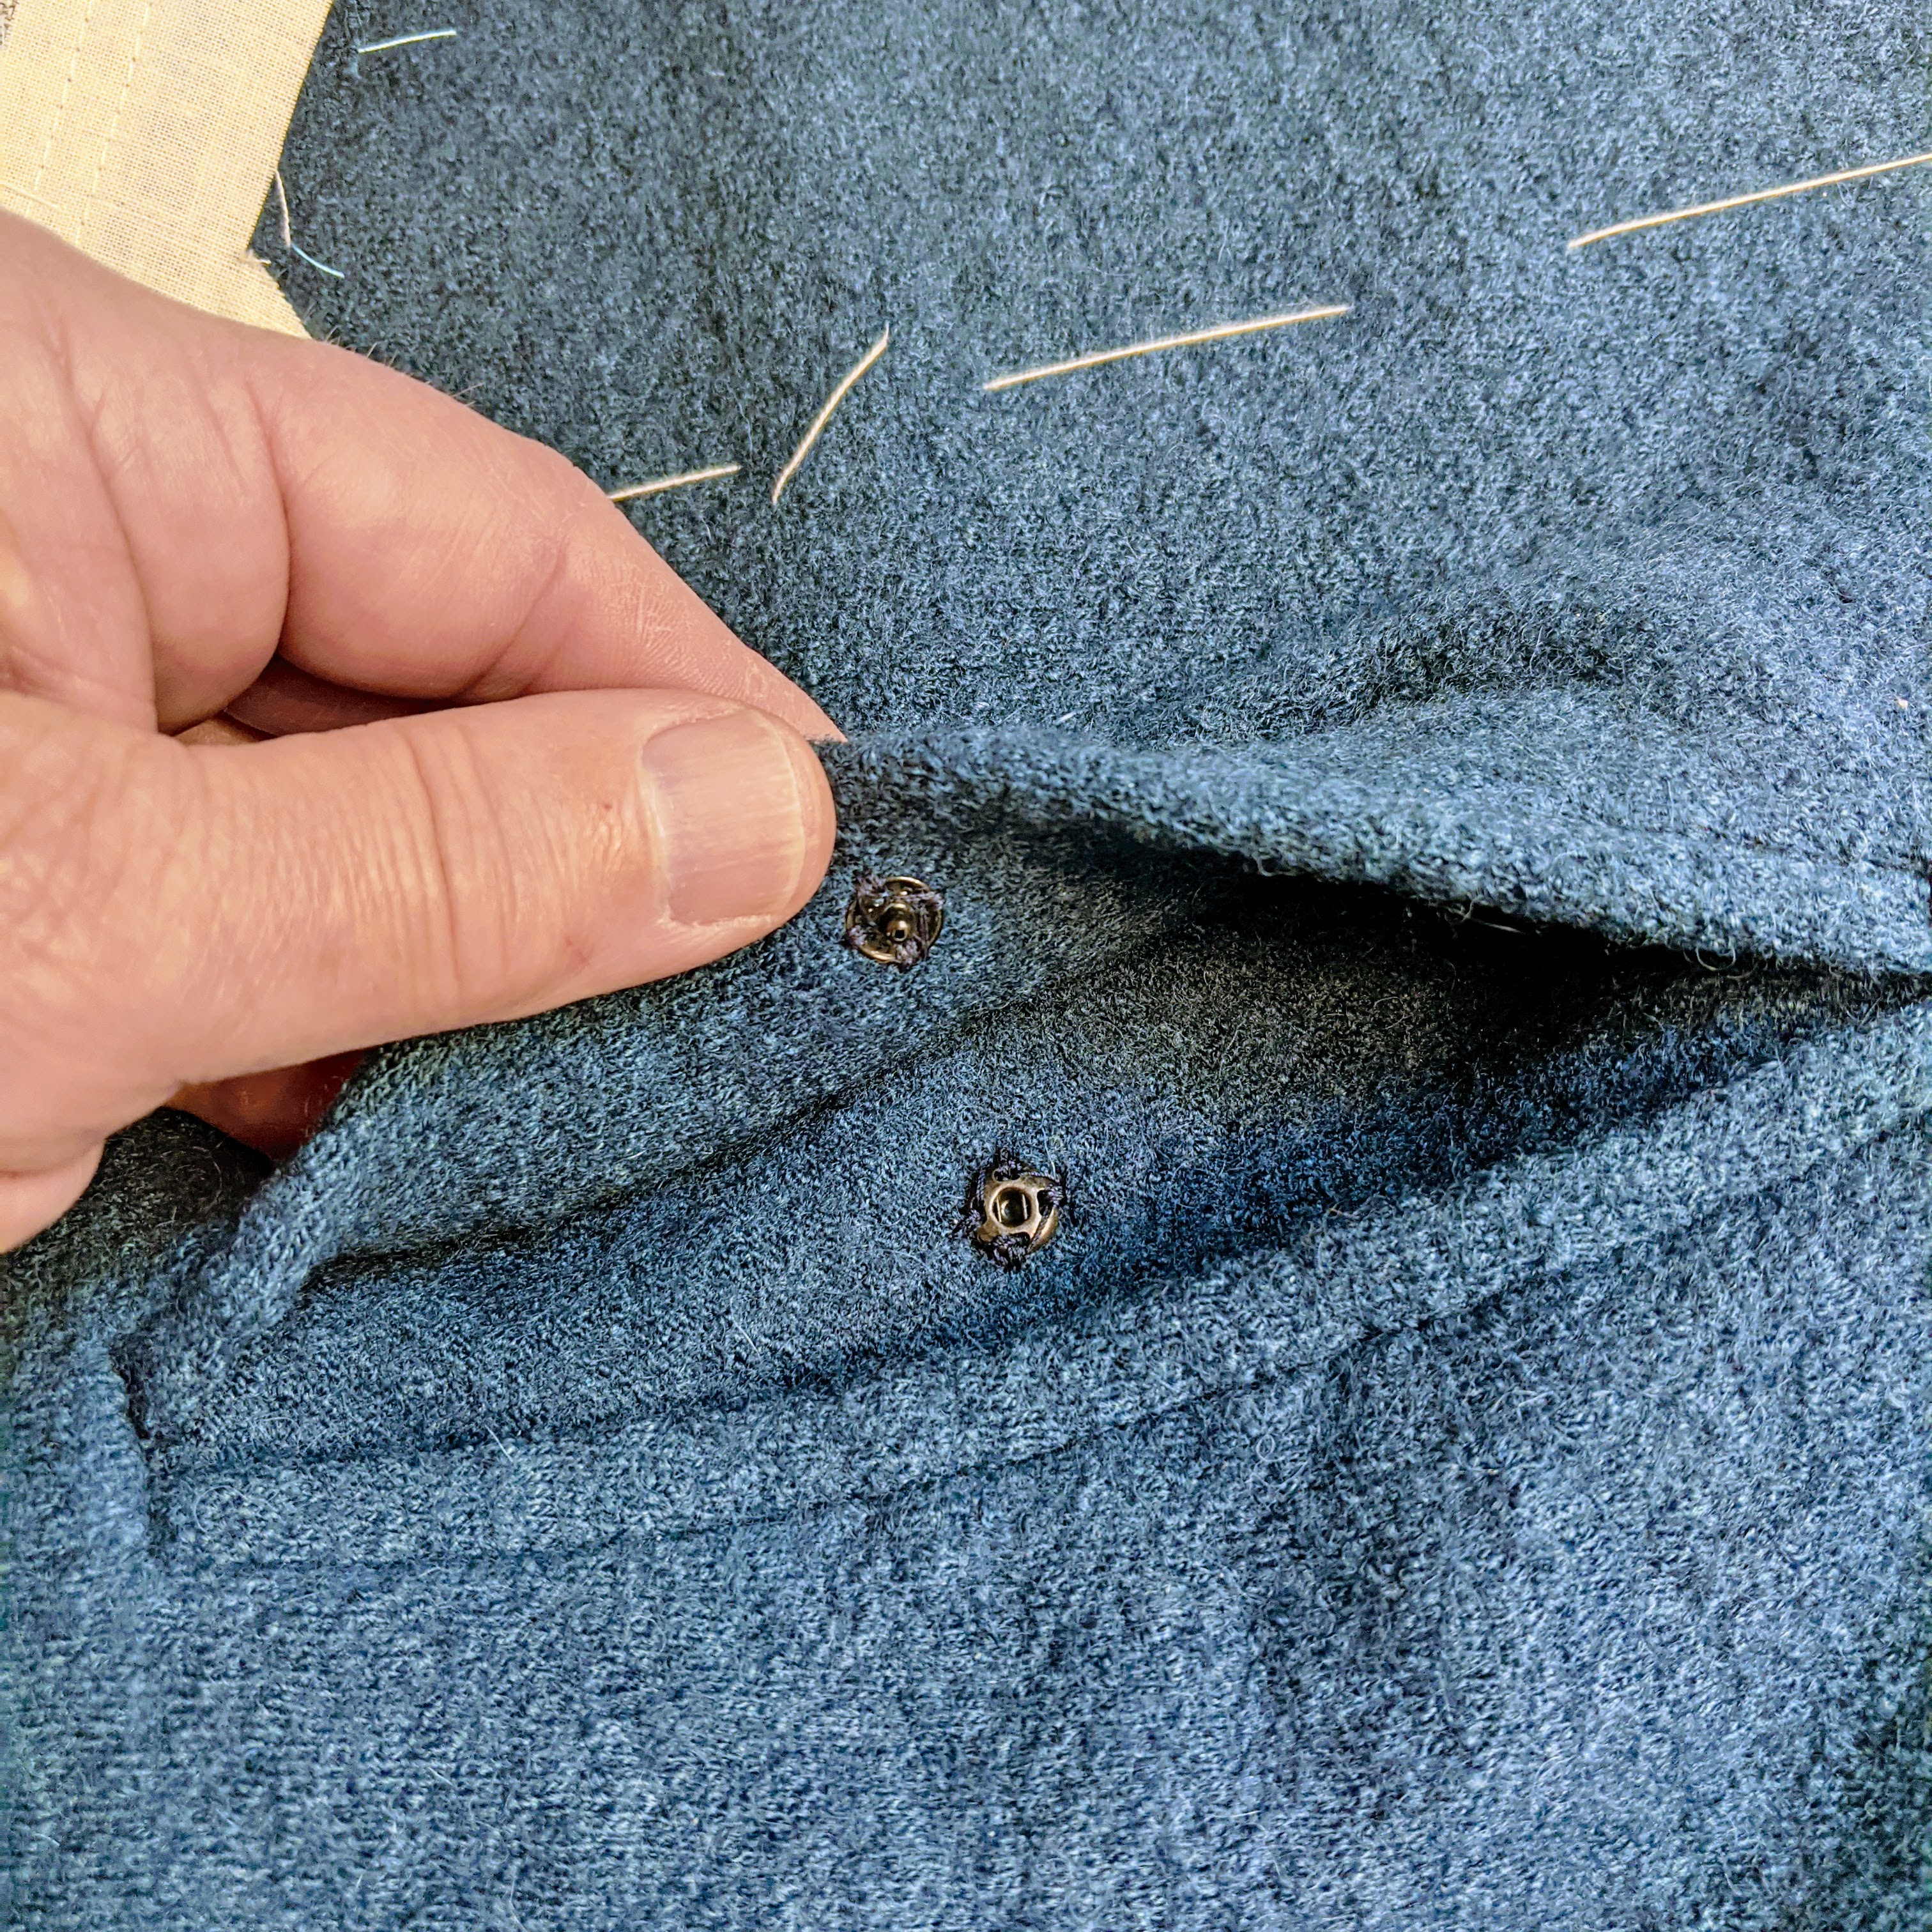
Before things get too unwieldy I put a little snap in the pockets. Hopefully this will keep them from gaping open. Before I started sewing an unattractively gaping pocket would never have entered my consciousness. How things have changed! Sewing makes me much more aware of the little details and the subtle difference they can make.
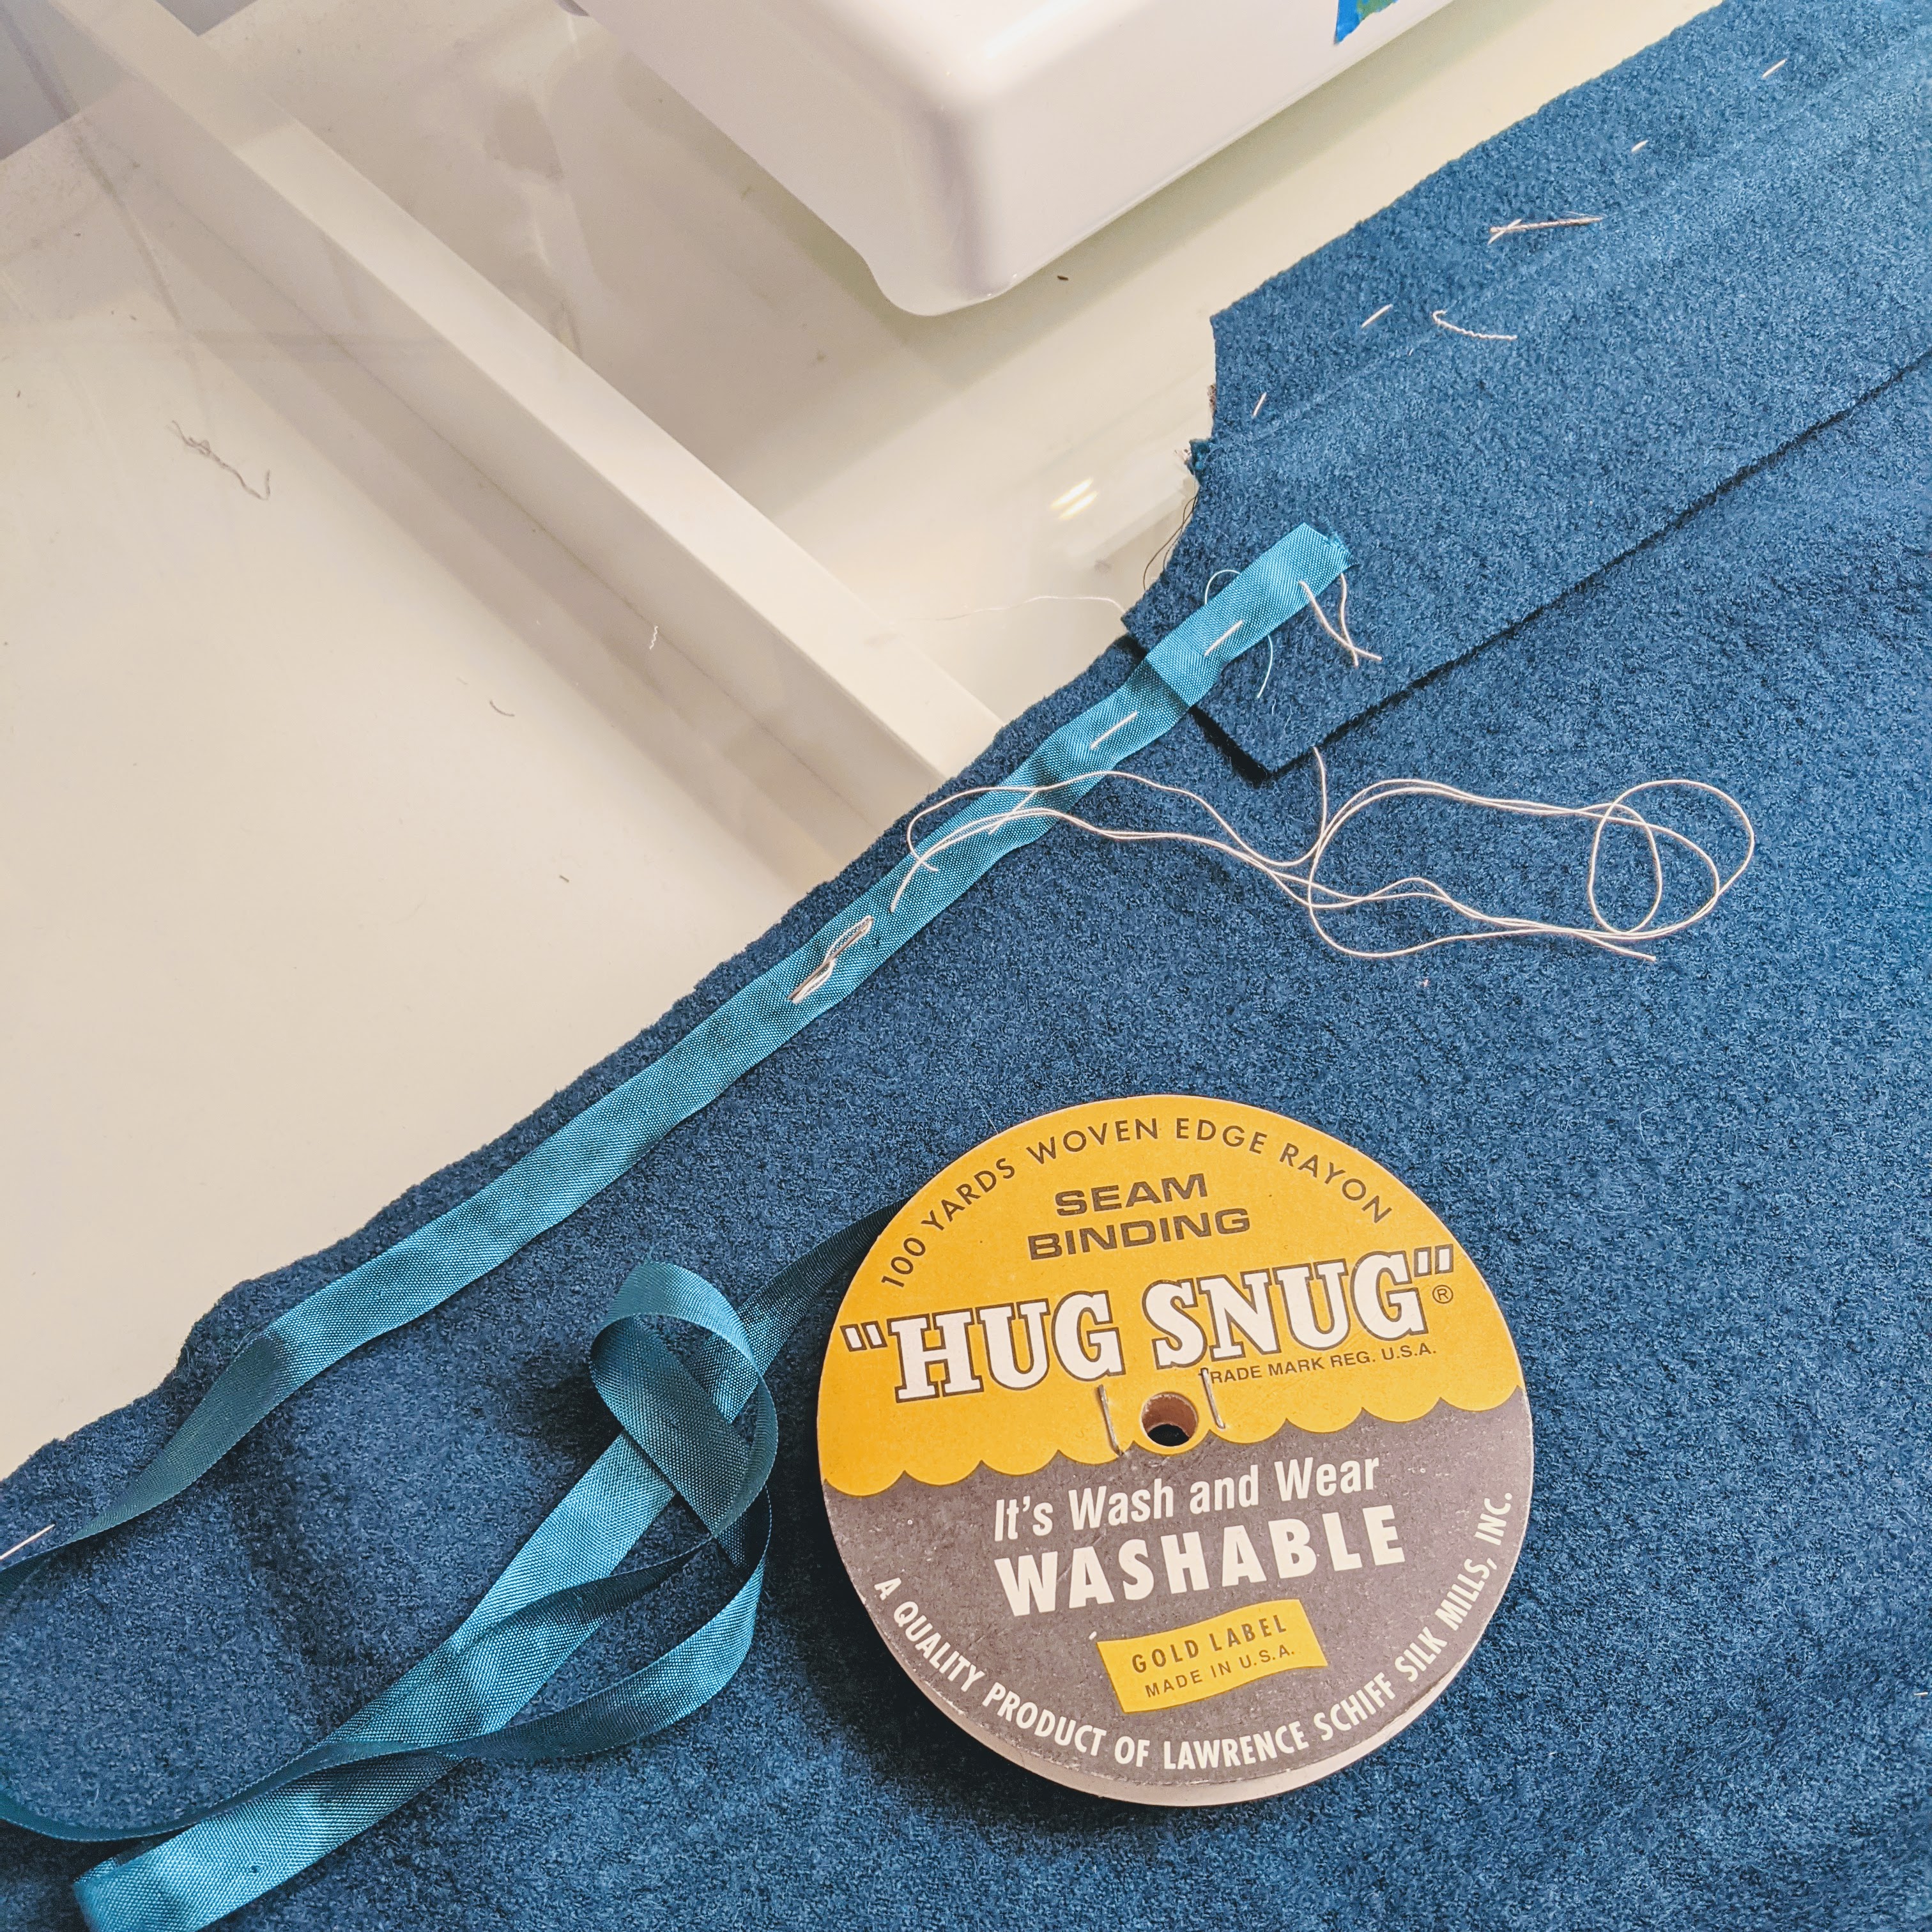
As much as I’d like to use my newly rewired Singer 201 for this coat, I think it’s much safer to use my Janome with the walking foot. Boiled wool is stretchy (remember it’s really a knit) and I’m worried about distortion as I sew. So to counter this, I’m inserting Snug Hug rayon seam binding into all the seams to act as a stabilizer. Then I sew it with the walking foot.
I baste it into the seamline before sewing. It adds almost no bulk, and prevents any stretching.
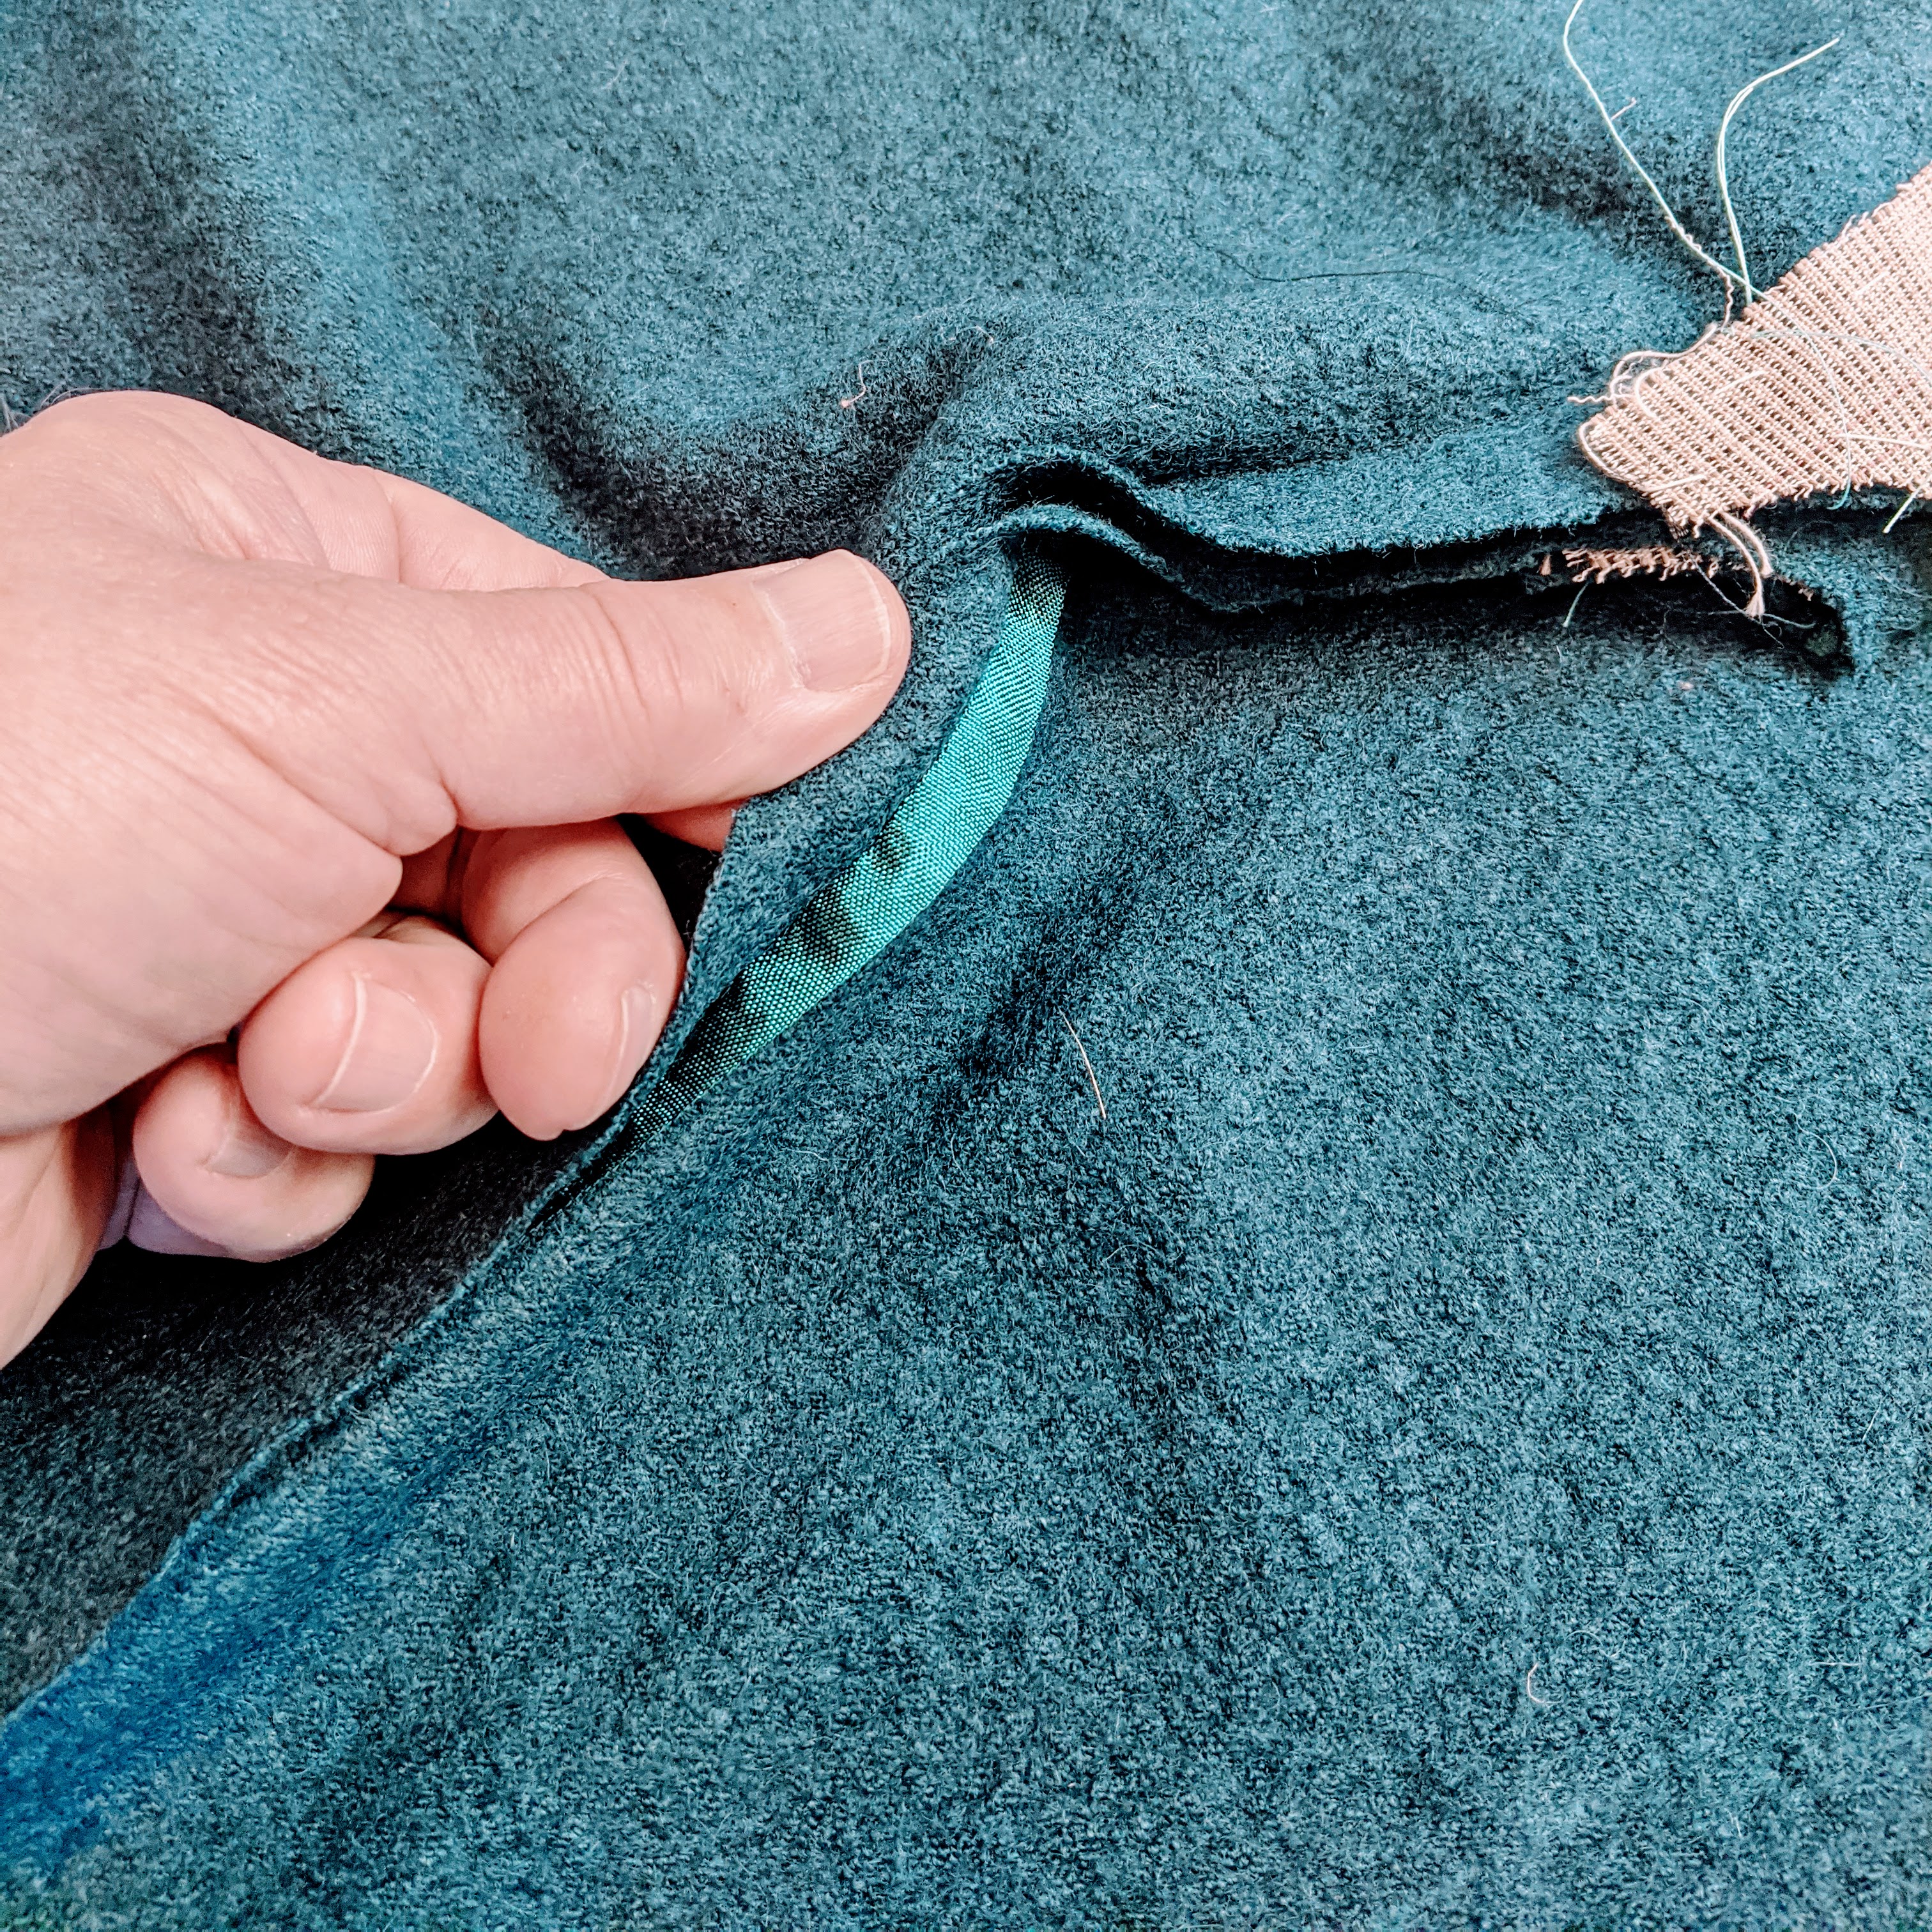
It ends up tucked in under the seam allowances, so if I were to make this coat unlined it wouldn’t be visible. I used it on all the vertical seams, the shoulder seams and the sleeves. Fingers crossed that it will prevent this coat from becoming a bagged out mess.
That’s about it for now. Next up is some pad stitching, making the lining (which always feels like making the coat all over again), and then “marrying” the two together.
Until next time, stay safe and keep sewing.

Hi, I accidently found your site and subscribed. Have always wanted to try sewing with boiled wool, did not realise it was a knit. Thanks for that info. Was your fabric 100% wool? This fall fabric stores here in NS were carrying 30/70 wool/poly which did not feel that nice at all. Where did you purchase your fabric? Looking forward to your finished project.
LikeLike
My fabric is from Metro Textiles in NYC. It’s a very popular store with bargain hunters like me. But I think it’s fair to say that it can be a very hit or miss proposition. I think I struck gold with this one. I did a burn test and there was no indication of any synthetic. It’s been a breeze to work with.
LikeLike
I have to agree with you that Metro is hit or miss. Obviously you hit a good one.
LikeLike
Thank you for all your clear and detailed instructions. I do sometimes wish that I’d read them before I started work on certain projects but we learn with each project. So I must remember to consult your blog for tips and advice before embarking on menswear projects (or any tailoring really) for my son and husband…I know it will be invaluable. Thank you again!
LikeLike
your attention to detail is just awesome and you obviously revel in the process. You inspire me to be more patient with my own making
LikeLike
I learn so much from your projects, I am eternally grateful. Today’s AHA! is using HugSnug in the seams to stabilize. I’ve been sewing so many wobbly fabrics, this will save my sanity.
LikeLike
The color of the wool is gorgeous. Looking forward to seeing your progress!
LikeLike
I, too, am impressed with your attention to detail. Boiled wool that is part rayon is available some places, I think The Sewing Workshop and Marcie Tilton. If you ever try that it would be interesting to read about.
LikeLike
It’s been many years since I have done a tailored garment. Your blog, which I just recently discovered, is very inspiring, and I look forward to seeing more of this project. Wonderful!
LikeLike
You live in a home, in a town, from a coming-of-age story.
Oh, and the coat appears to be another success in the making.
LikeLike
Always inspiring Duane! Thank you 🙏. This will be another beauty I’m sure 👏
LikeLike
Kenneth King shows a similar way to not to catch stitch your canvas on. Perfect.
LikeLike