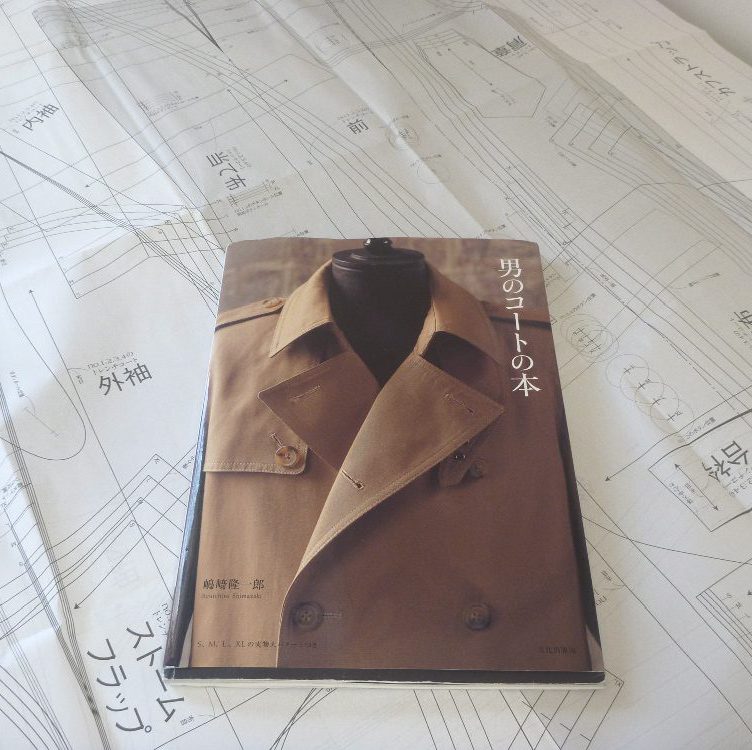
I haven’t posted in ages, my apologies. It’s a rainy day here on the coast of Maine; so it’s a perfect time to recap the making of this most unusual jacket.
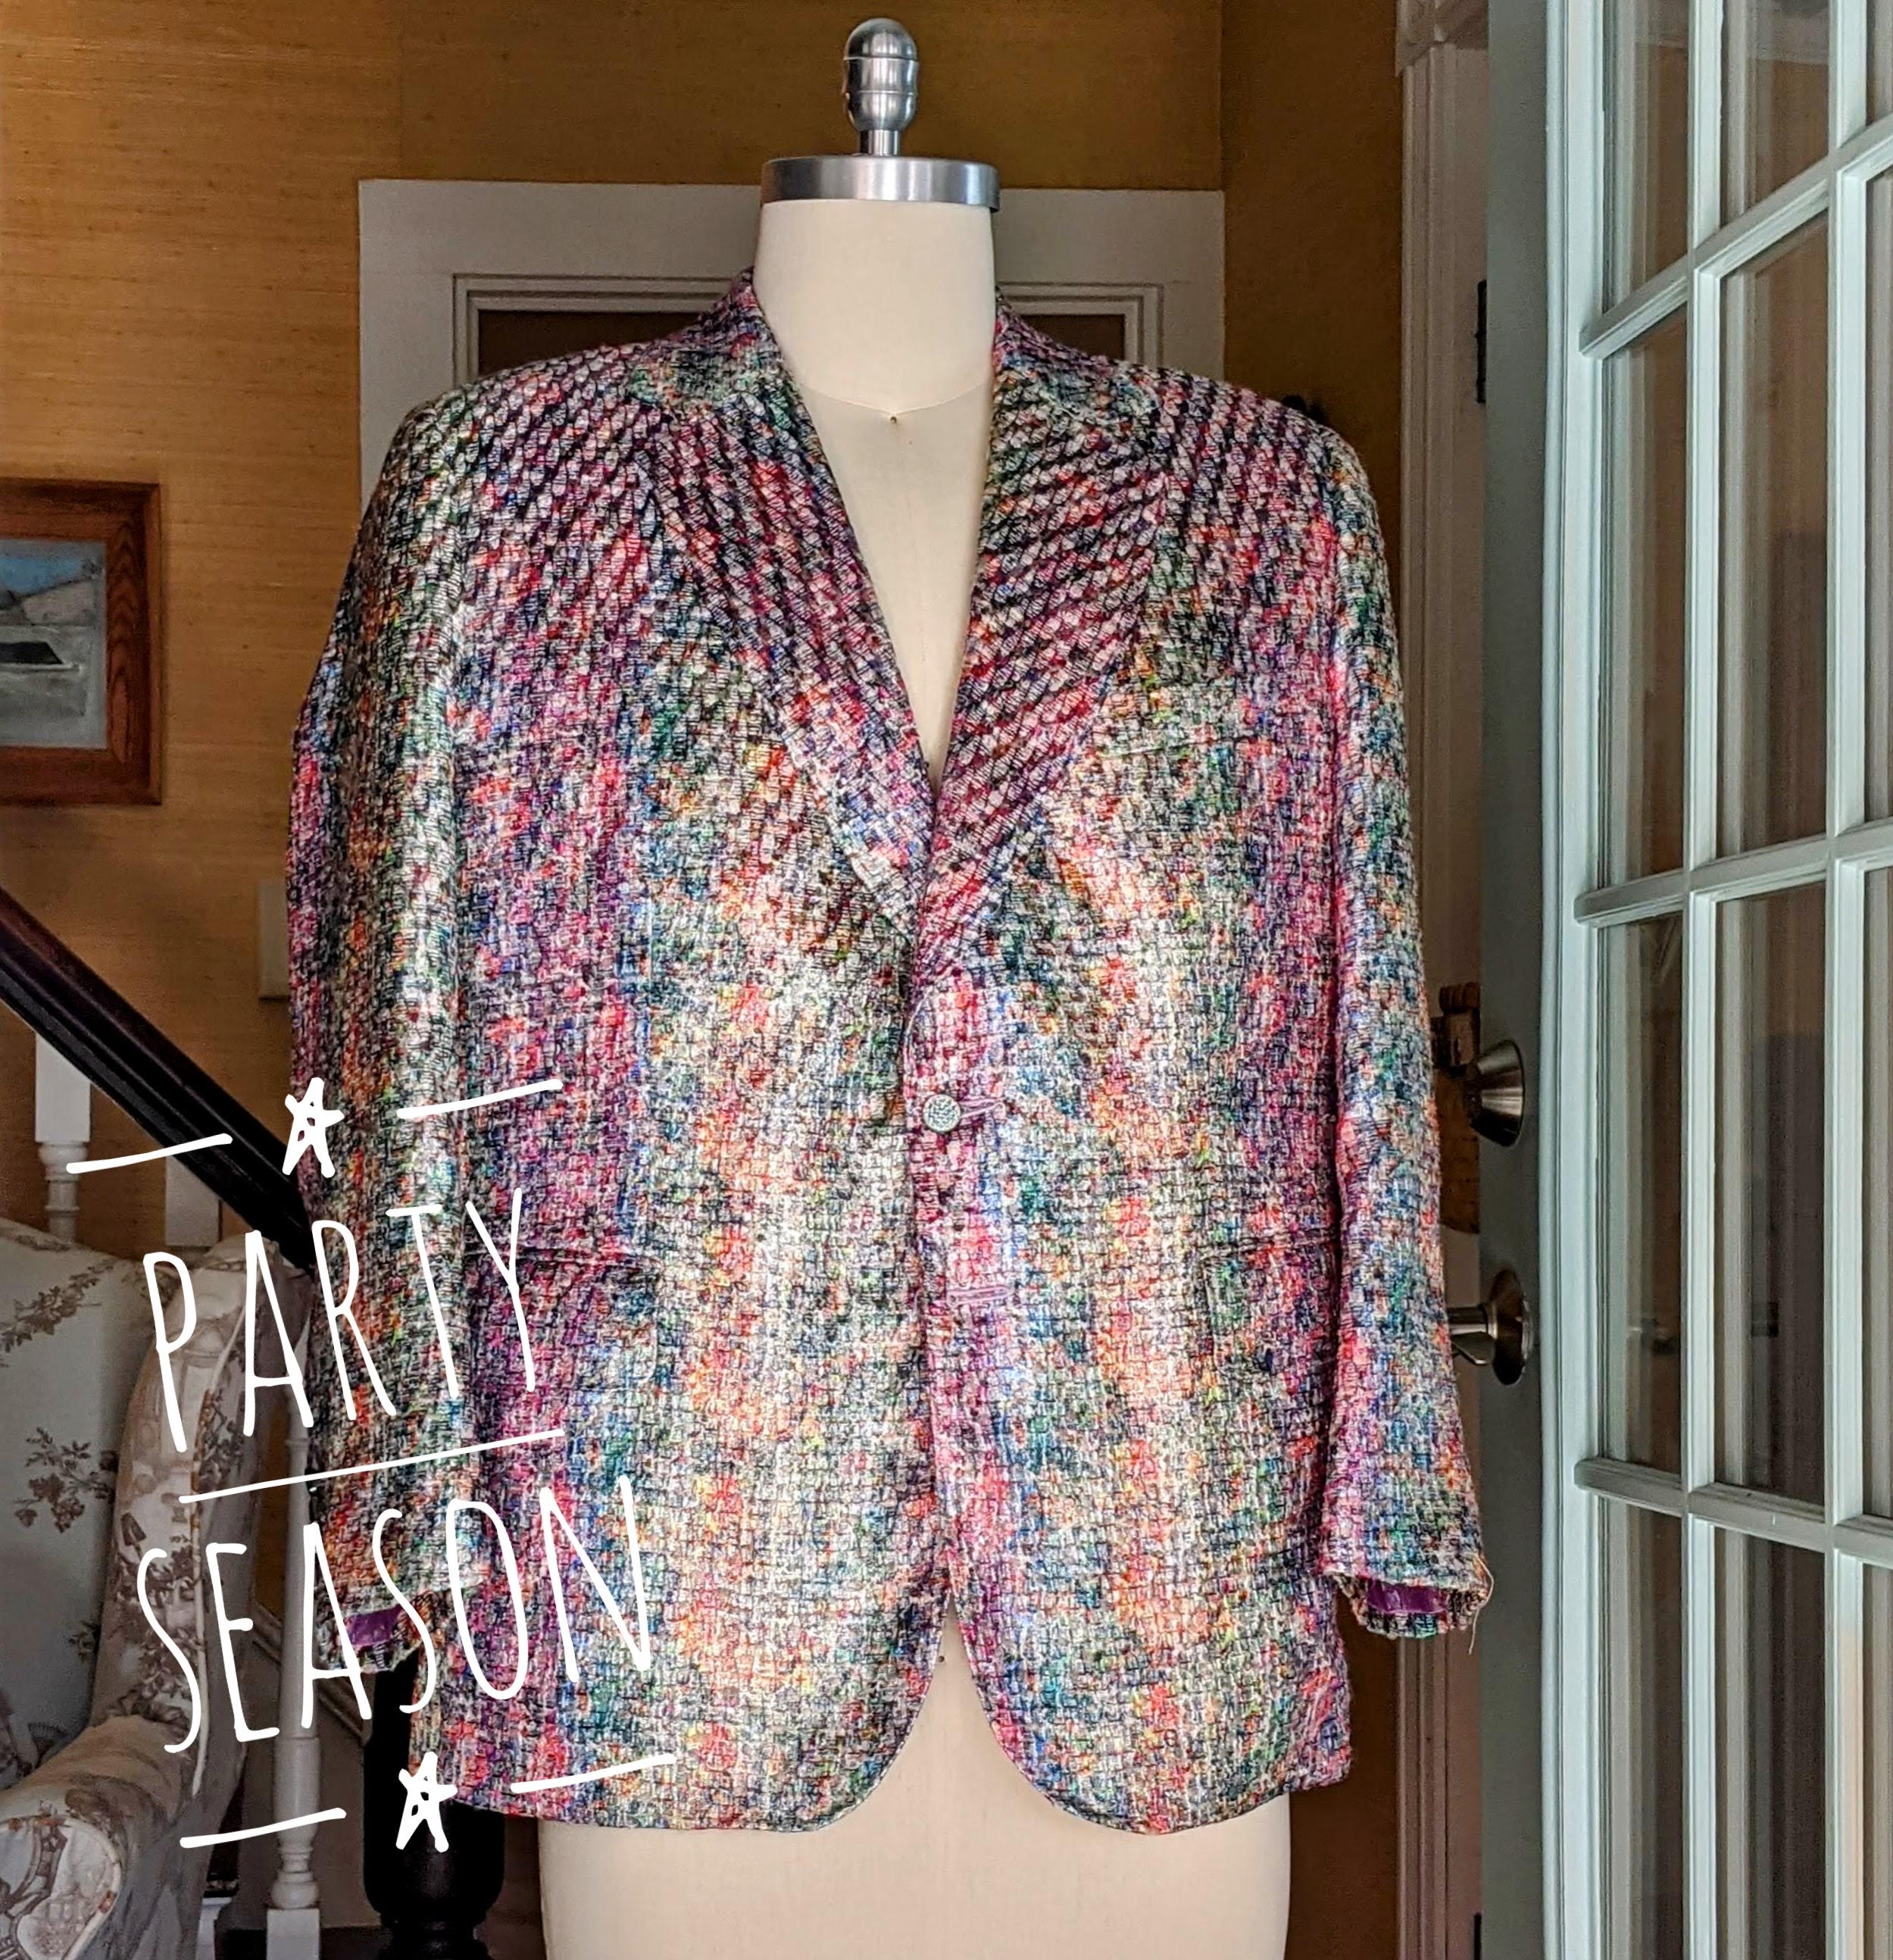
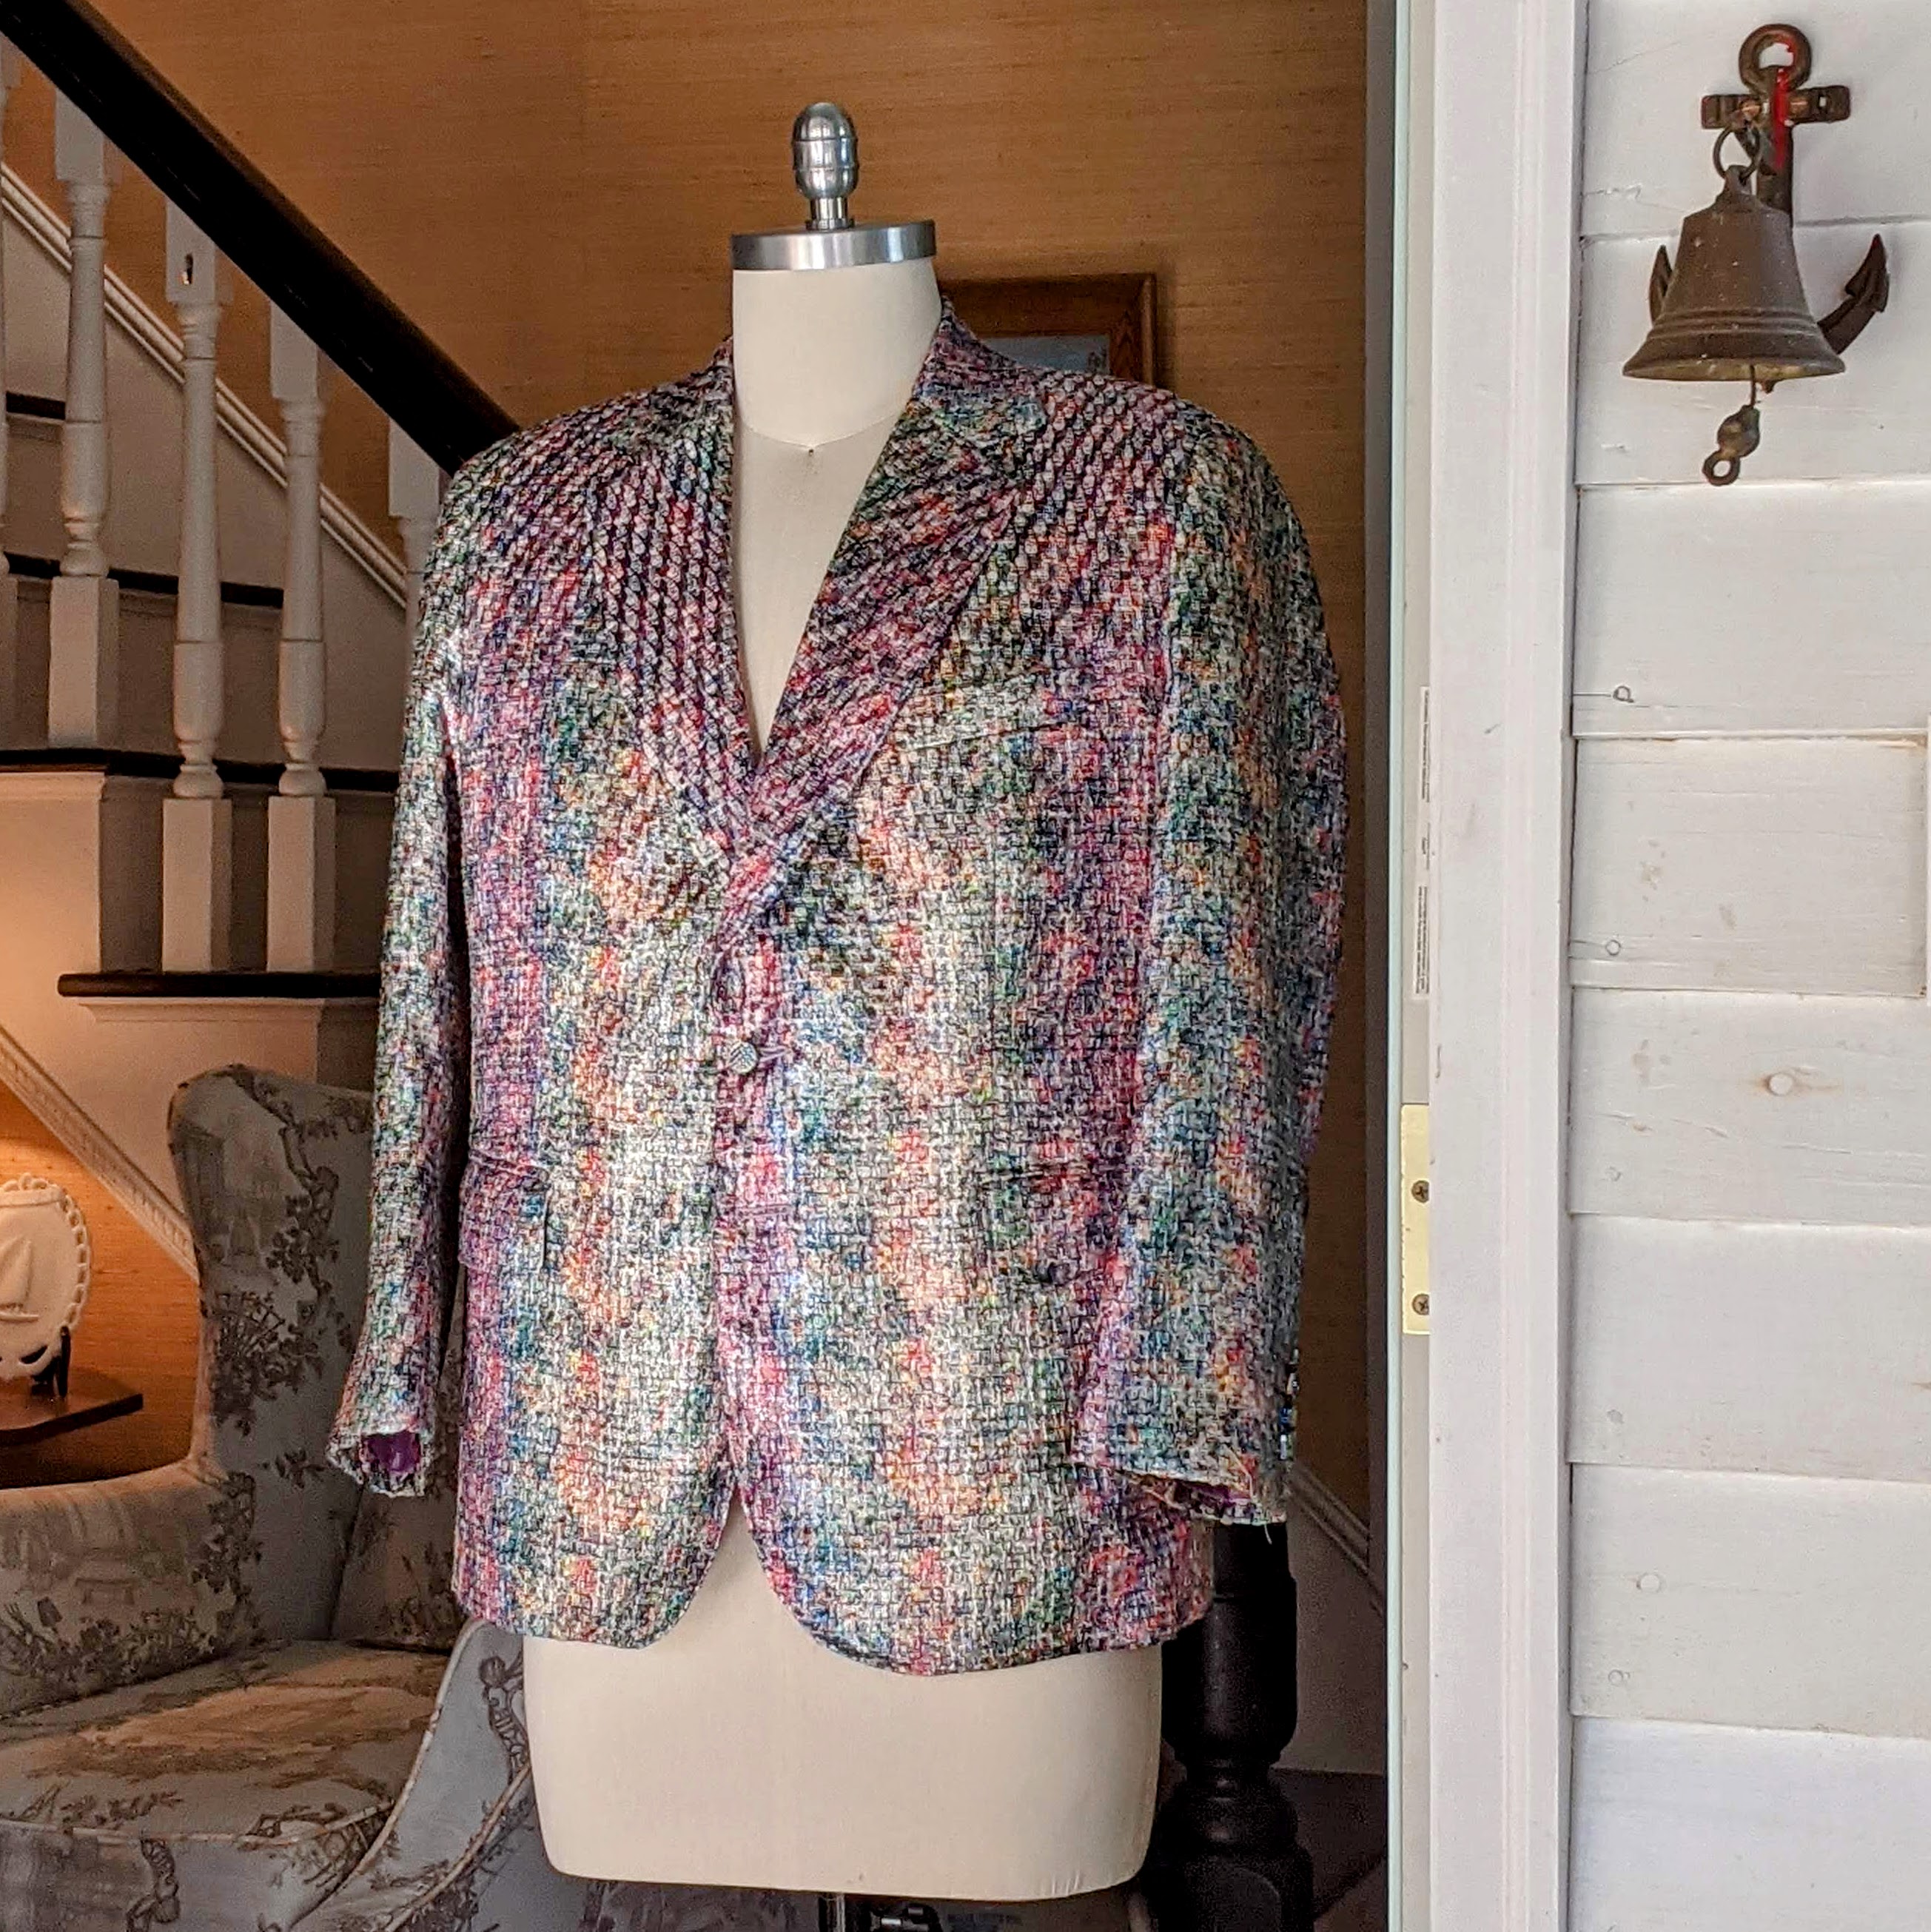
I knew when I saw this fabric on the Gorgeous Fabrics website that it would be perfect for one of my best and oldest friends. He’s the developer, chief, cook and bottle washer of the non-profit Rainbow Quest!, a family friendly LGBTQ+ board game. As such, his life is a non-stop world of networking events, fundraising galas, game conventions, trade shows, and education conferences. He’s always on stage; which means he’s also always in costume. He’s assembled a “working wardrobe” of outrageous sequined jackets he’s found online. Most of them are oversized and, dare I say, garish. I wanted him to have something better fitting and a bit more refined; if you can call a glittery rainbow bouclé refined. Personally, I think it’s spectacular, and he’s digging it too. So we embarked on this most unusual commission together.

I normally wouldn’t make up a toile for a jacket, but this was my first time working with a “stocky” figure. I needed some reassurance that my draft was somewhat close before committing to the bouclé. Measure twice, cut once, right? There’s also a distance factor. The client is over three hundred miles away. I whipped up a toile, basted in the shoulder pads and mailed it off. We did a try on over Zoom. The draft taught at The Tailoring Academy is generous, so there’s always plenty of fabric to pin out during the fitting. The toile was no exception, it was plenty roomy. Reassured that there was sufficient fabric at the client’s mid section, it was time to get cutting.

The brief — Traditional tailoring techniques applied to unconventional materials. Surprisingly, the bouclé didn’t unravel as much as I was anticipating. The only seam allowances that I increased were at the neck and gorge; and that was only by 2 mm. I thread traced those seam allowances, otherwise I probably would have forgotten what I’d done when it came time to put the collar on.
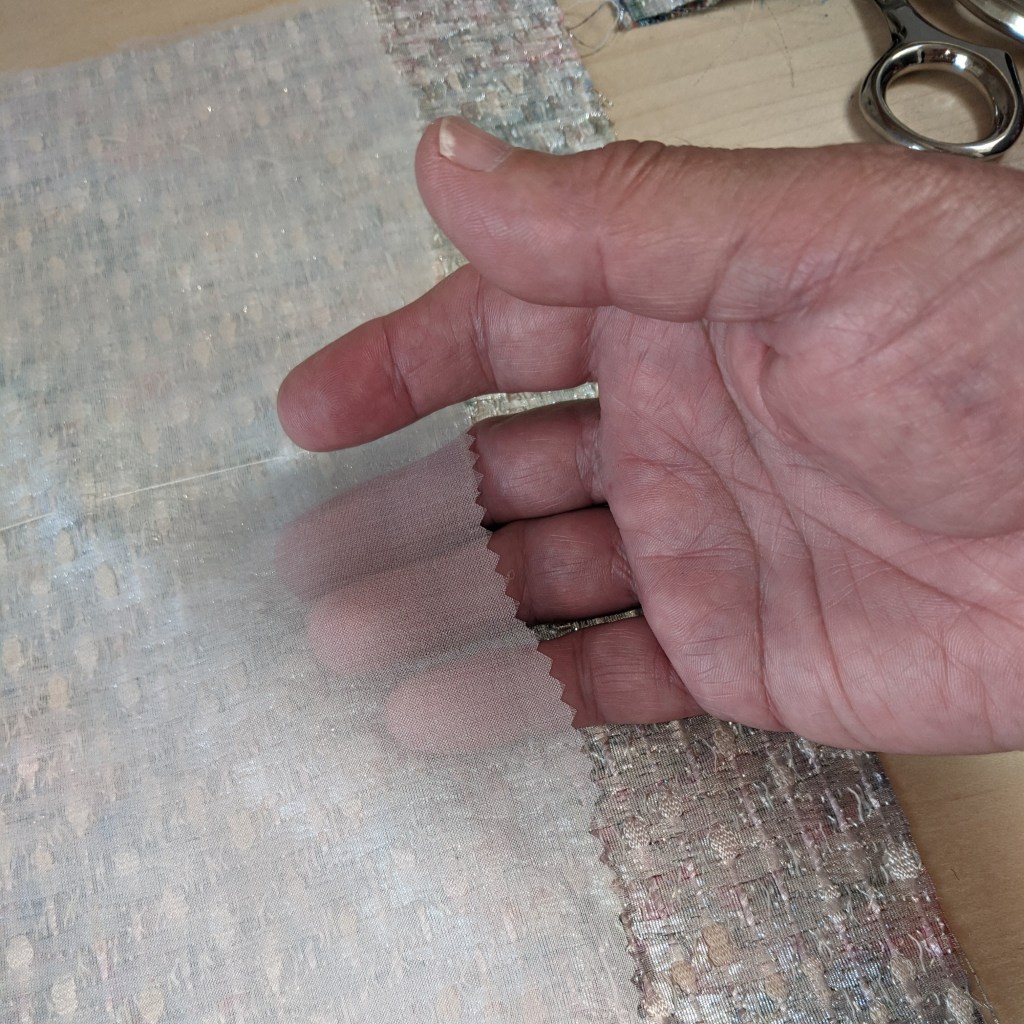
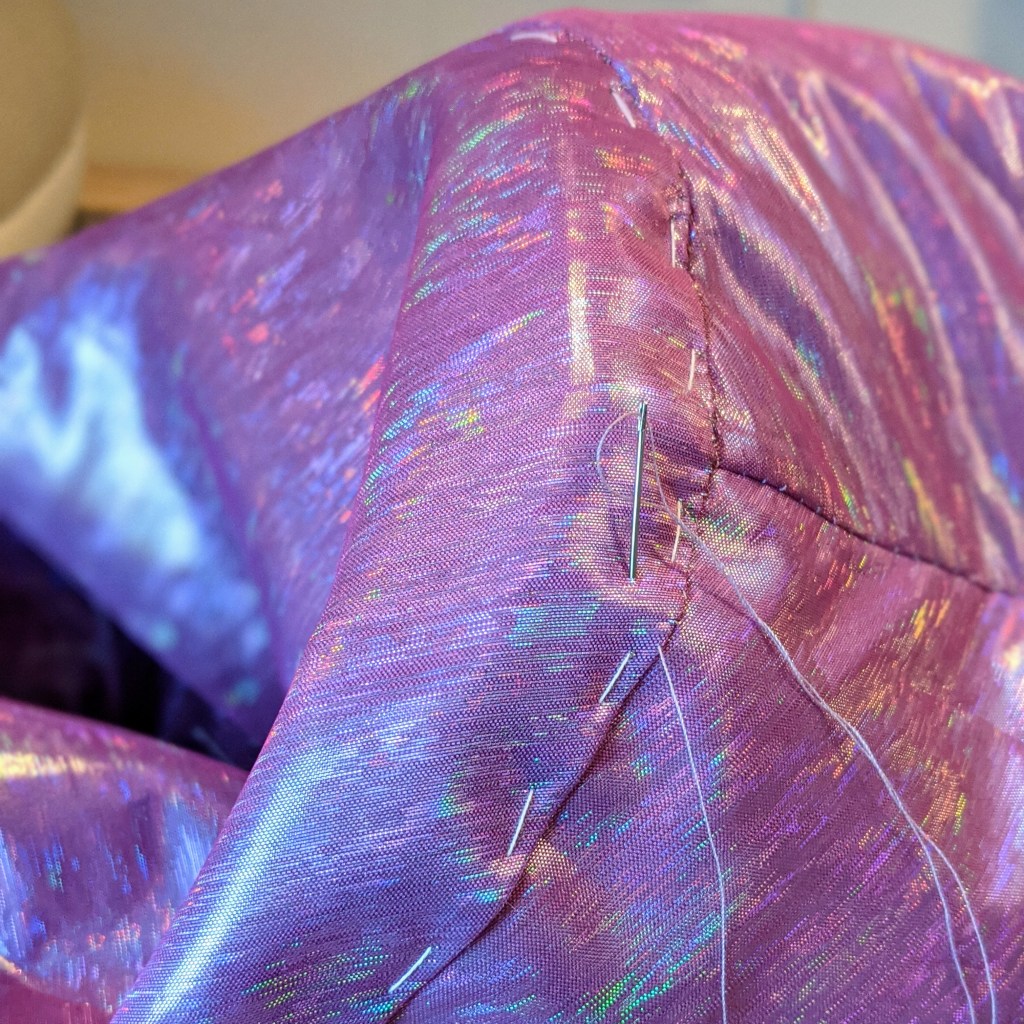
The biggest construction change was the addition of a silk organza underlining. I felt the bouclé was a bit too “drapey” for a jacket. Silk organza is perfect for adding a bit of extra body without adding bulk or weight. It’s really a “secret weapon” in my arsenal of interfacings. It was simply basted onto the back of each piece, and then the two layers were treated as one.

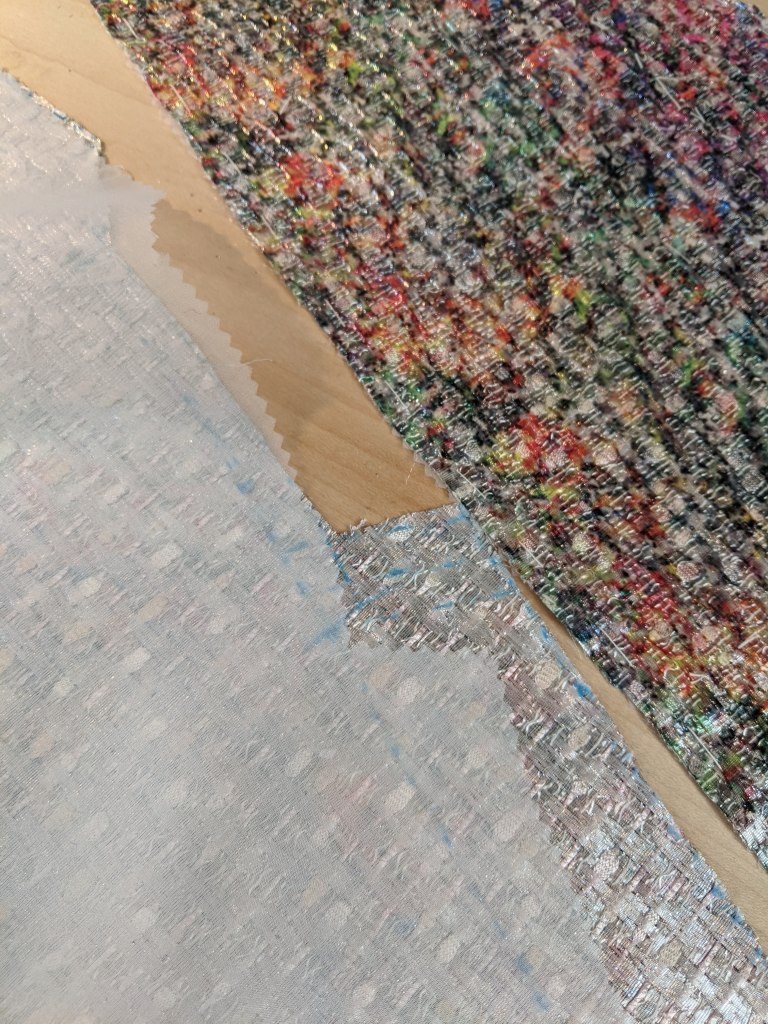
The back of the bouclé was a challenge to work on. Blindingly shiny, like trying to sew tin foil. I don’t like to use colored chalk because it can be difficult to remove; but with this fabric there was no choice. White basting thread was also difficult to see. I resorted to using black thread for some of the more critical match points. I swear tailoring is 90% problem solving.
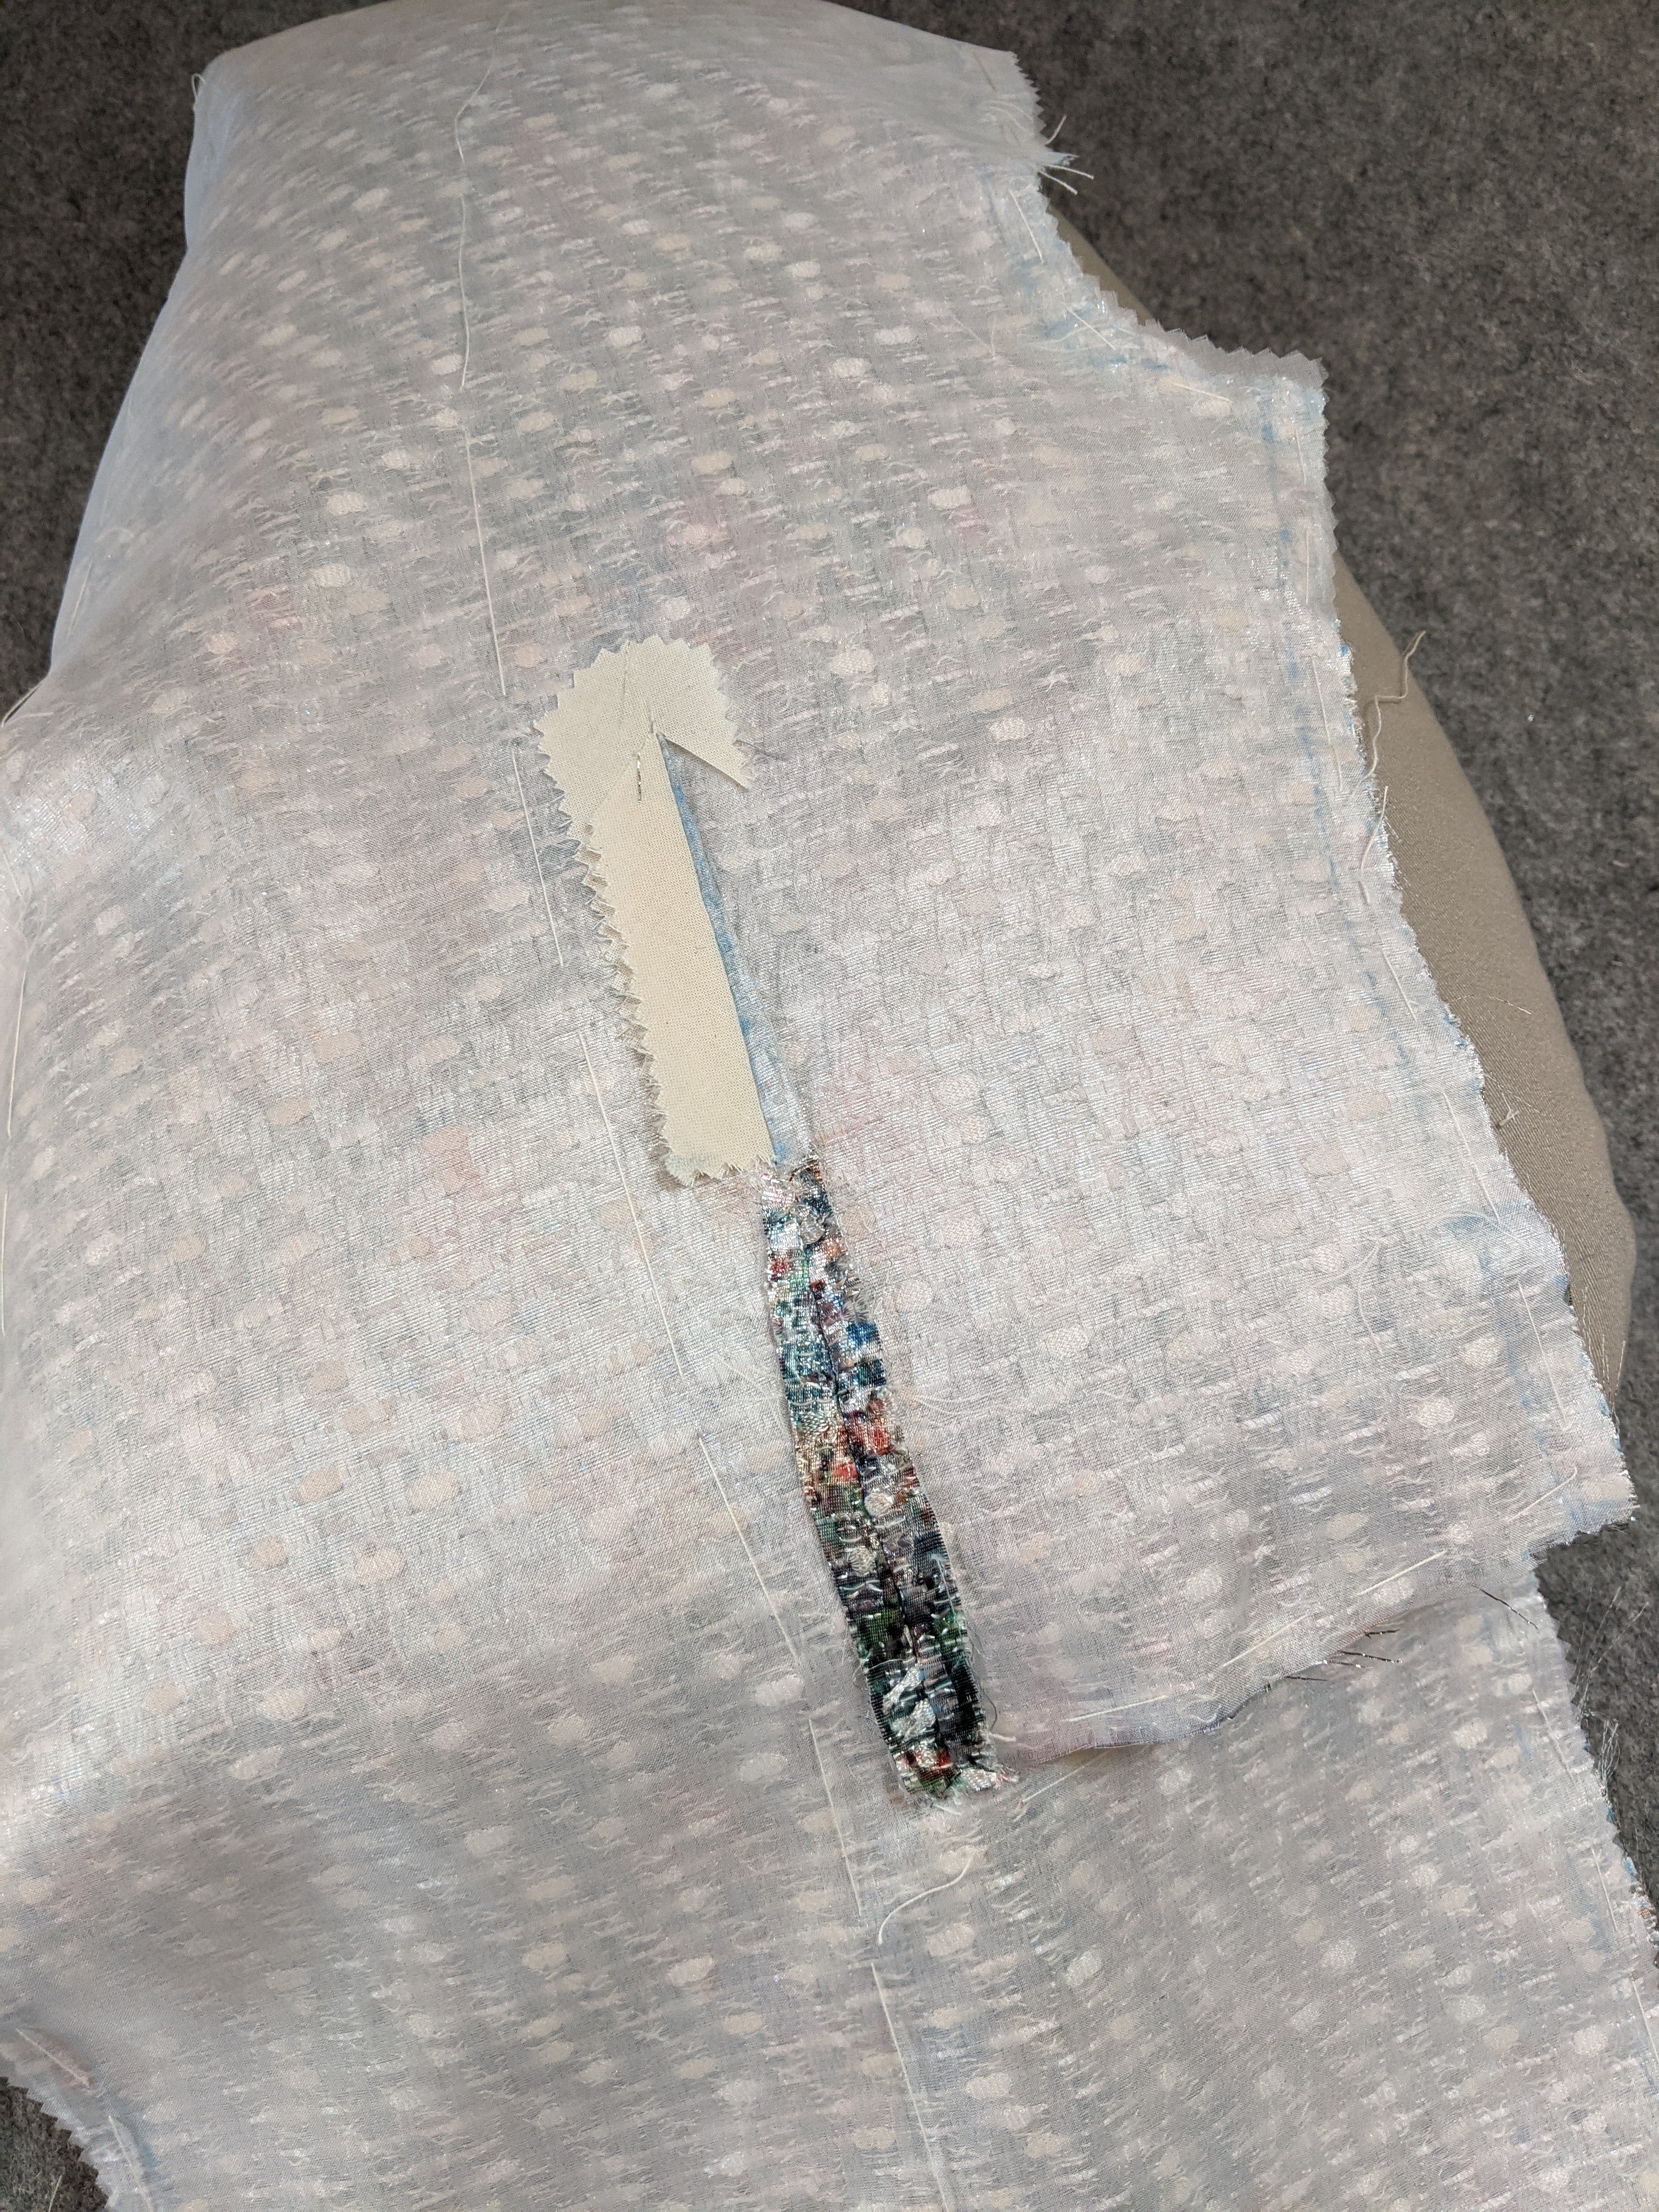
Because I know you come for the tailoring geekery! The front dart is balanced with a strip of bias muslin. (I hope I went back and layered it better. My instructor would have words with me! LOL).

The jacket front is fully canvased. I hadn’t made a jacket in a year, so I relied heavily on my notes and portfolio from school. I would be lost without them! Lots of colored chalk here, but it helps me figure out what’s what. For those who may not know, the canvas is a specialty cloth, usually a blend of wool / cotton with the addition of animal hair, usually goat. The goat hair gives it a “spring”, which in turn maintains the jacket’s shape.

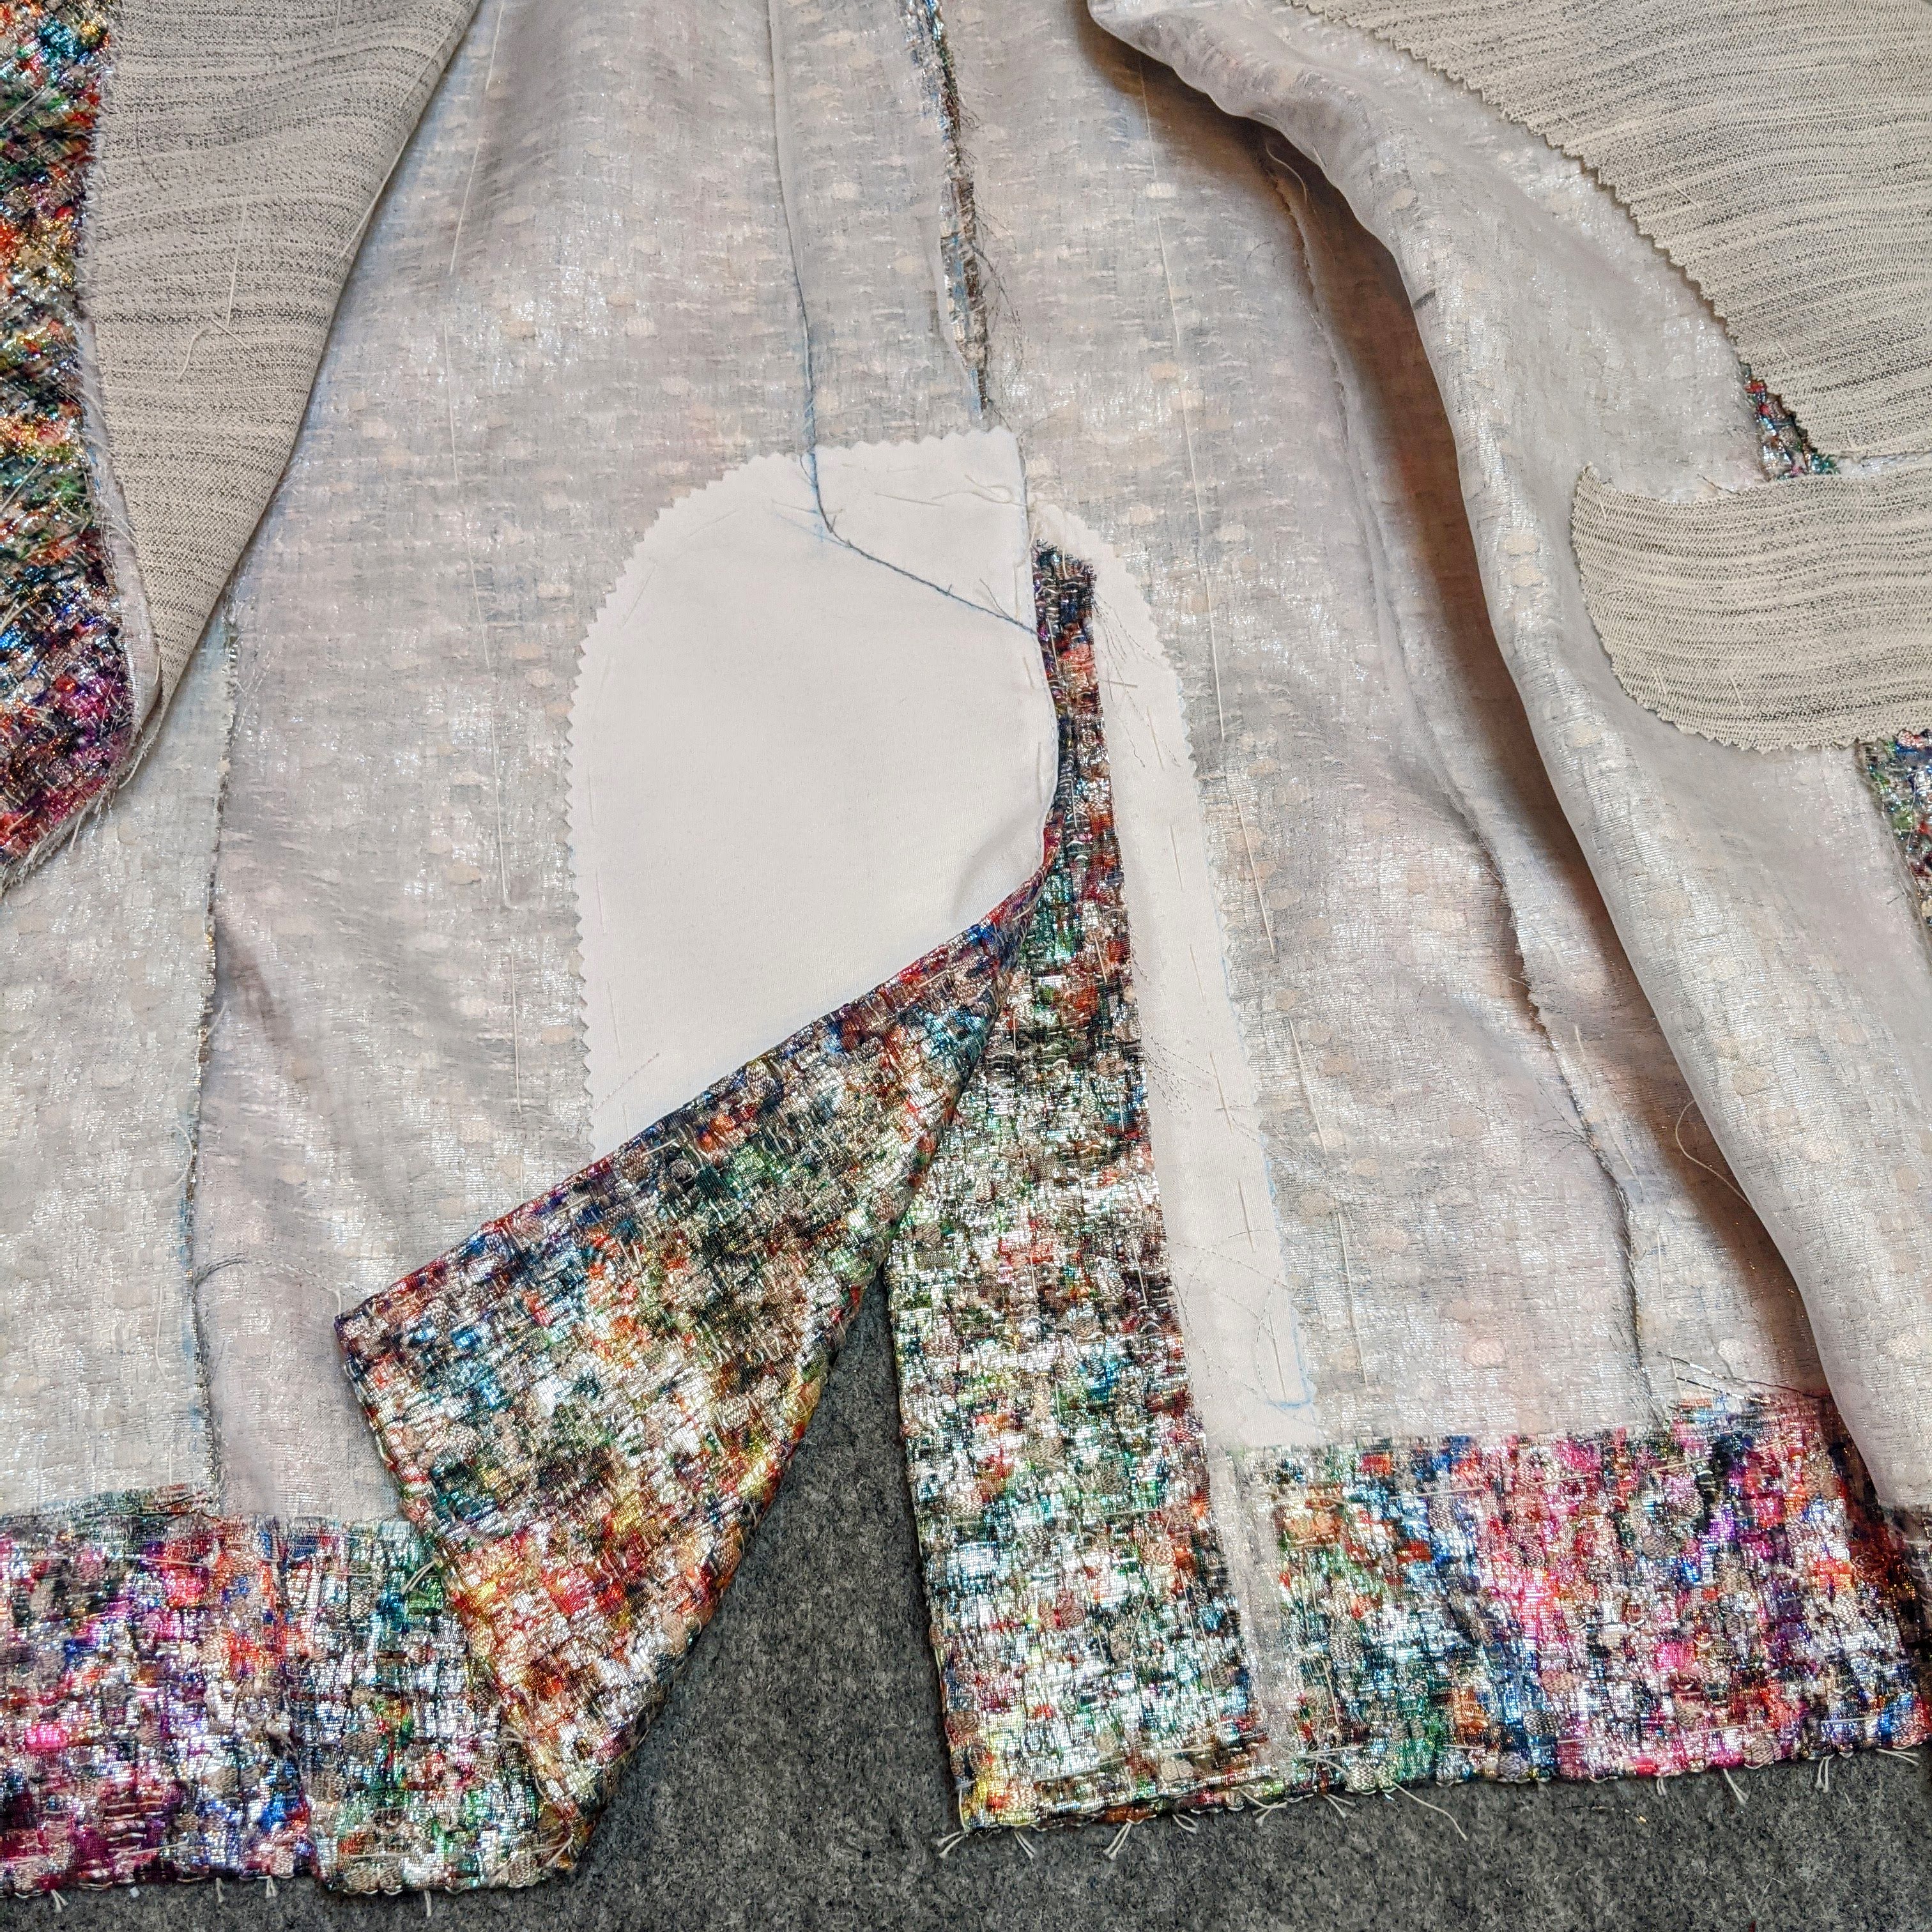
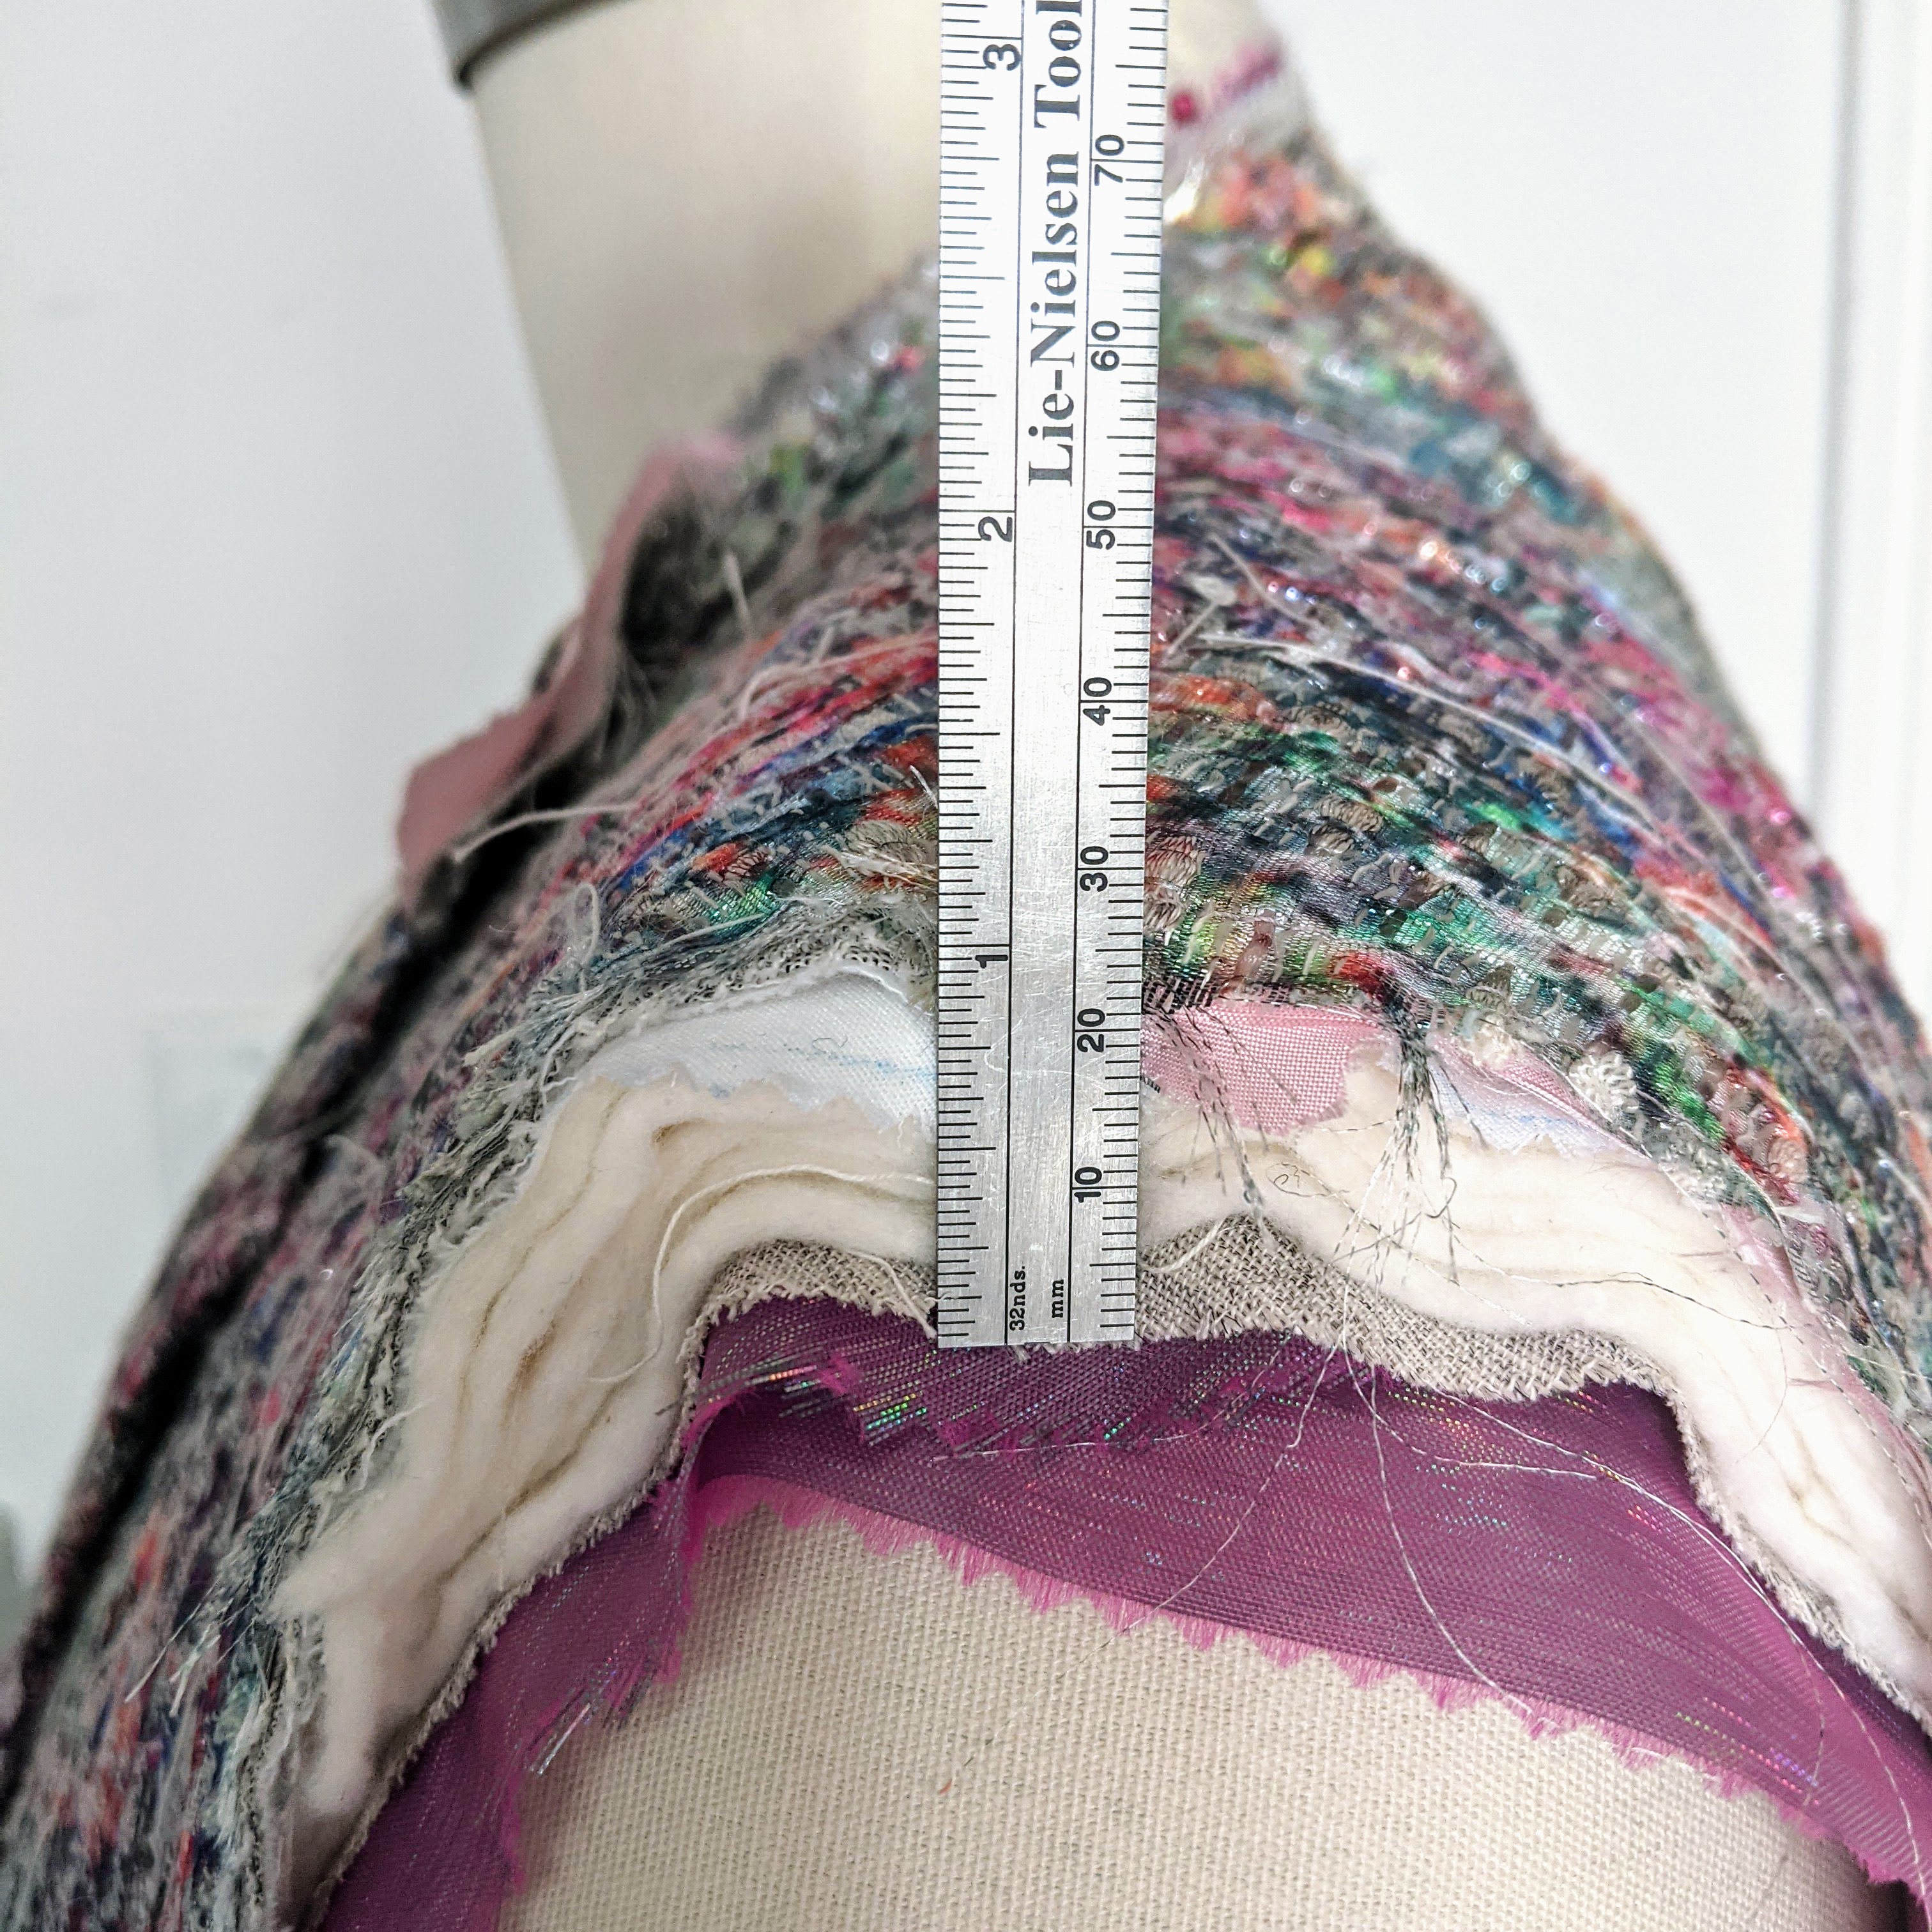
Here you see the hair canvas basted into the front of the jacket. The chest piece has been pad stitched and covered with a soft flannel domette to protect the wearer from being pricked by bits of the horse hair underneath. The lapel is gathered onto a fairly rigid bridling tape to create a curve that will hug the wearer’s chest. You also see one of the rare places I use a fusible interfacing. The dart has been cut out and “mended” (stuck back together) with a strip. A machine zig zag adds additional reinforcing.
Center back vent in process. This is actually one of my favorite parts of jacket making. So satisfying. The same process is used on the sleeve vents. A good example of one skill leading to another.

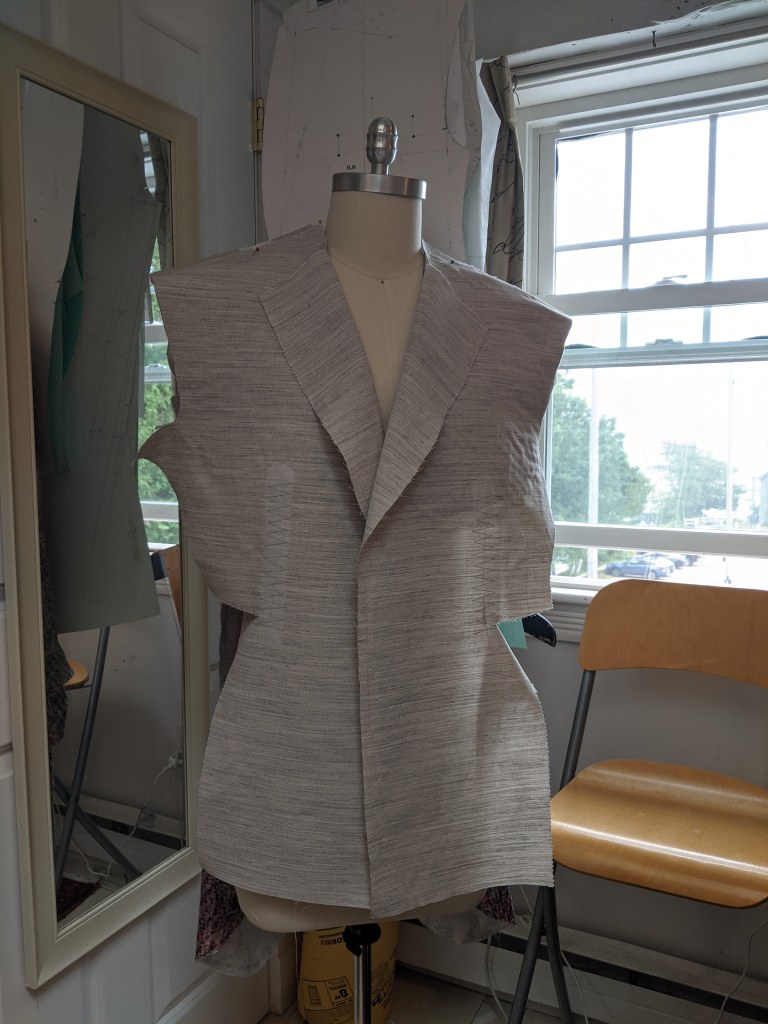
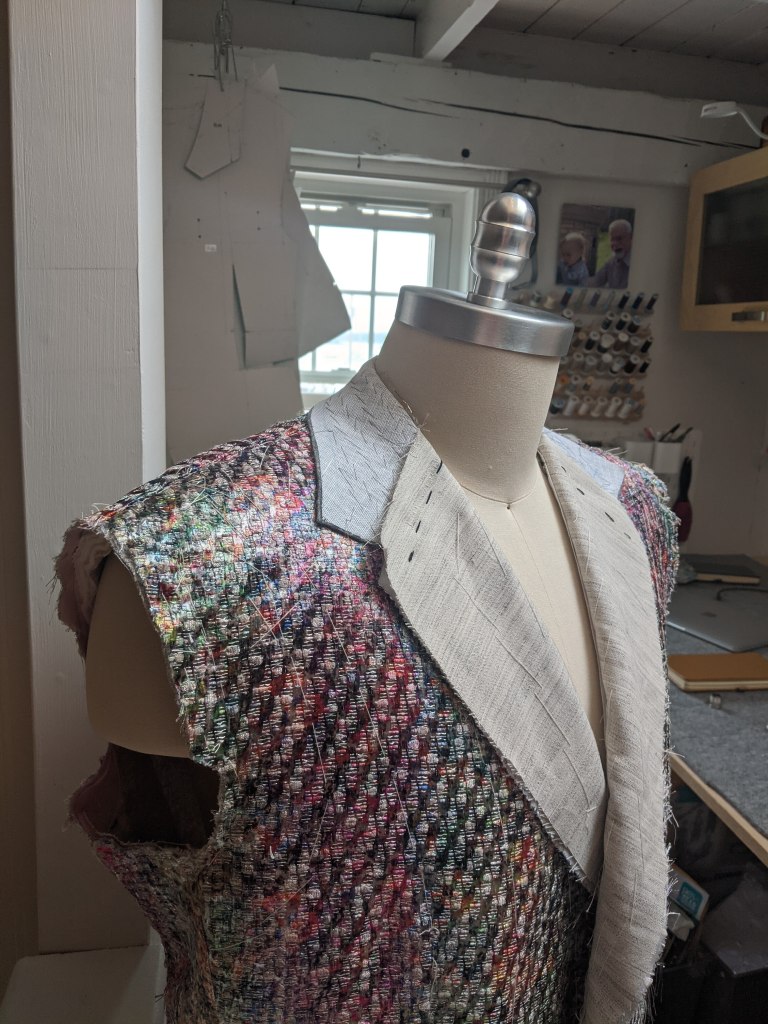
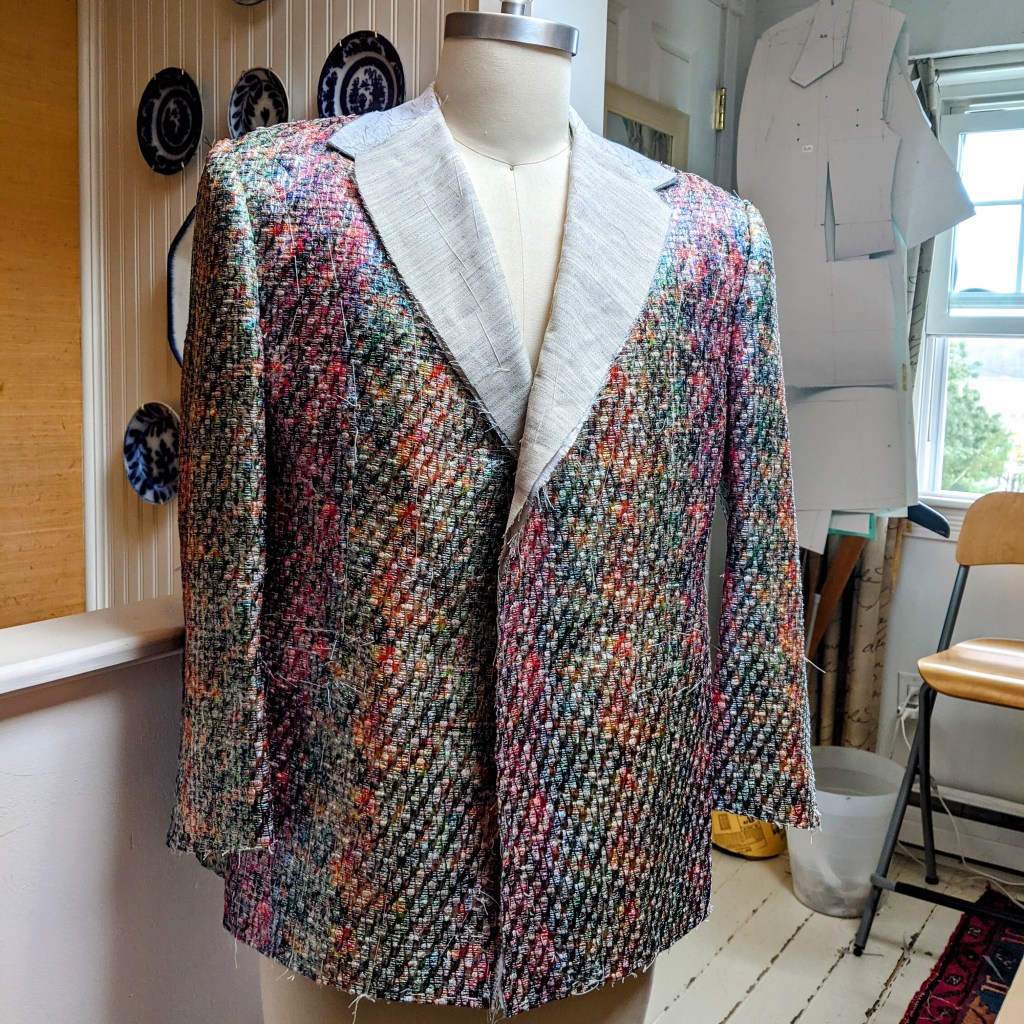
Ready for the first fitting! There is only one seam permanently sewn at this point. The side panel is sewn to the front. Everything else is just basted together. After the fitting the jacket will be taken apart and the adjustments will be made. Pockets and lining will be added. Due to the distance involved, I decided that there will only be one fitting. Usually there would be at least two.


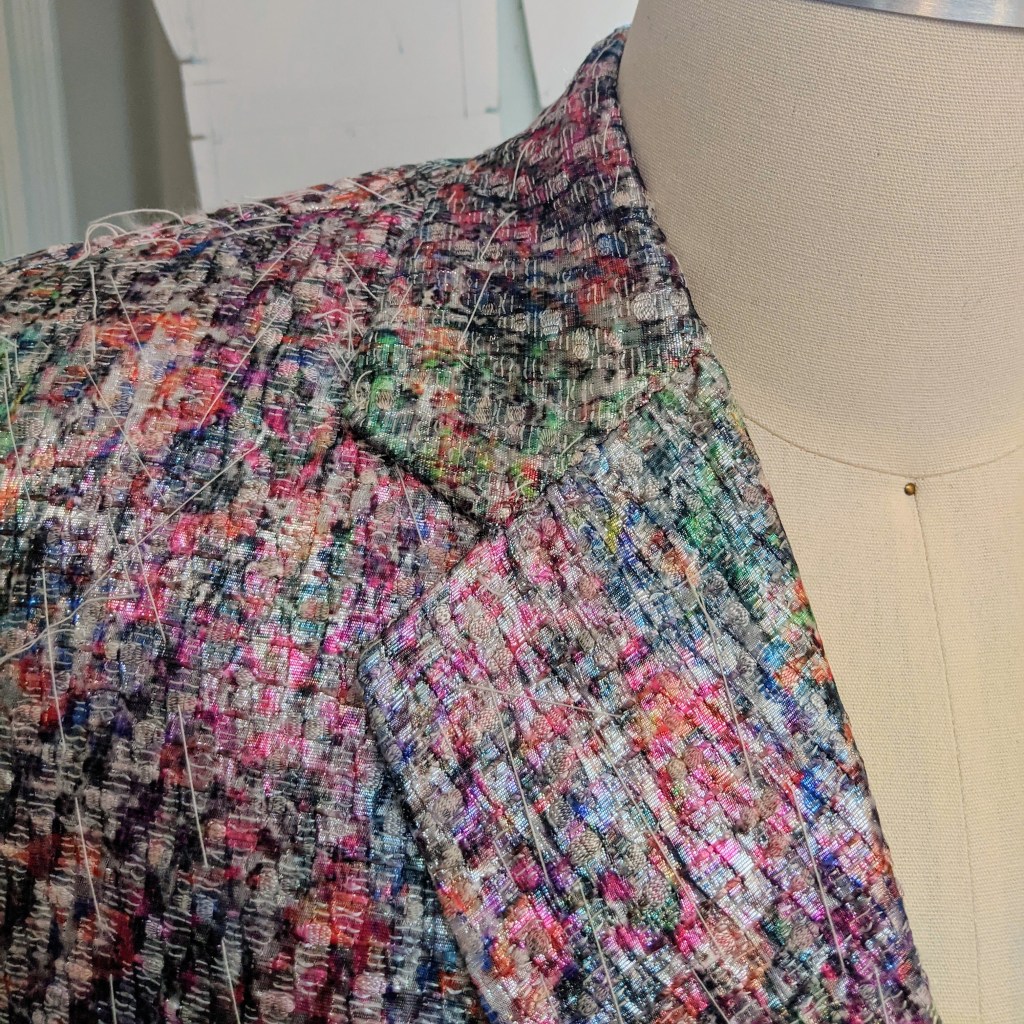
The bouclé has a ombré vertical stripe, and it’s difficult to see exactly where one color ends and another begins. Matching the breast pocket and pocket flaps was a bit of a guessing game. I’m pleased with how they came out.
The client requested substantial shoulder pads. “Make me look built!”


The customer picked out a holographic poly lining at Mood in NYC. It seems fitting for the whole project. I’m sure he’ll have fun showing it off!
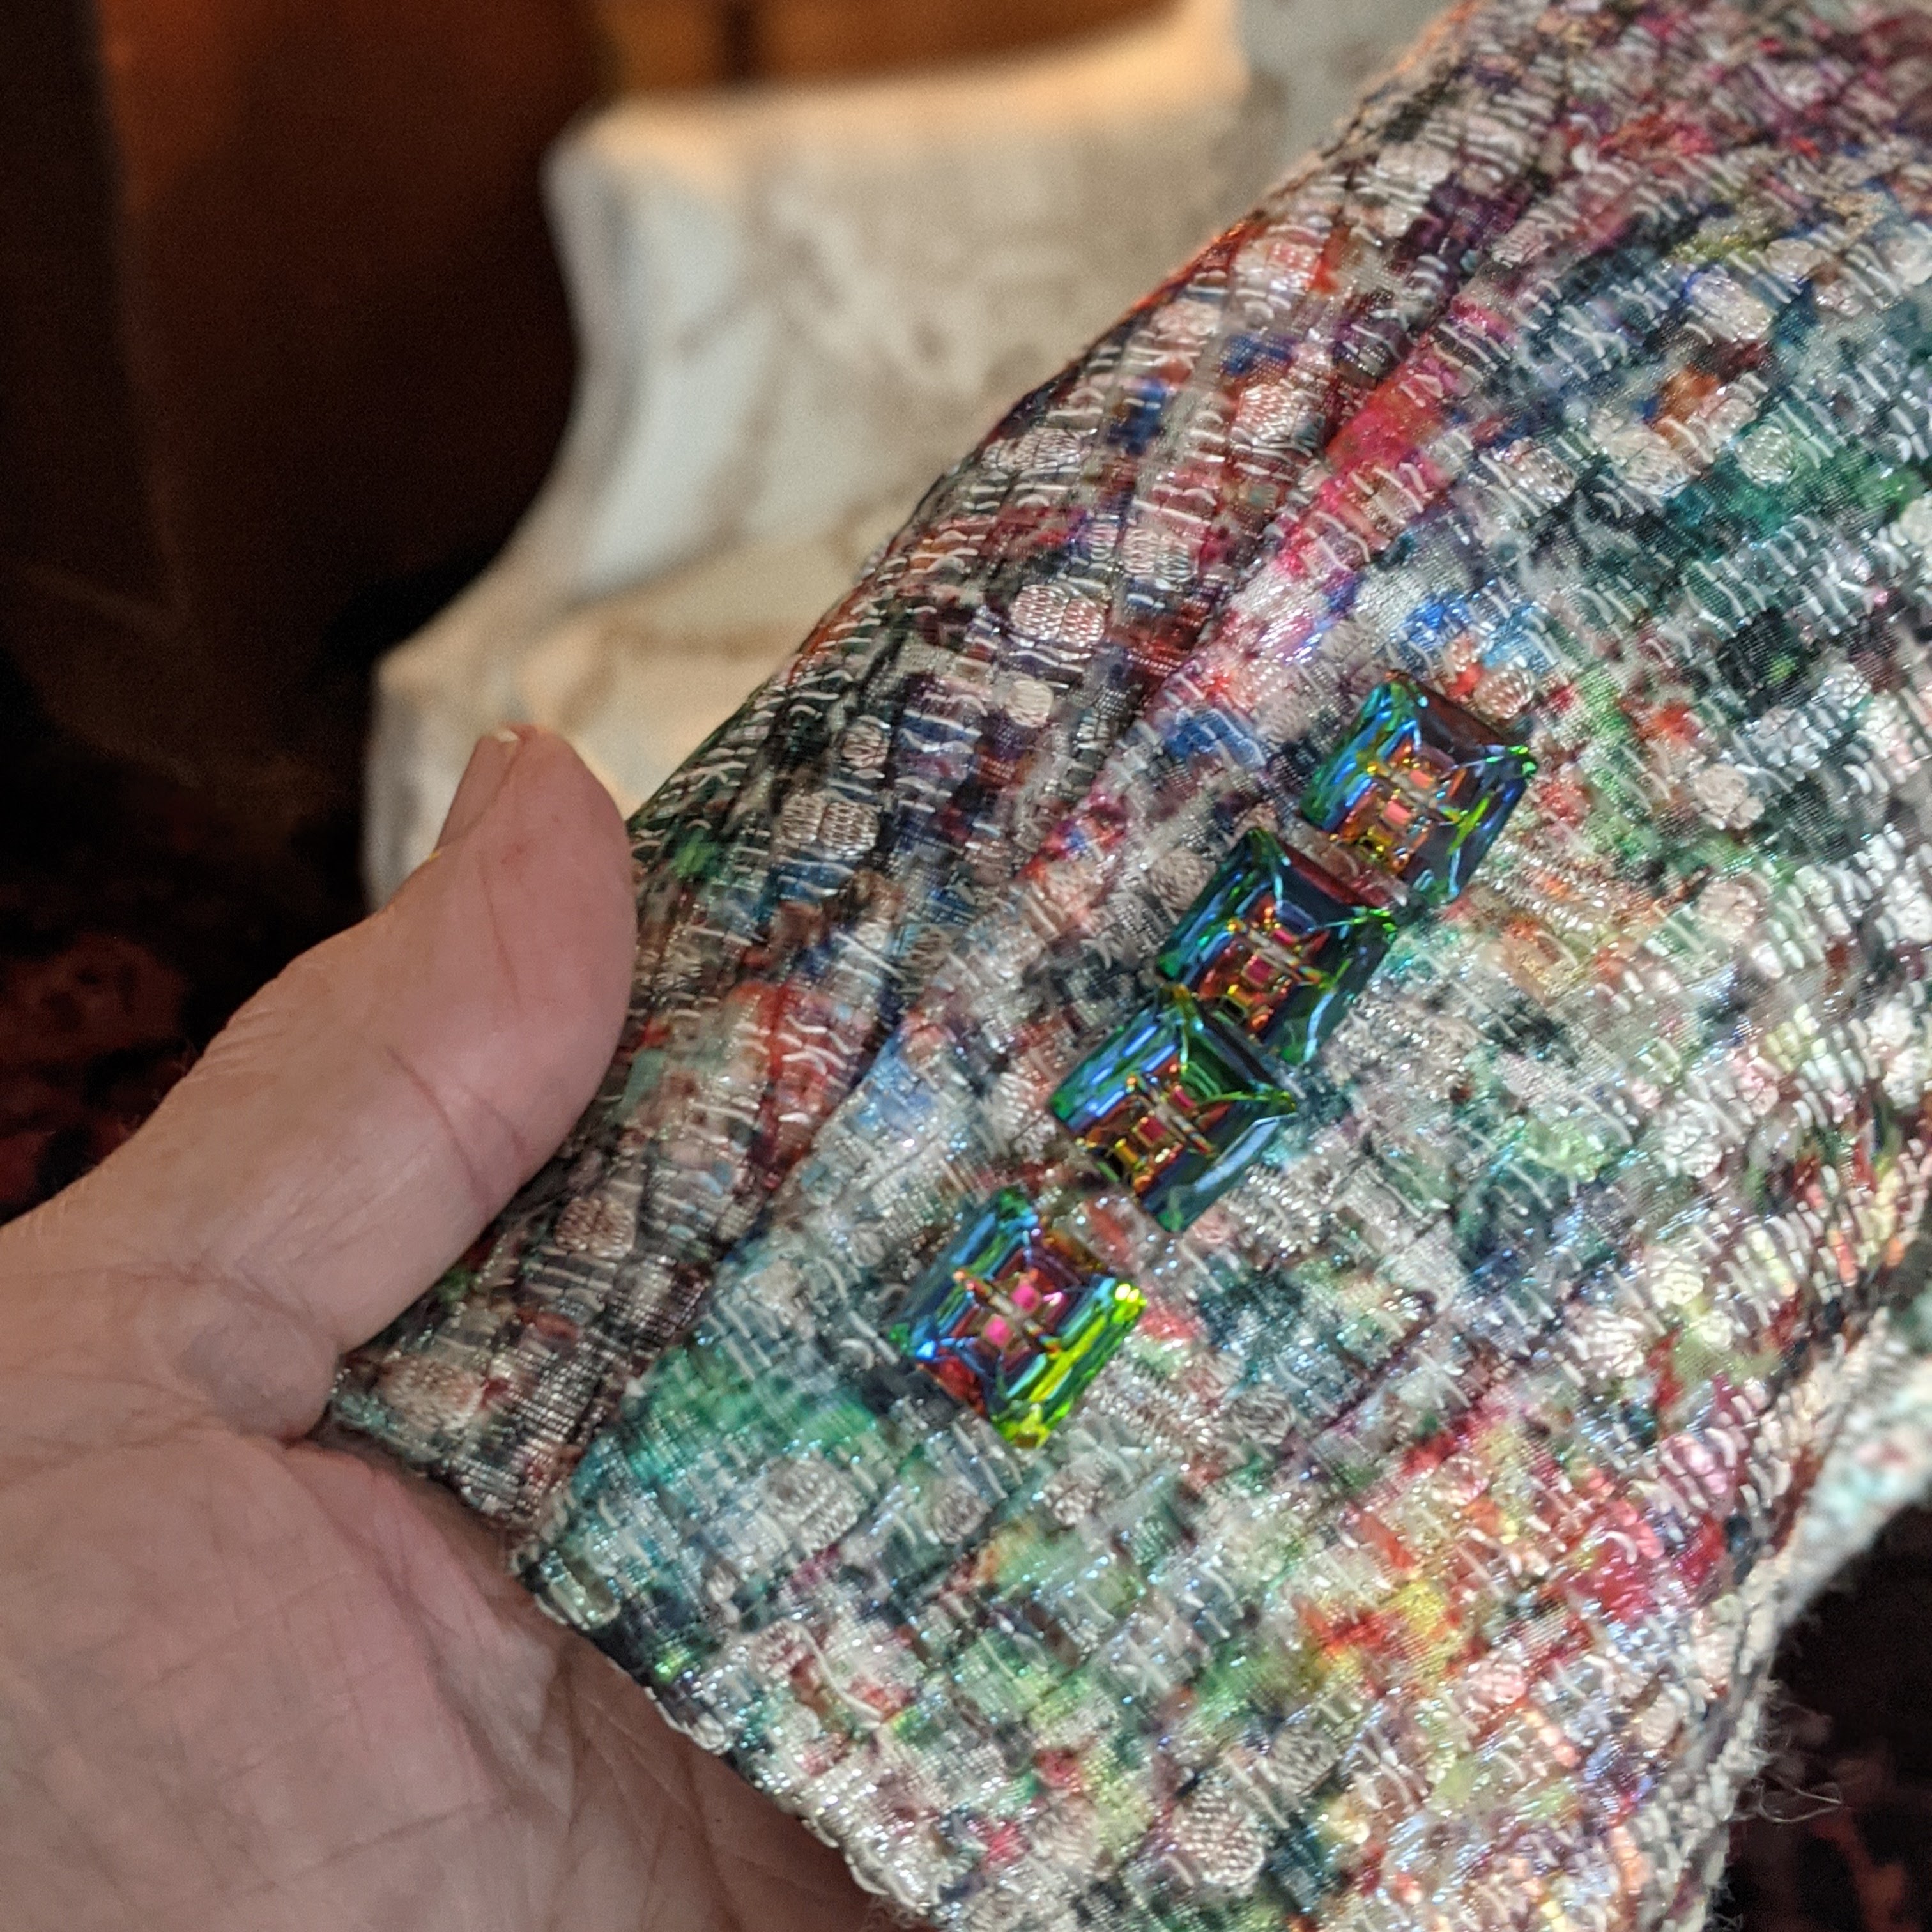
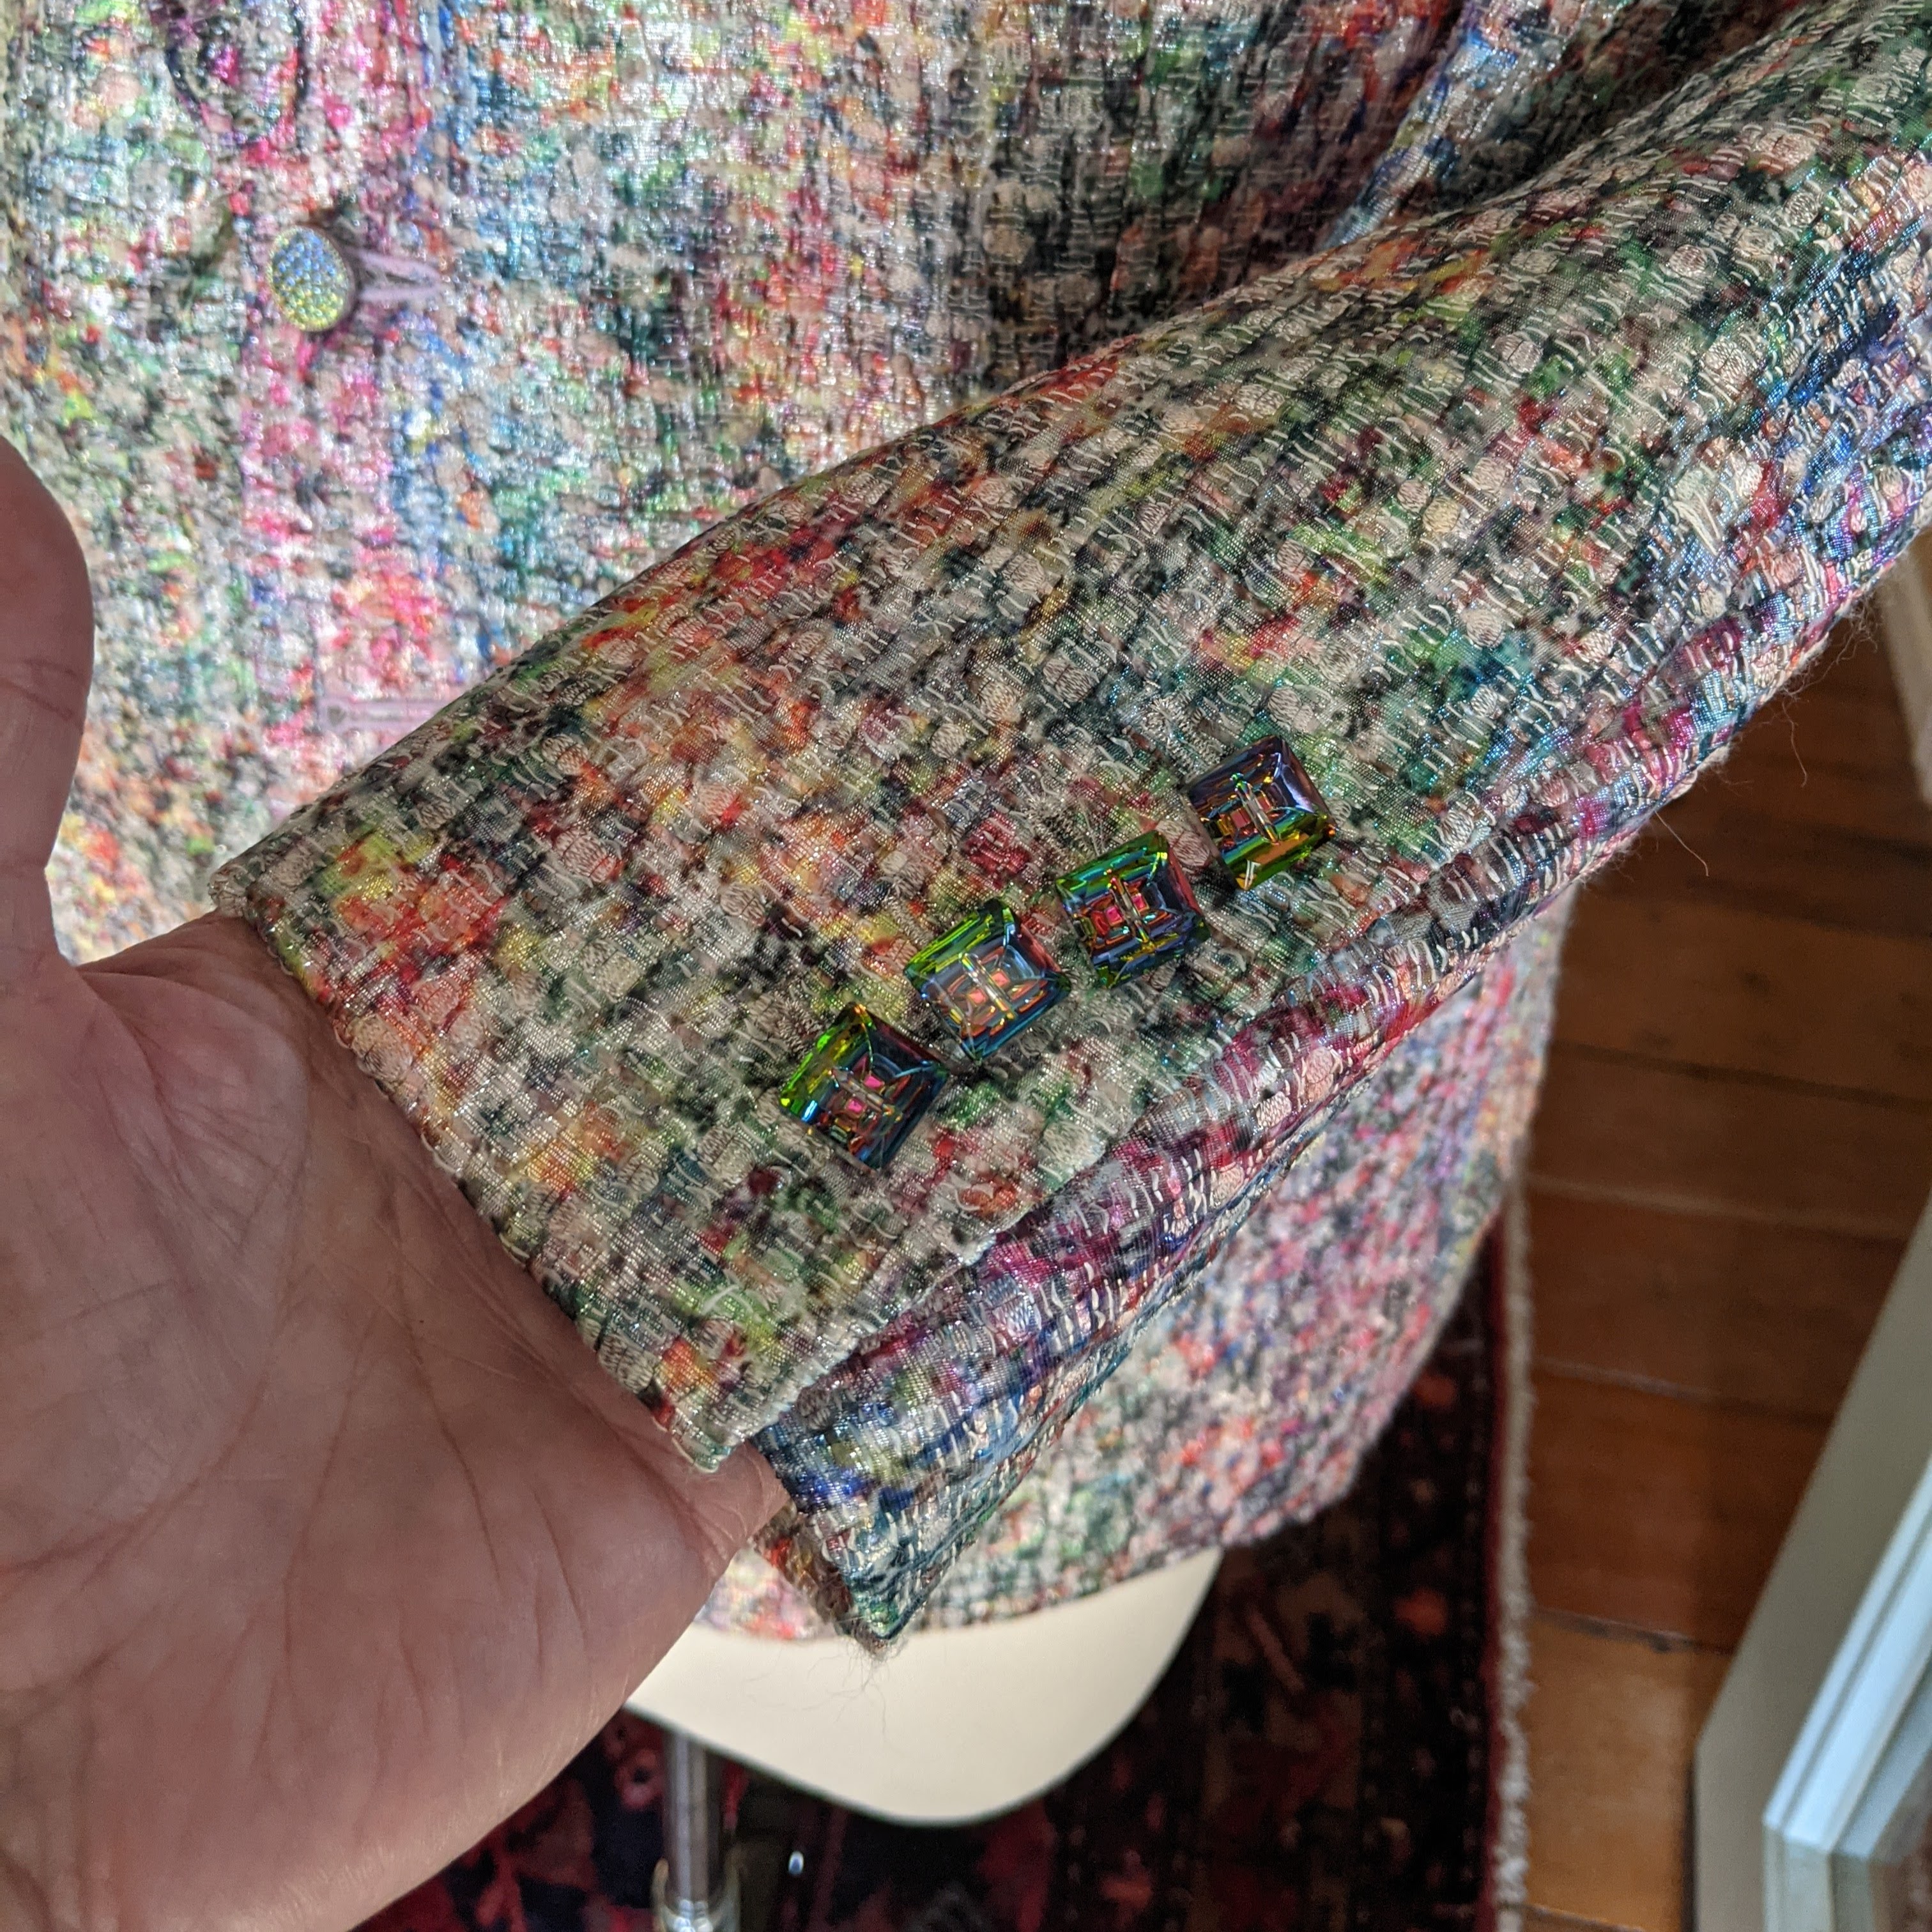
The real stars of the show, however, are the buttons! They’re iridescent German glass gifted to the customer from Buttonology, a third generation button wholesaler in New York. They’ll have to be removed if the jacket is ever dry cleaned. Therefore, the sleeve buttonholes are non-working. The front buttonholes were made on my Singer 301. I just didn’t think I could risk making hand worked buttonholes on this fabric. Plus, the customer could care less about such things!
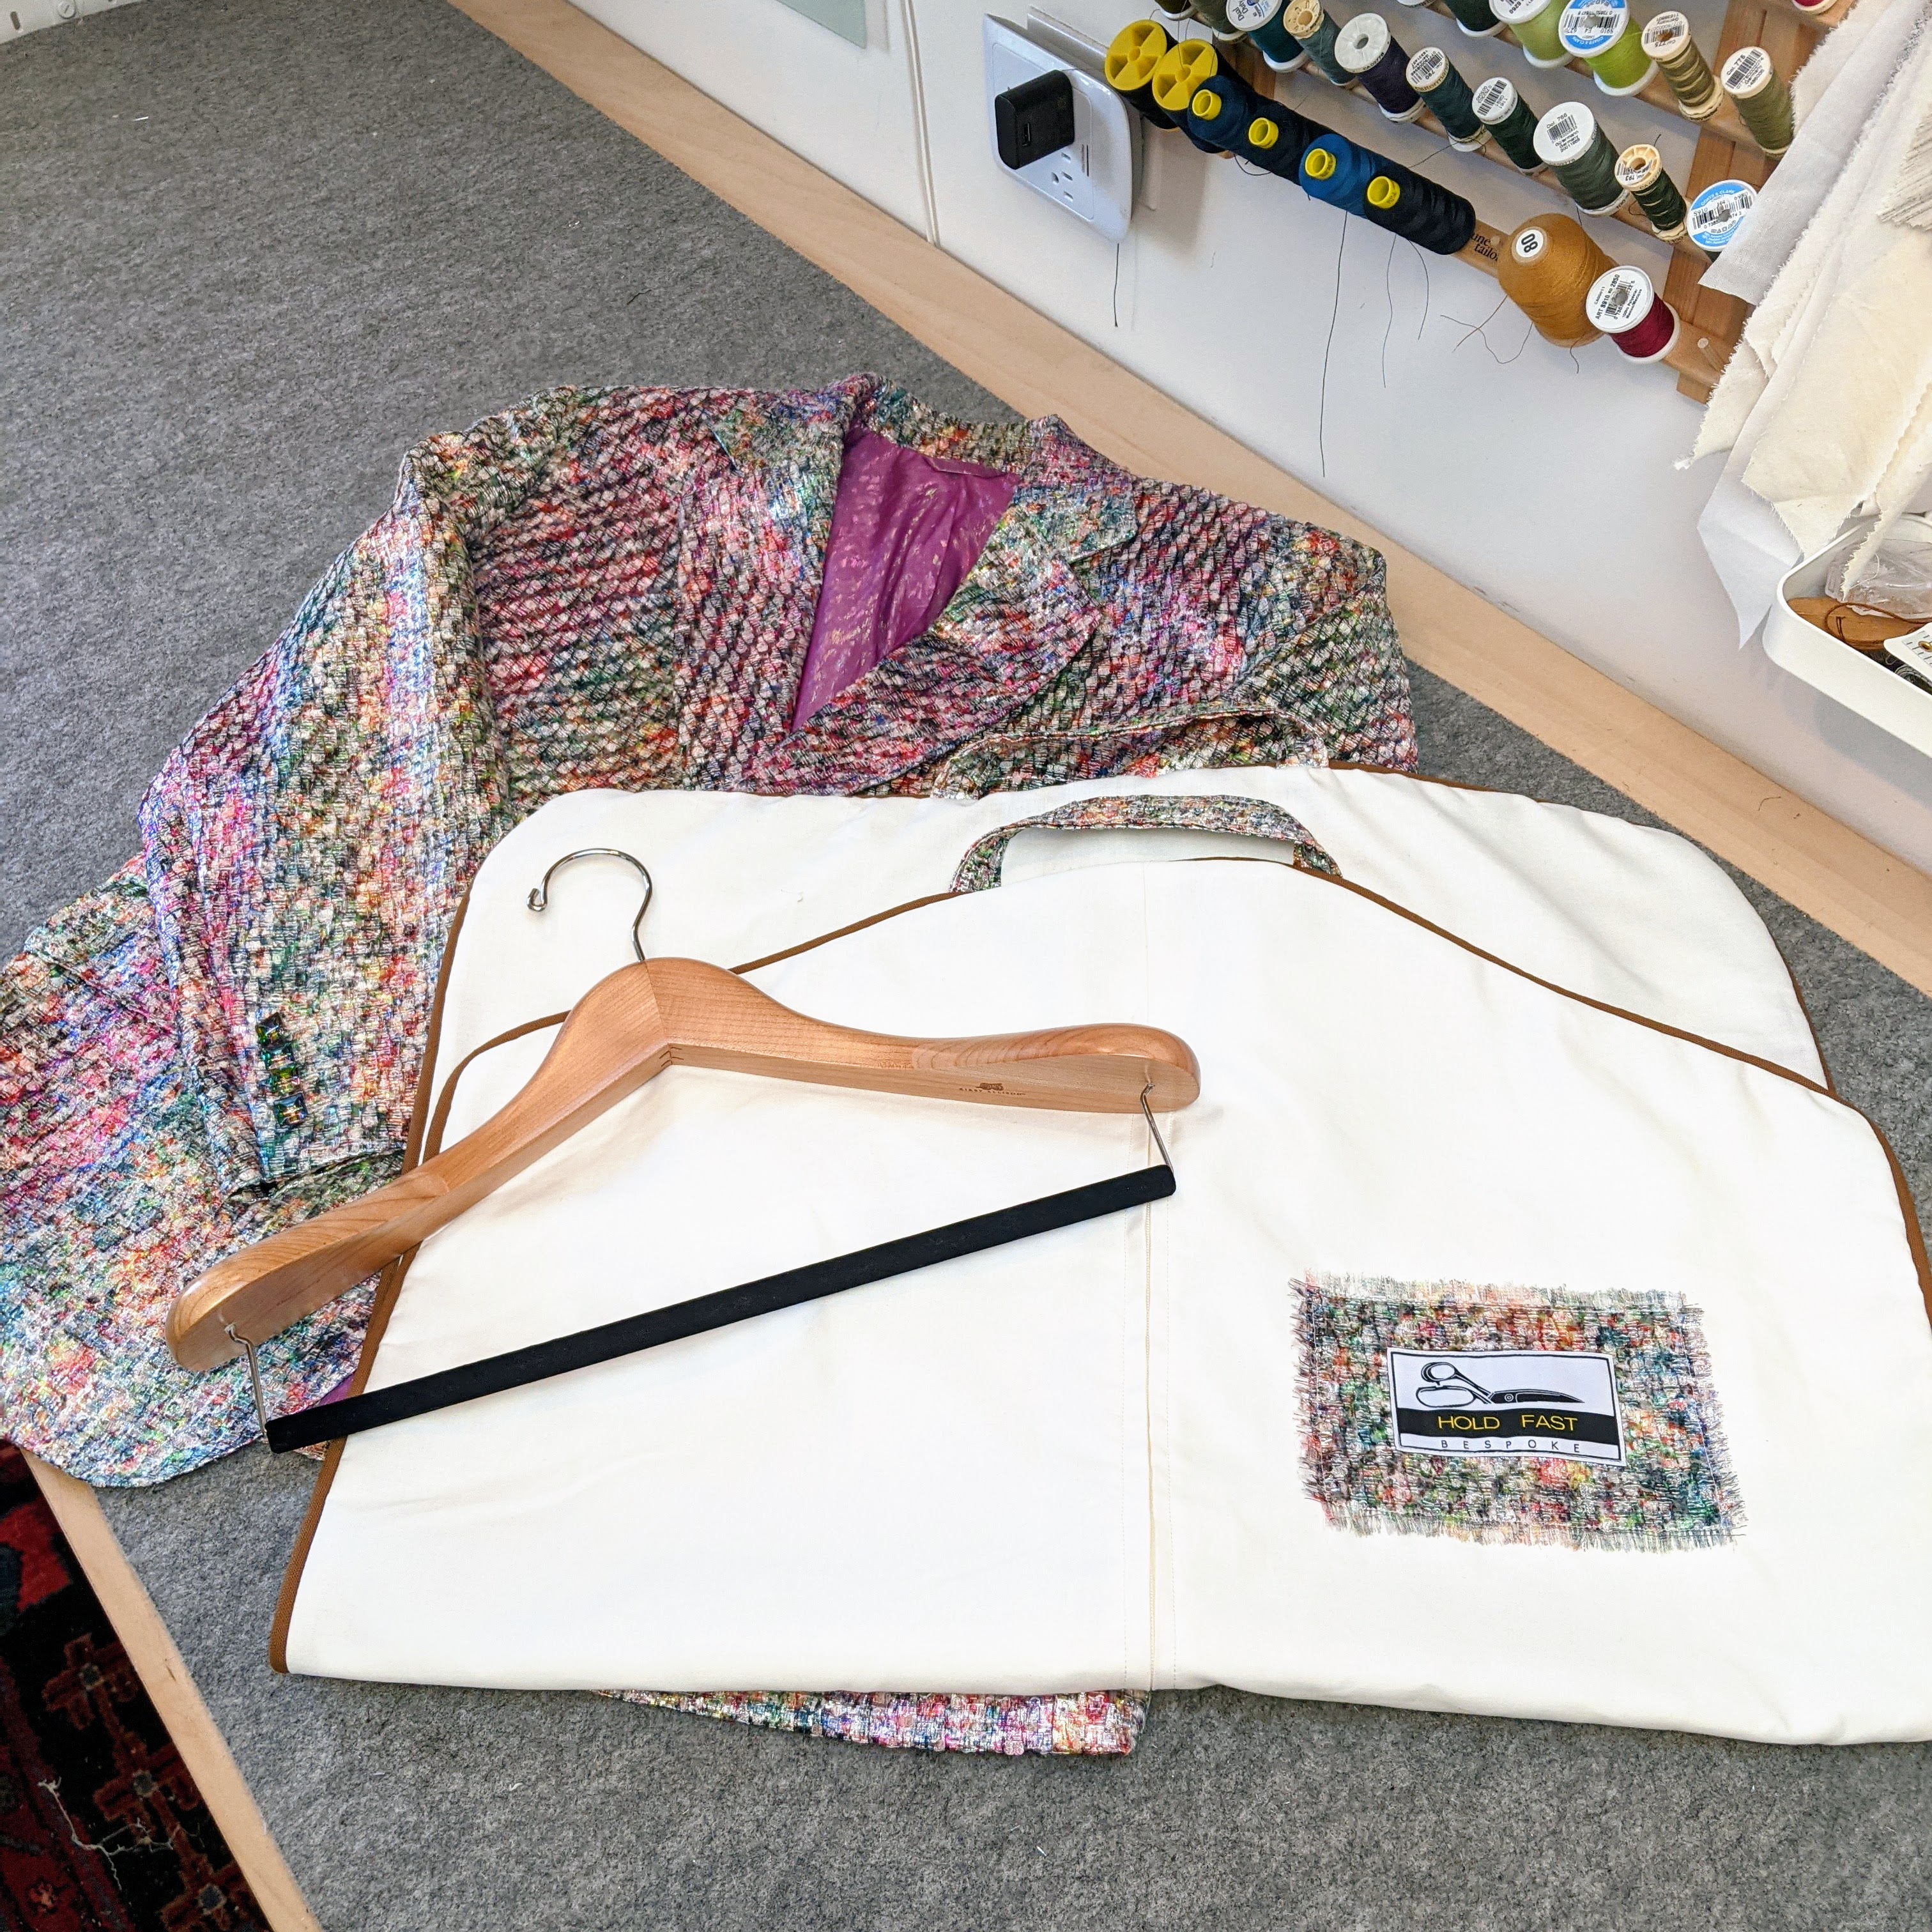
Custom garment bag and a rock maple suit hanger to round out the bespoke experience.
I look forward to delivering this jacket in a few weeks. It’s been a fun journey for me on several fronts. First, tailoring for a different body shape. The baste fitting was a valuable learning experience, and my wheels have been turning ever since. I need to think about how I might draft the pattern differently the next time around. Incidentally, The Tailoring Academy is offering two “full figure” courses in December. I’m tempted to sign up. So much problem solving, so much that I’ll never live long enough to learn. Tailoring always keeps me coming back for more.
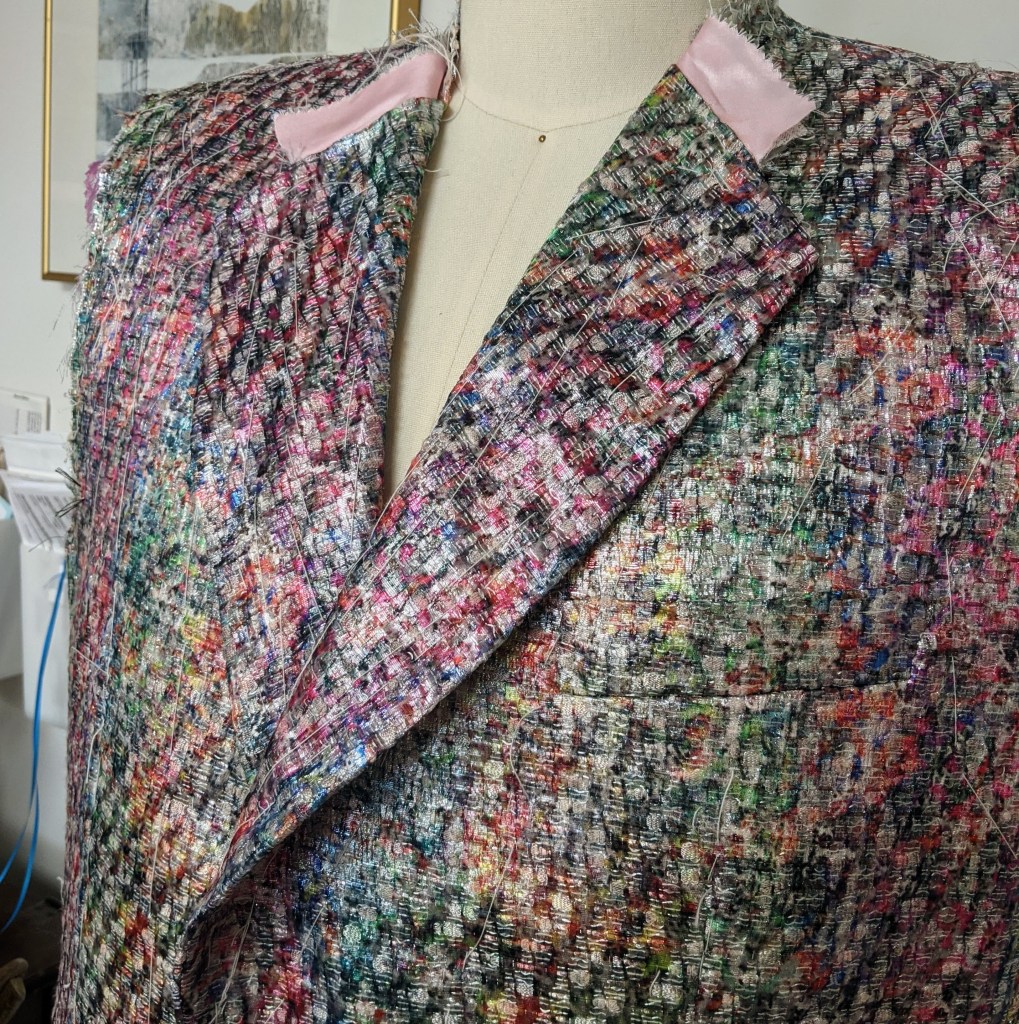
Secondly, this jacket increased my confidence to tailor unconventional materials. Sure, there were some processes that simply weren’t ever going to happen. No shaping, stretching or shrinking with the iron. Still, I was able to shape a respectable lapel and collar. Check out that roll! LOL. That’s the power of hand sewing and traditional materials that never get seen. Sure, I’d rather be working with some beautiful wool tweed, but I’m not driving the train anymore, my clients are. It’s a big change, a challenge, and lots of fun!
Be well, and happy sewing / tailoring as we enter party season.

Beautiful work, as always!
LikeLike
It is gorgeous, so well done. May each of your clients be a pleasure to work with so you look forward to every day’s work. Also, ay you find time to continue making things for yourself th
LikeLike
Fabulous!
LikeLike
That’s stunning! What a beautiful gift, (and what beautiful buttons!) I hope the fabric has the longevity to justify your thorough workmanship.
LikeLike
Stunning work, as always. Your client should be thrilled with this fabulous jacket! Party time!!
LikeLike
Pretty outstanding that material is a party itself.
LikeLike
Fabulous job as usual.Will webeable to see him modelling it?
LikeLike
Actually, I come for the inspiration!Thanks!
Rachel
https://www.saatchiart.com/account/artworks/6640 https://www.flickr.com/photos/ranjansen/albums/with/72157627576227669
>
LikeLike
Thank you, Duane, as always for so much detail and thoughtful writing.
LikeLike
Well done! What a wonderful jacket
LikeLike
Thank you for sharing this experience. Your work is gorgeous and you explain it very, very well.
LikeLike
Gasp!
LikeLike
Beautiful Jacket
LikeLike
Absolutely fascinating! Thank you so much for documenting your steps along the way, and the very engaging narrative. I’ve learned several new things – mostly the types of interlinings used and their names.
I had no idea just how much goes into the making of a jacket! What a beautiful skill you’ve developed!
-Angela in Olympia, WA
LikeLike
What a great combination of fabric and classic design. I’m amazed at your skills.
LikeLike
such a wonderful post, Duane! Thank you so much for writing and photography this terrific project. Duch a fantastic result. The process is just so interesting and fun to look into.
LikeLike
Well this is fabulous! And i did check out the roll on the collar/lapel – it is very nice … Unlike the roll on the collar/lapel of a certain King which visited australia recently – it looked like the suit had been dry-cleaned and pressed flat within an inch of its life (and I happen to know that the King has his clothes tailored – so it wouldn’t have looked like that when it started out …)
It’s a wonderful jacket – and well done you
regards
Jo
LikeLike
It’s really amazing and from what you’ve written, it fits his personality and his body.
LikeLike
Looks beautiful, Duane!! I hope your client sends a photo as would love to see what it looks like on! Stunned by the shoulders and lapel roll you managed to do in that fabric.
How did you handle the muslin fitting at a distance, did your client pin out their own adjustments somehow?
LikeLike
The muslin was just to ease my mind that the jacket would be large enough. I actually met with the client for the baste fitting. After the fitting I brought it back to Maine and made all the adjustments.
LikeLike
Jacket construction and supplies: Duane I have a few technical questions for you. I love this jacket and the material and buttons are just fun.
Your advice and help is greatly appreciated. Corey – when I finally get moved I decided to go with the Juki st8 stitch semi industrial sewing machine and the juki eb1 buttonholer with a lot of feet attachments. I will purchase a serger(babylock) and coverstitch machine (janome) and one other regular sewing machine (pfaff, bernina or a juki qvp4000) but my main sewing machine with be a st8 stitch machine.
Many thanks in advance
Corey
LikeLike
Lots of questions! 1. Yes I just use sew in hair canvas (hymo) for the entire length of the front. There is a hair cloth (horsehair) chest piece placed perpendicular to the lapel breakline. The chest piece is covered with flannel domette, and all the layers are pad stitched.
2. I make my own shoulder pads but it’s not necessary. I build the pad on a base of bias hair canvas, concentric semi circles of felt, topped with a piece of bias muslin. The whole thing is pad stitched with basting thread and then shaped with the iron. 3. I would probably finish off a half lined jacket with a Hong Kong finish. Just a little easier than working with Snug Hug. Trousers — at the Academy we lined our trouser fronts to below the knee, then serged the sides so that the blade cut off the excess lining material. I will continue using that method. Pattern? I would look for a vintage Vogue. A modern pattern is just going to have you block fuse everything. The old Vogues often used traditional tailoring techniques.
LikeLiked by 1 person
Thank-you for the information. I just found the Bill Blass Vogue suit pattern size 44 on ebay i will purchase it at my first opportunity and I know the instructions are terrific for old school tailoring. I did have some of the vintage ralph lauren and calvin klein patterns from the late 70’s early 80’s and they featured much more tailoring techniques instead of ‘fusibles’ Thank-you once again for your help. I am hoping with your help, the tailoring book I can start making more bespoke jackets like you Corey
LikeLike
Best mr MacLeod, I just today came across your old blog and through that to here. It’s an absolute delight to read your adventures in tailoring, and extremely helpful to me who earlier today was just curious about “what if I could mend my coat” and by now already fully set to attempt to sew my own from fabric and thread.
May you have good health and many fulfilling projects yet!
LikeLike