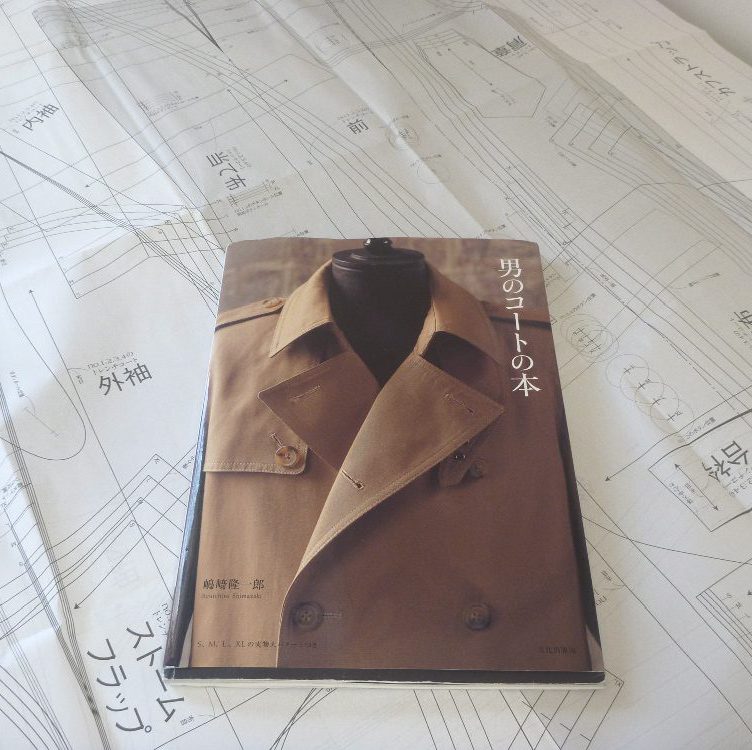


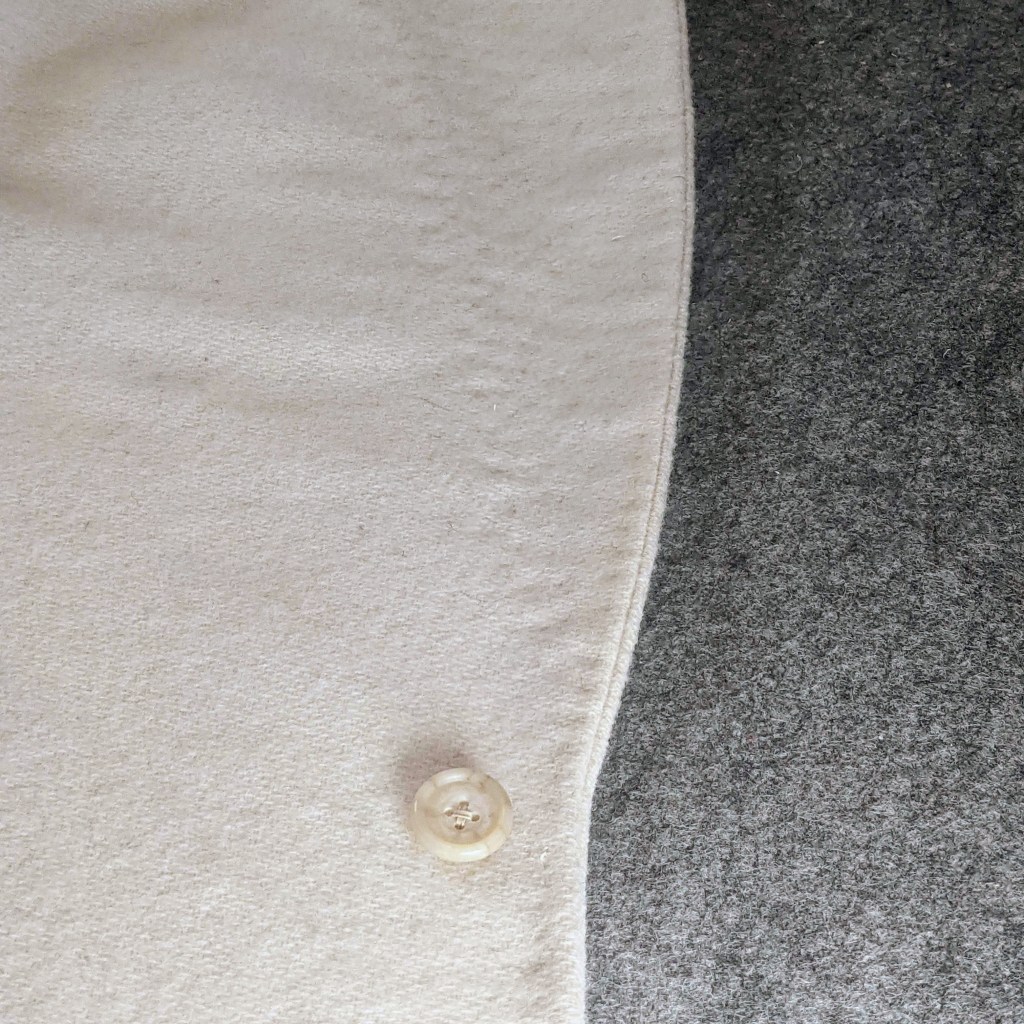
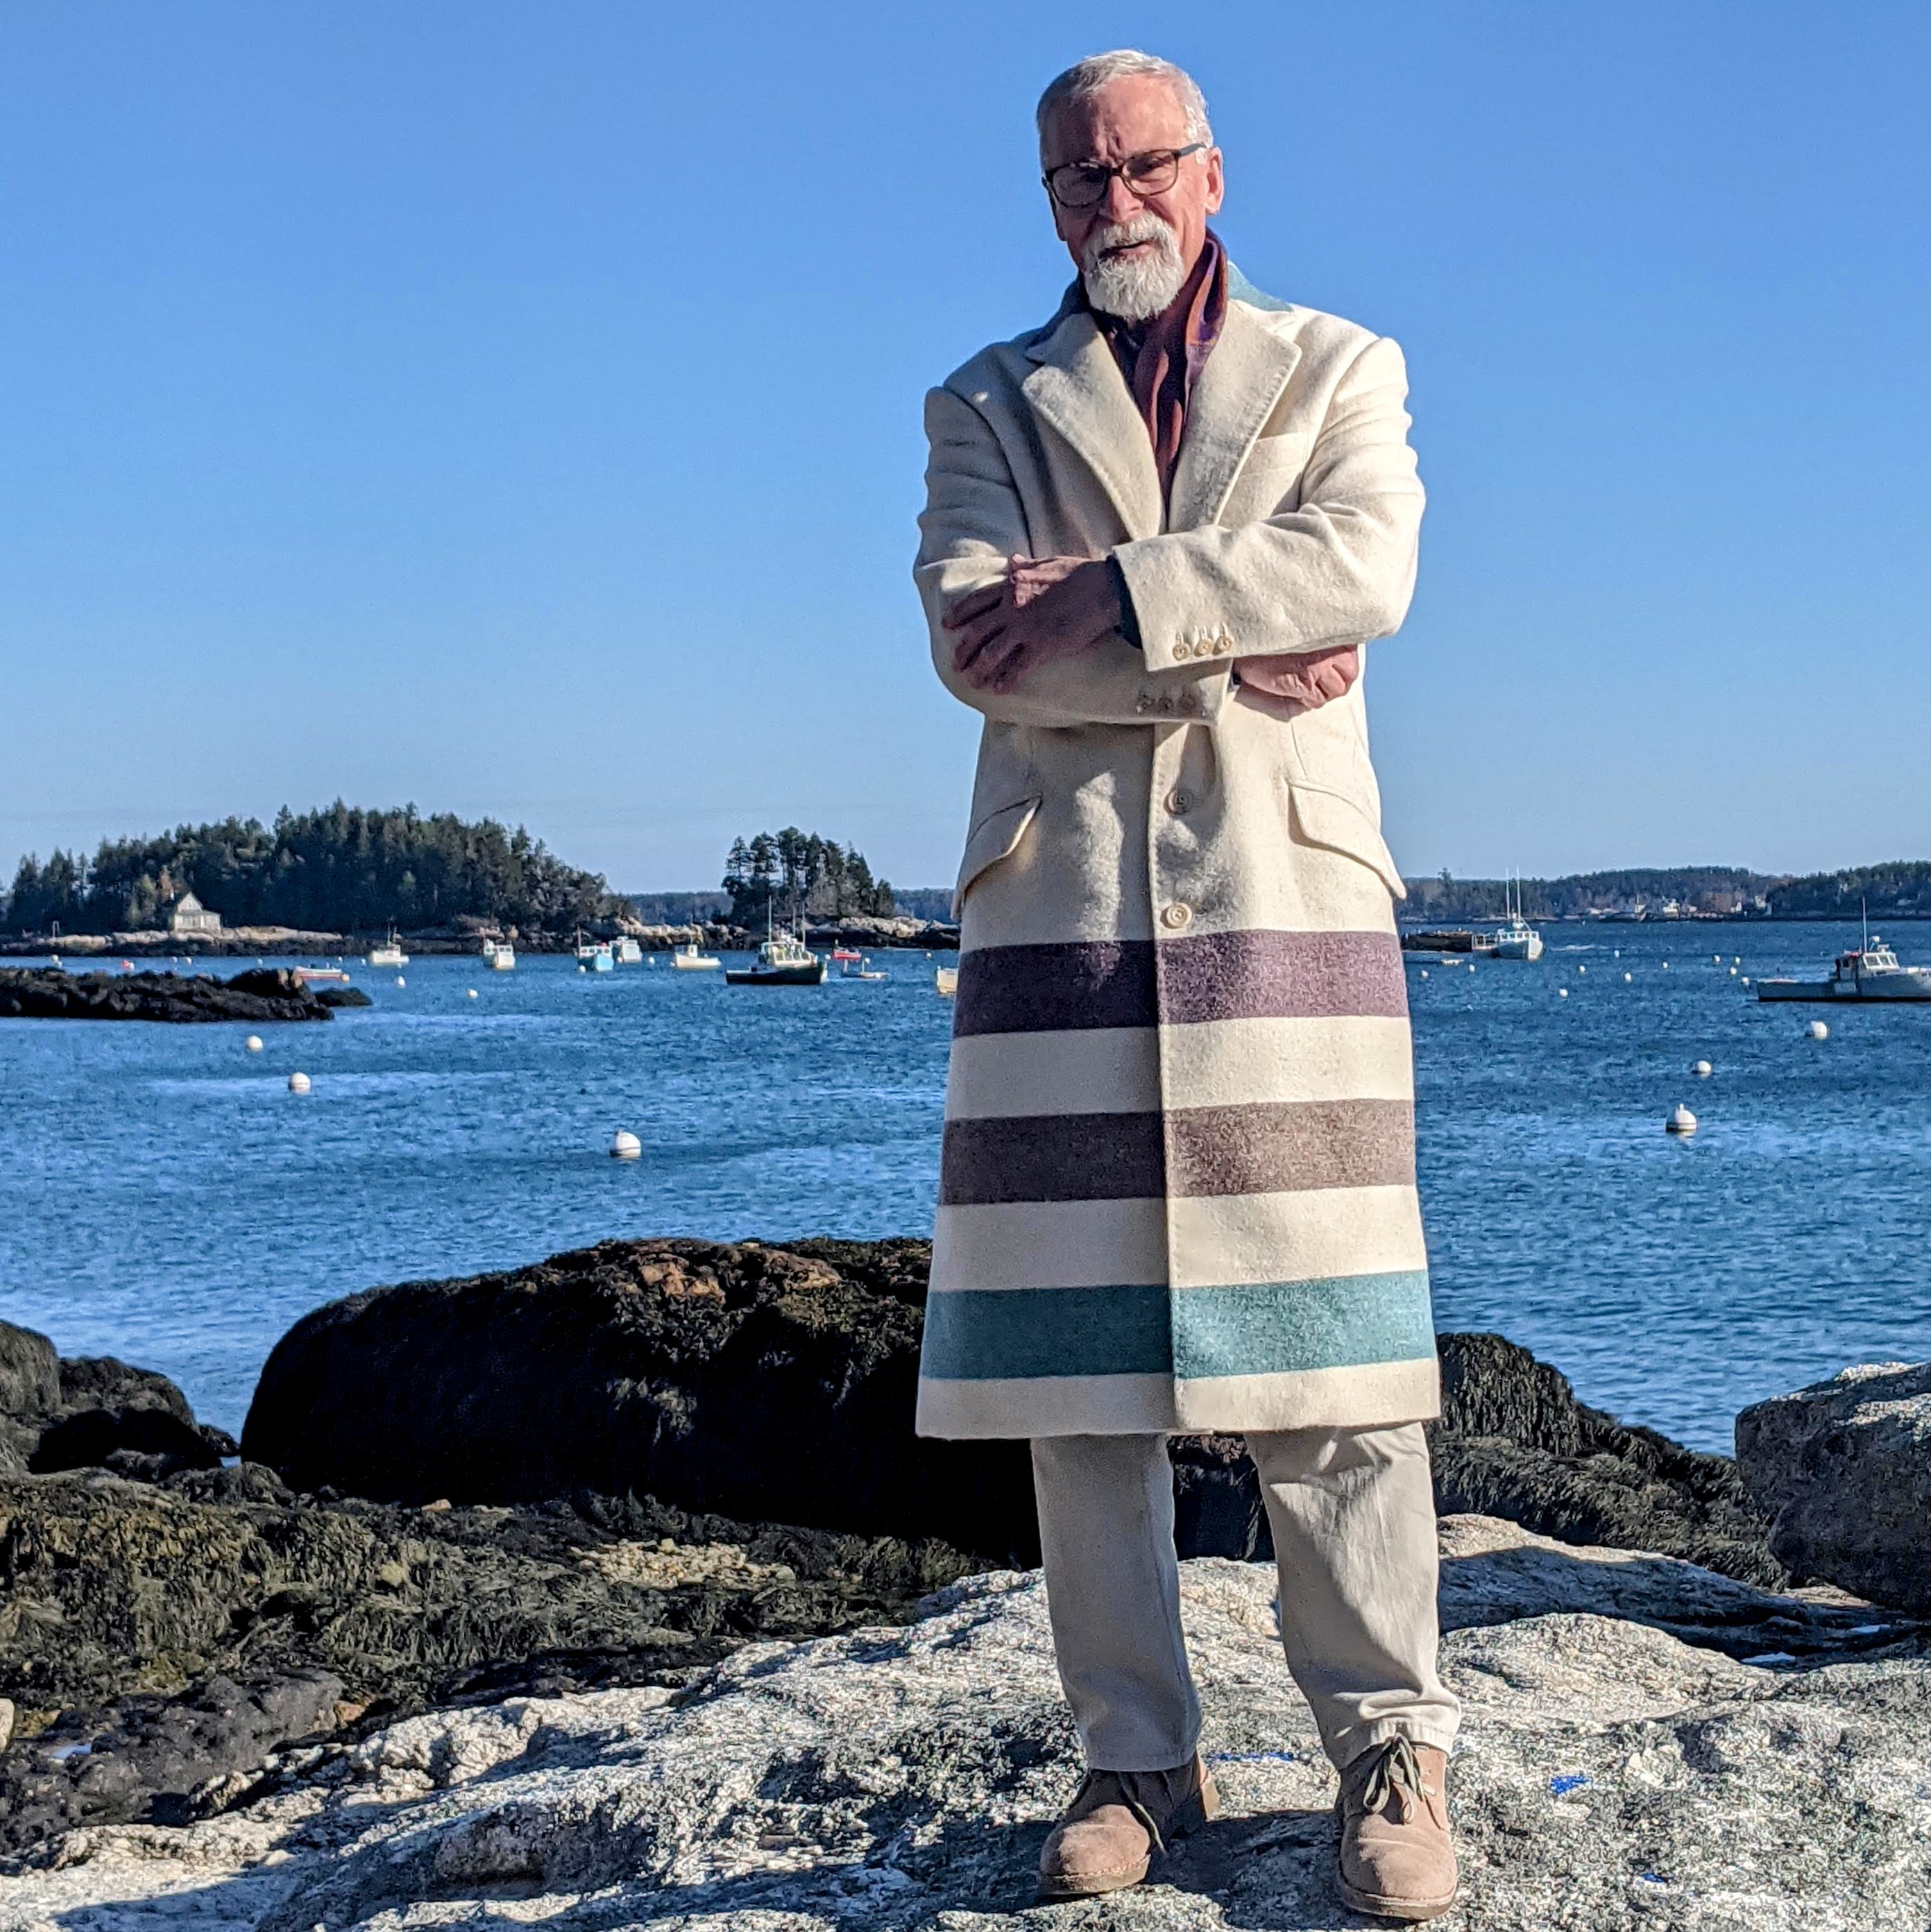
Yes, I’m crazy about winter white coats. And if you’ve been around here long enough, you know that I already have one! Still there’s something about them that I can’t resist. I also have a fascination with the capote, a traditional handmade coat made from a Hudson Bay blanket. The candy striped ones are my favorites.
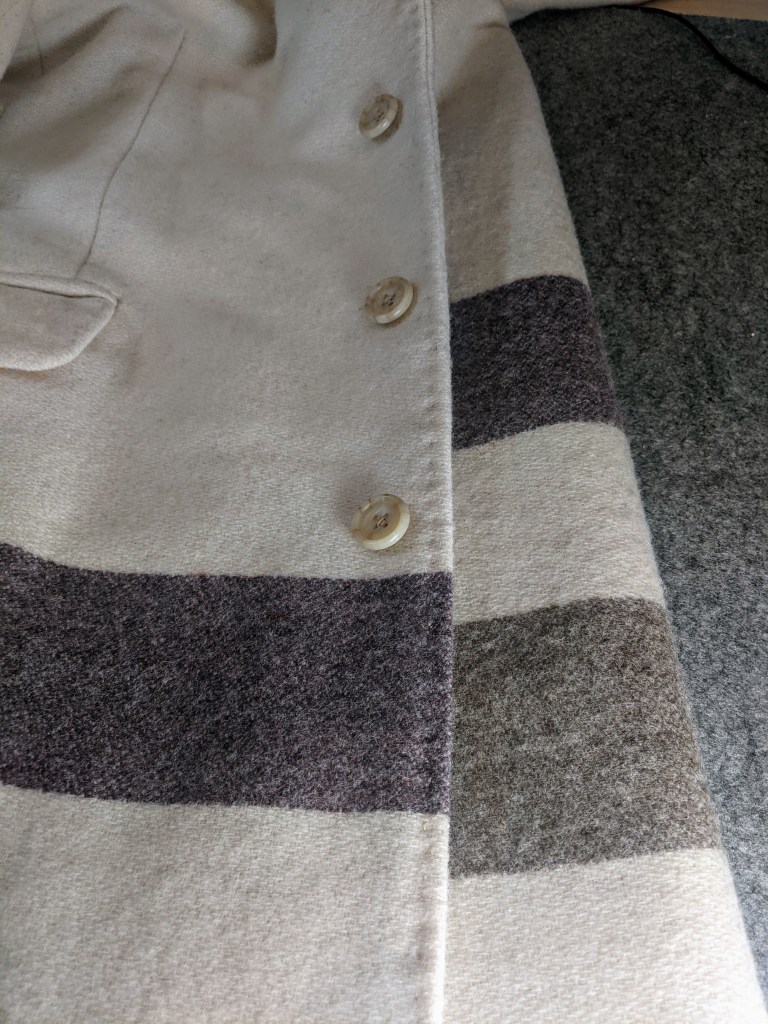
I had actually put away a LL Bean knockoff blanket years ago, thinking that someday I’d use it. Then Ann at Gorgeous Fabrics posted a Woolrich look-alike and I fell. Hard. Buying yardage seemed so much easier than trying to Tetris a coat out of a blanket. Plus the colors ticked all the boxes for me. Muted purple, brown and teal. My wardrobe in a nutshell.
Of course it was all put on hold while I did something more important last year. But this is now, and the dream has become a reality.

Of course I’m not a fur trapper in the Canadian wilderness, so I’m just riffing off the capote esthetic (minus the fringe and blanket stitching).
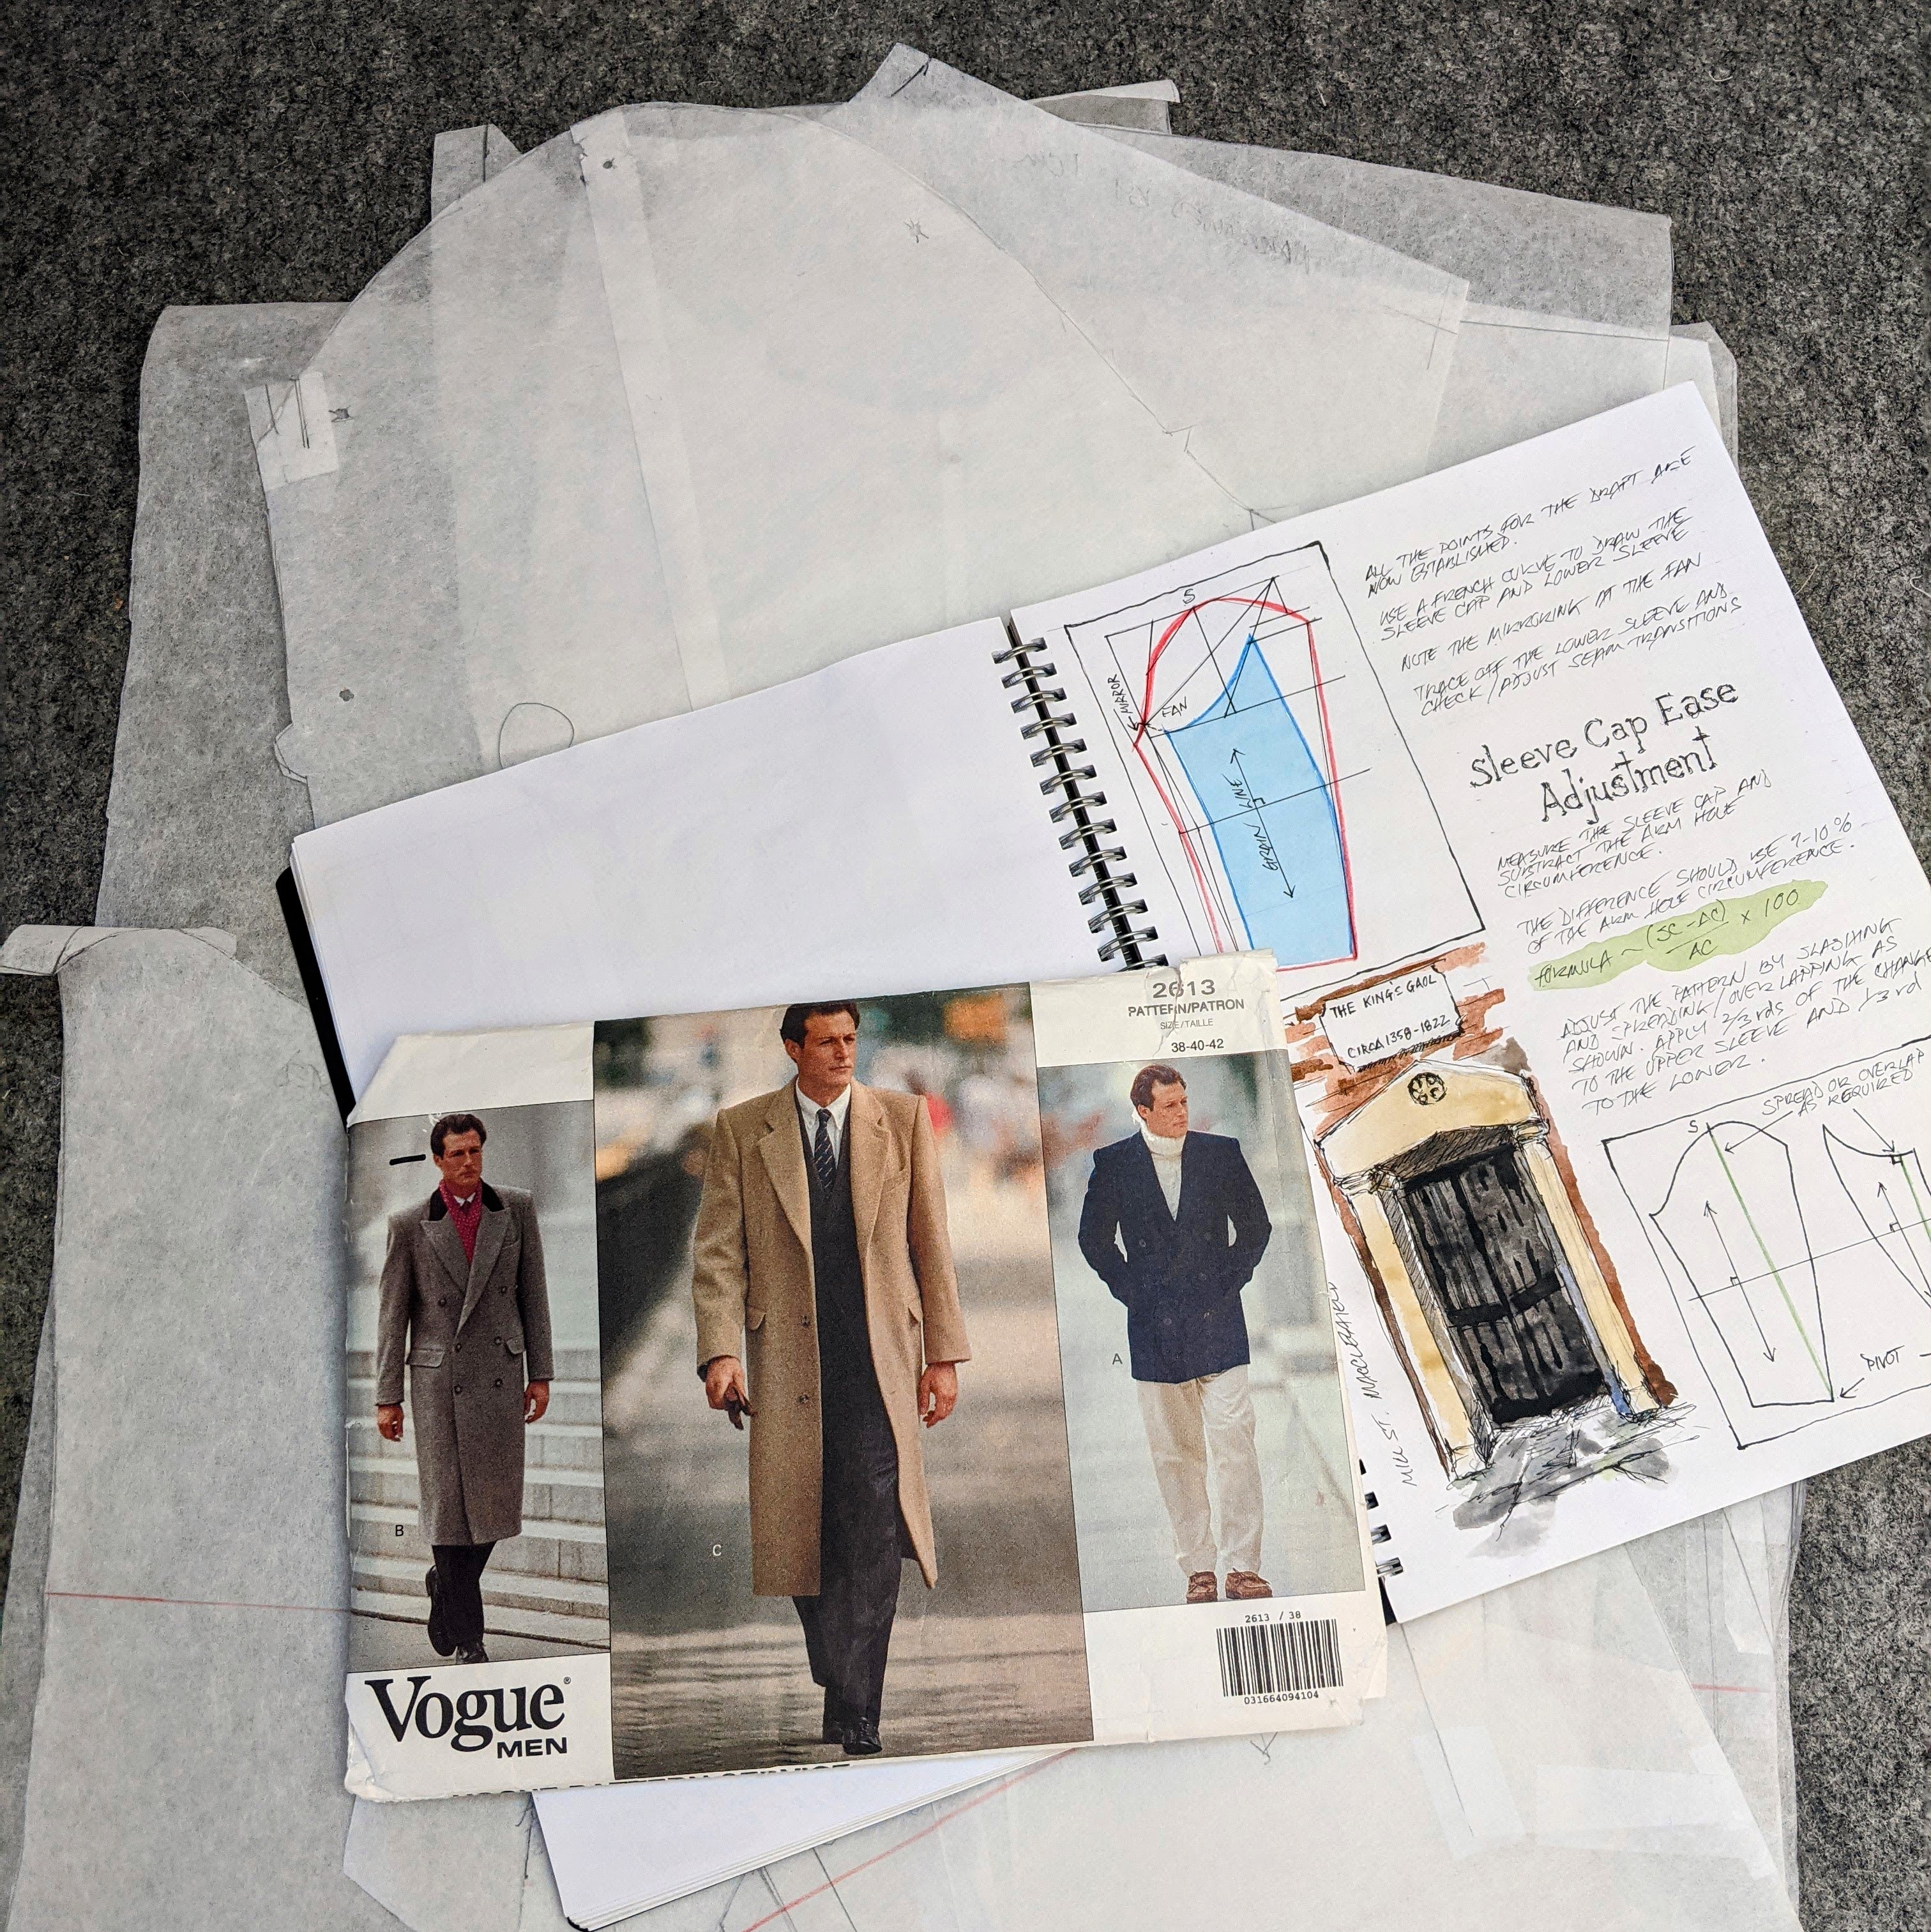
I’ve learned (the hard way), that I’m just not a double breasted coat guy. They’re everywhere! And to make matters worse, the current style is oversized with dropped shoulders, which I hate. Eventually I found this 30 year old Vogue pattern on Etsy, for which I paid what felt like a king’s ransom. In retrospect, however, the quality of the pattern outweighed the sticker shock. The level of detail in the vintage Vogues is truly remarkable. I had to make very few adjustments.
- Narrowed the sleeves a bit, in addition to shortening them. (standard operating procedure)
- Nipped the back in 1 Cm at the waist for some shaping. (It was perfectly straight)
- Added a bit of “belly” to the lapel. (Again, perfectly straight)
- Placed the pockets on a slight slant. (Just a personal preference)
I wanted to tailor the hell out of this coat, and my time at The Tailoring Academy gave me the tools. I know my readers are always curious to see the processes that go into my makes. So here we go. Geek out!
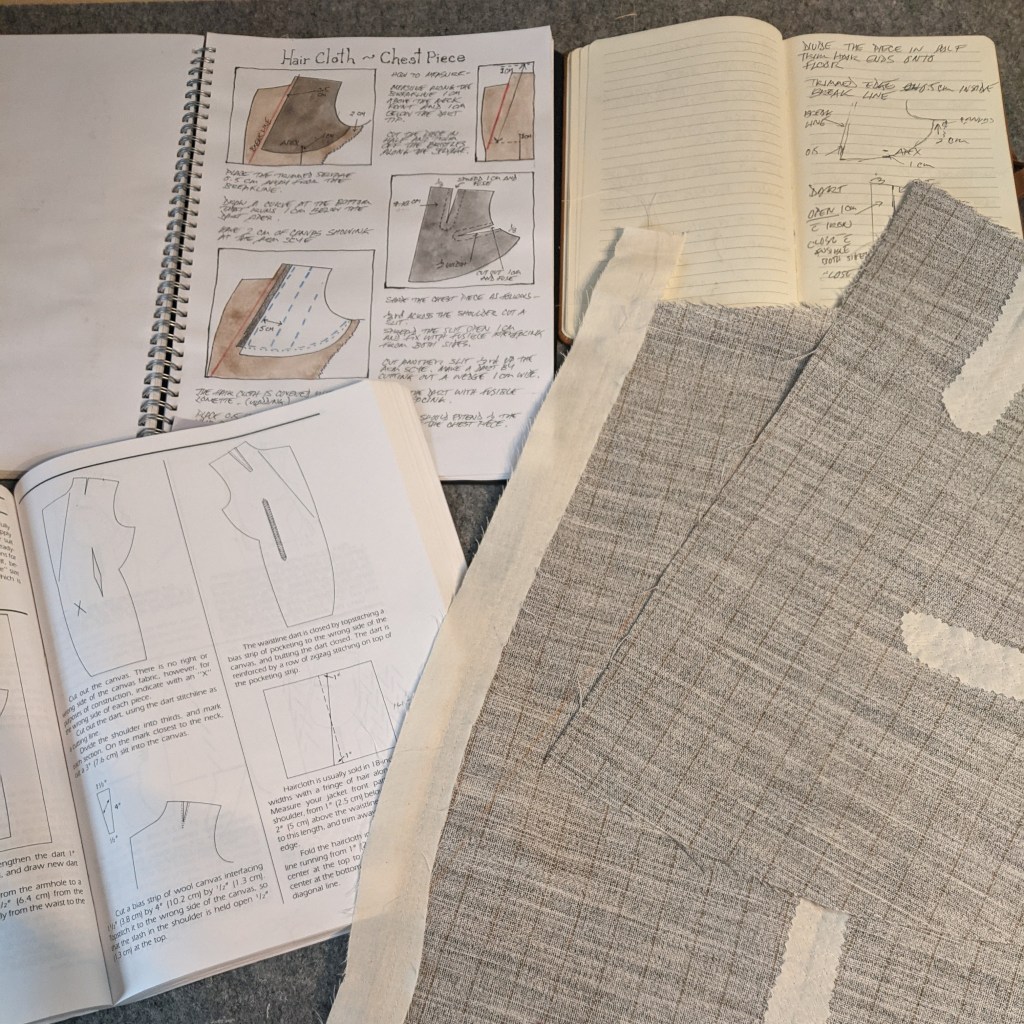
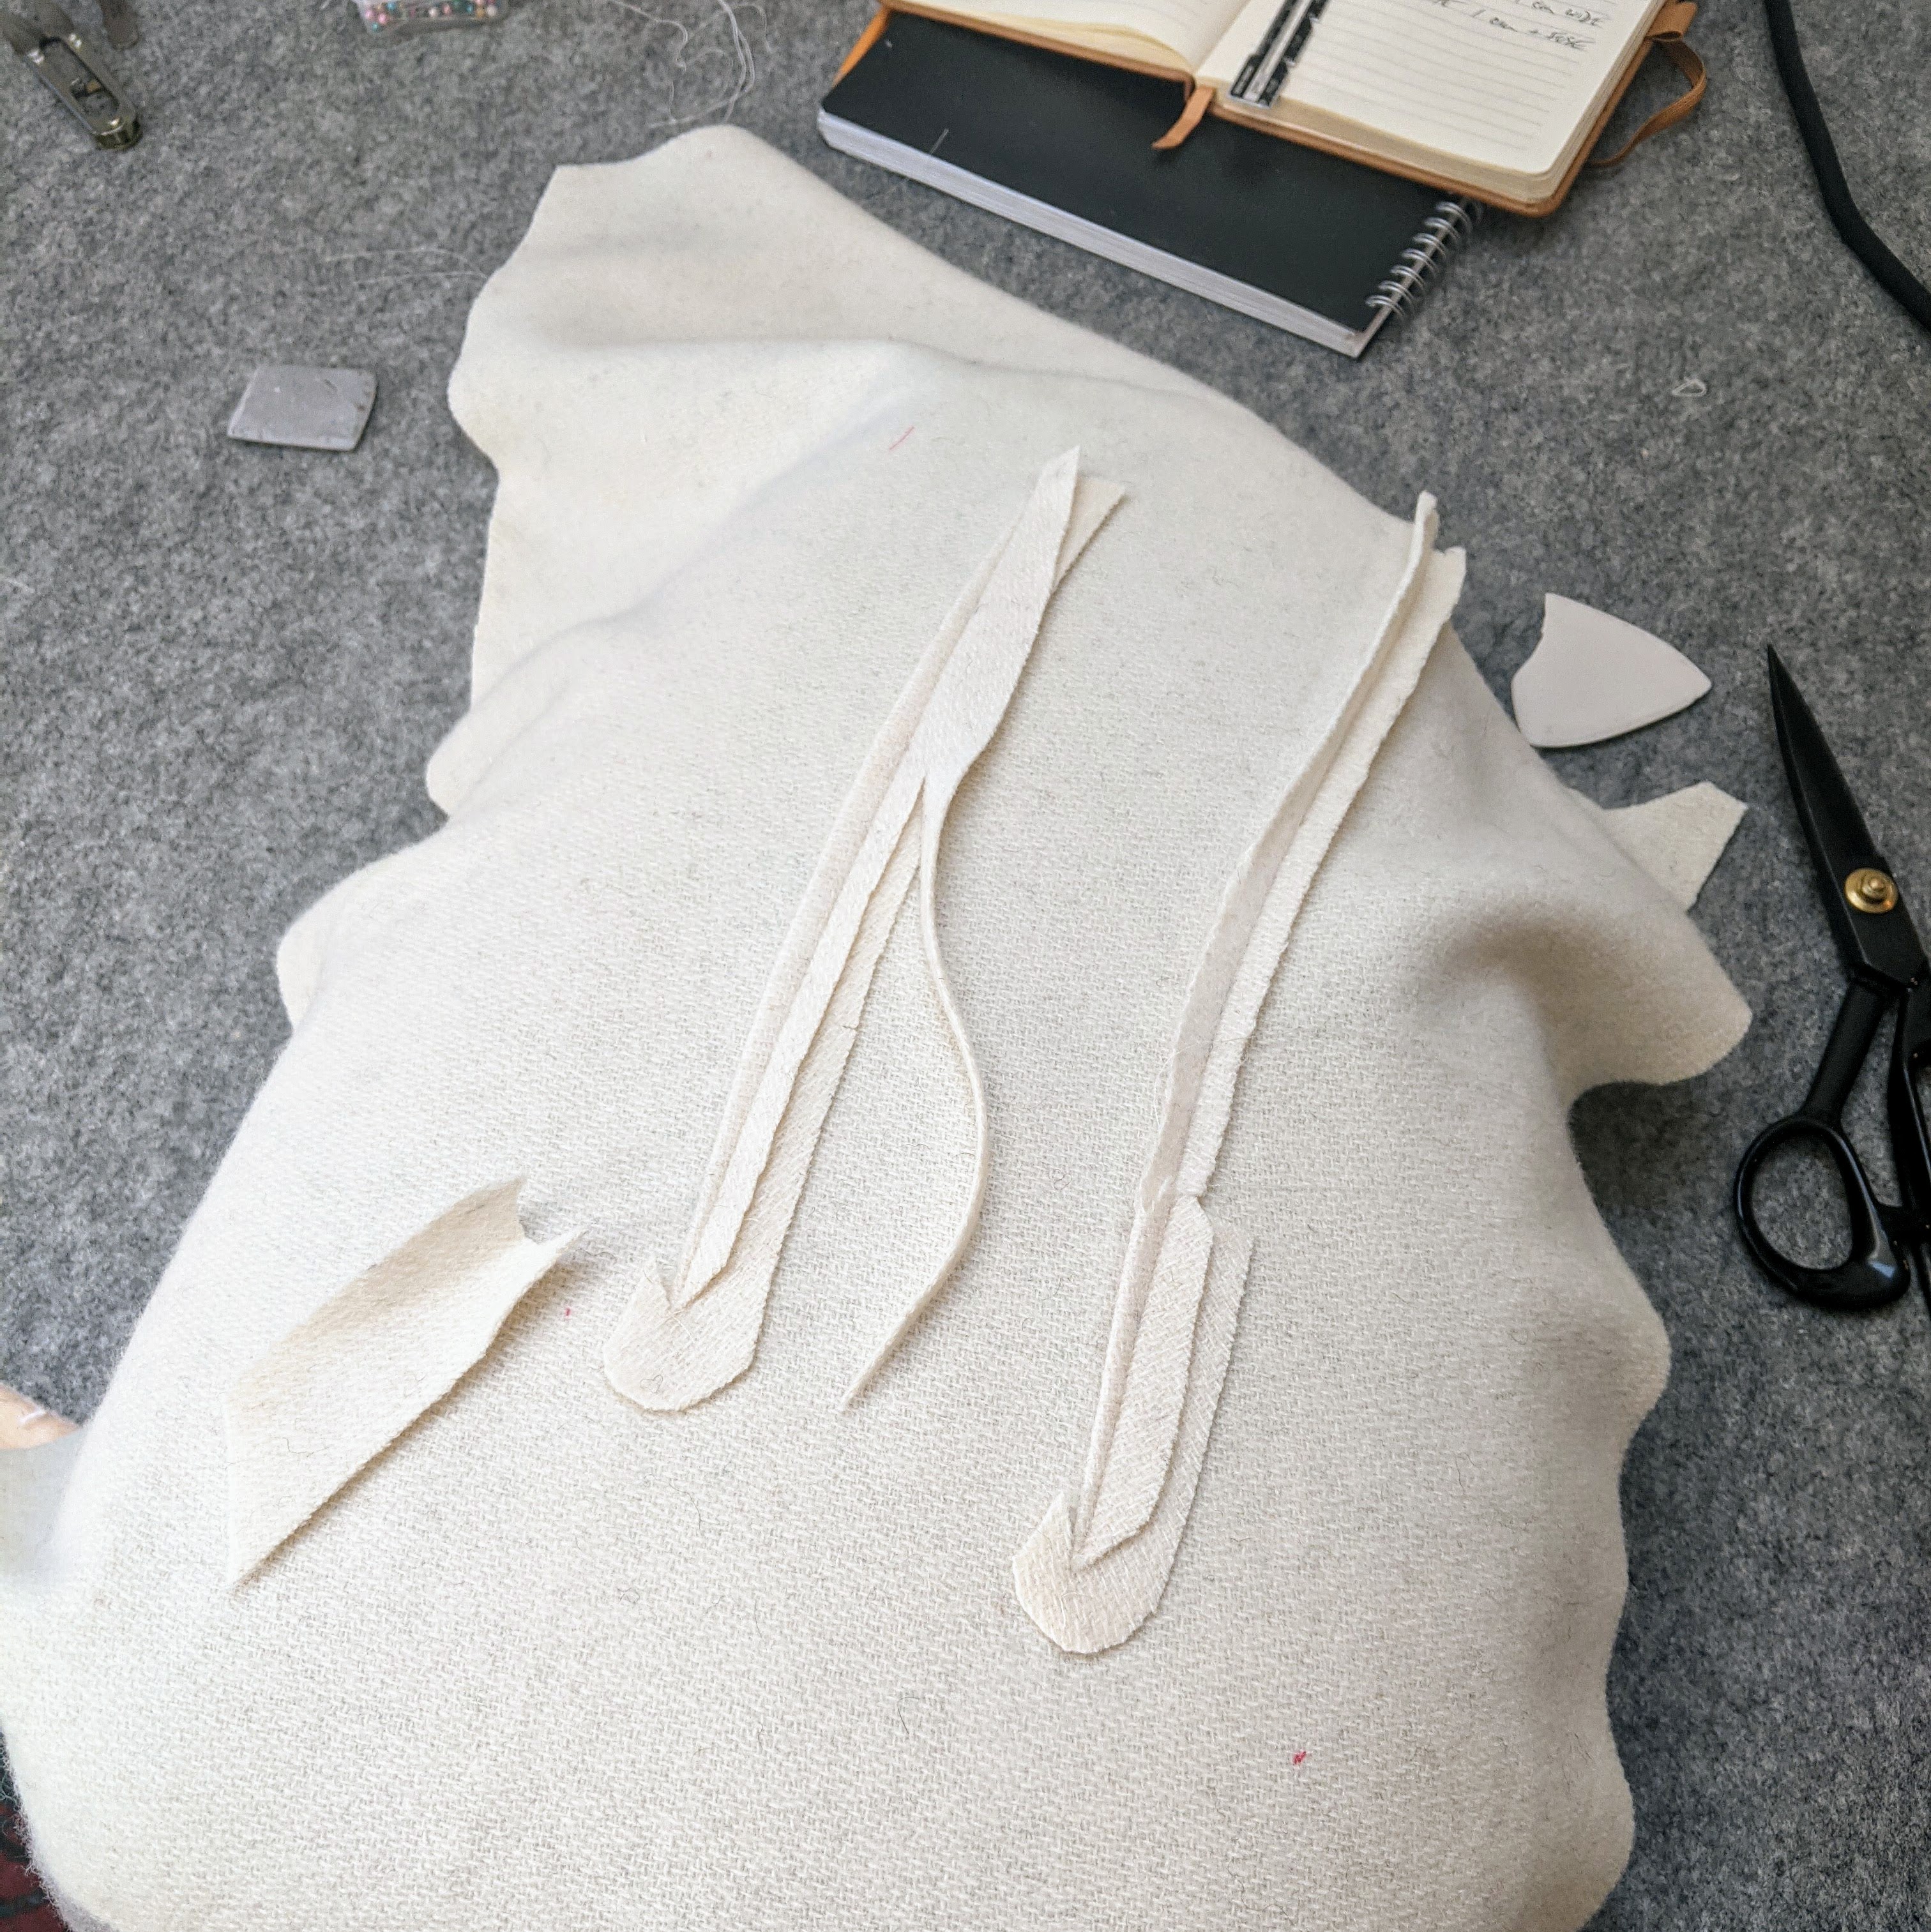
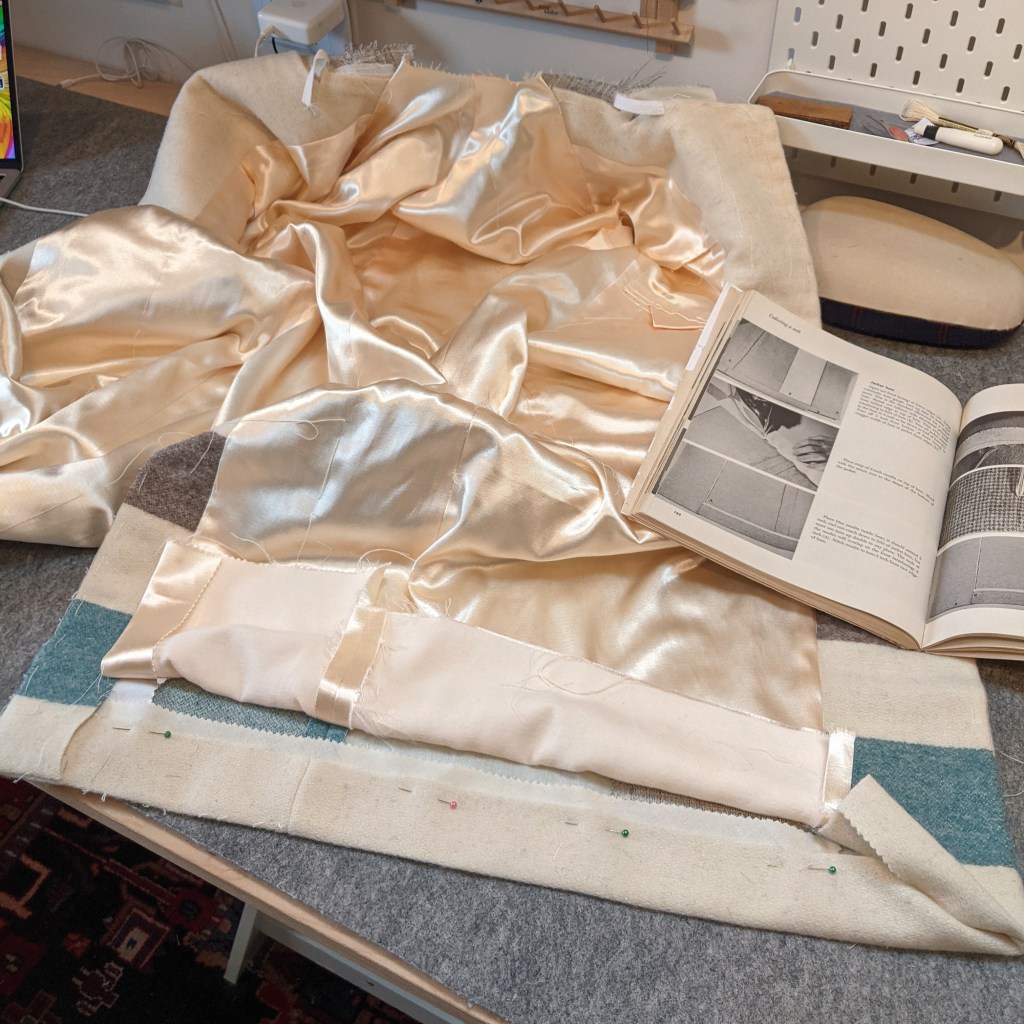
I wanted to create a chest piece for this coat, something that my Pierre Cardin coat had, but this coat lacks for some reason. I think extra structure at the upper chest and shoulder is always a good thing in a coat. I didn’t have any hair cloth (horsehair) in my stash, and didn’t want to order any. (Call me lazy and cheap!) Instead, I used an additional layer of canvas, placed perpendicular to the lapel breakline (roll line).
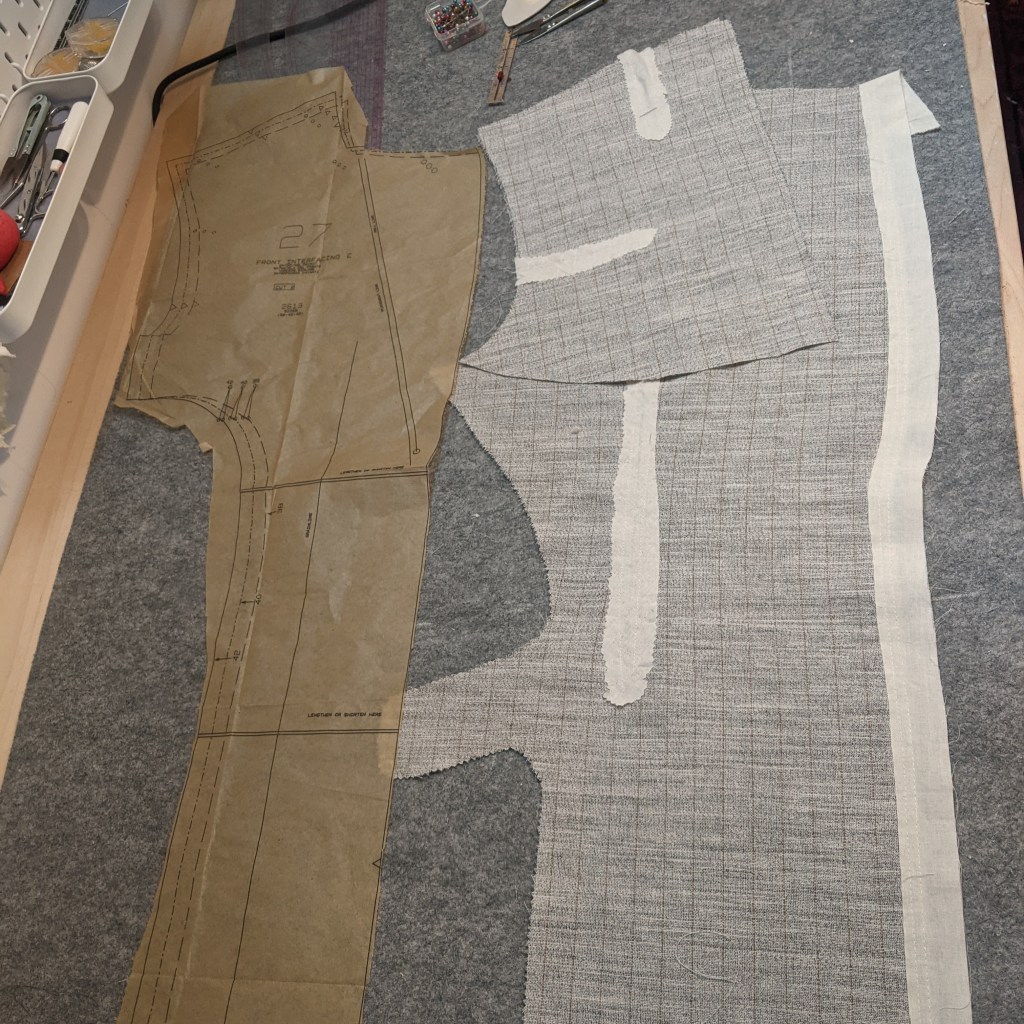
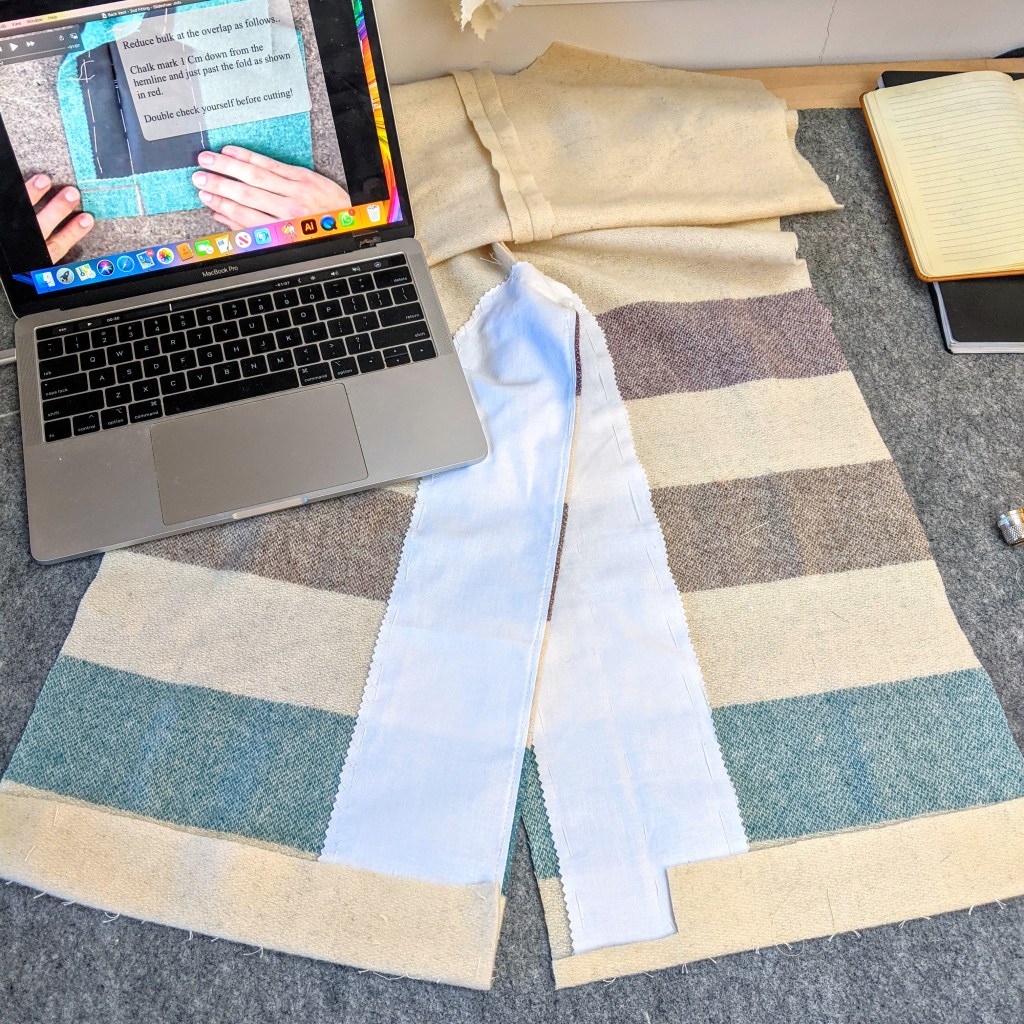
There’s a lot going on in these photos. The edge of the coat front and lapel has been replaced with muslin to reduce bulk. Bias muslin has also been used in place of a fusible to close the various darts. All “old school” stuff! I show how this is done on my YouTube channel here and here.
In the right picture you can see the original interfacing pattern piece, (those days are long gone!), and how much larger I cut my canvas. The overall width aligns with the midpoint of the pocket. The angled tab reinforces the entire pocket.
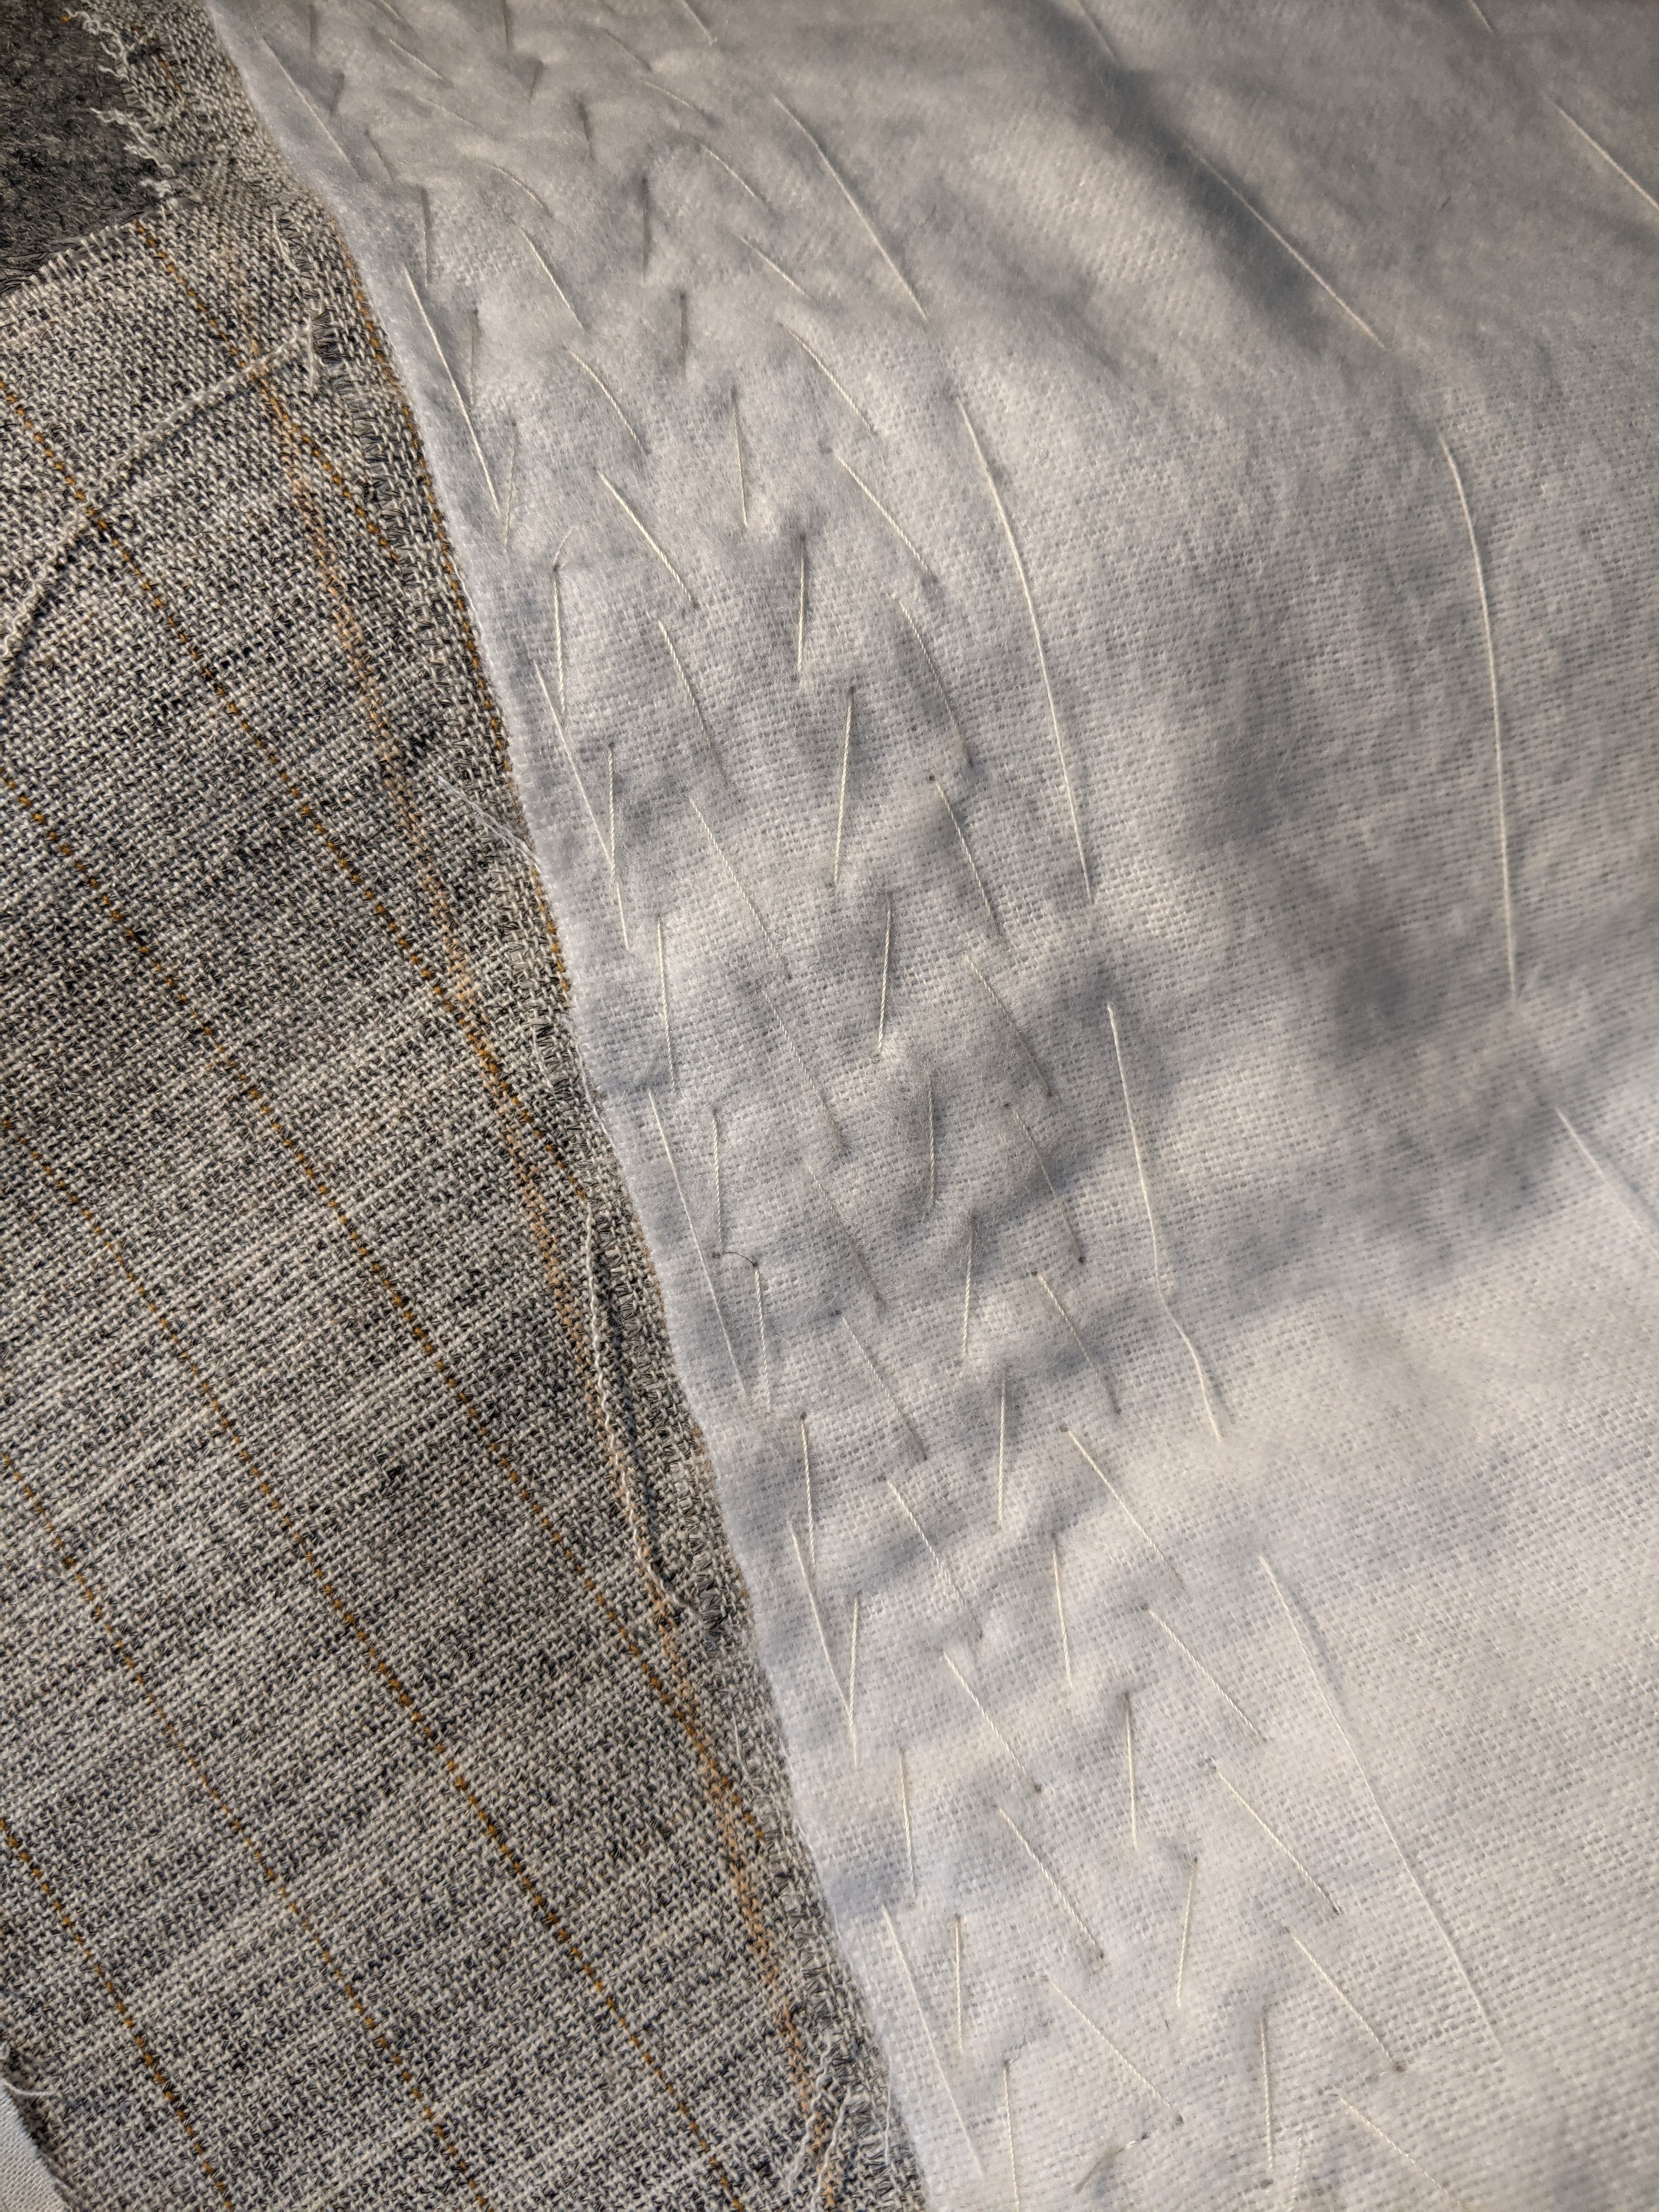
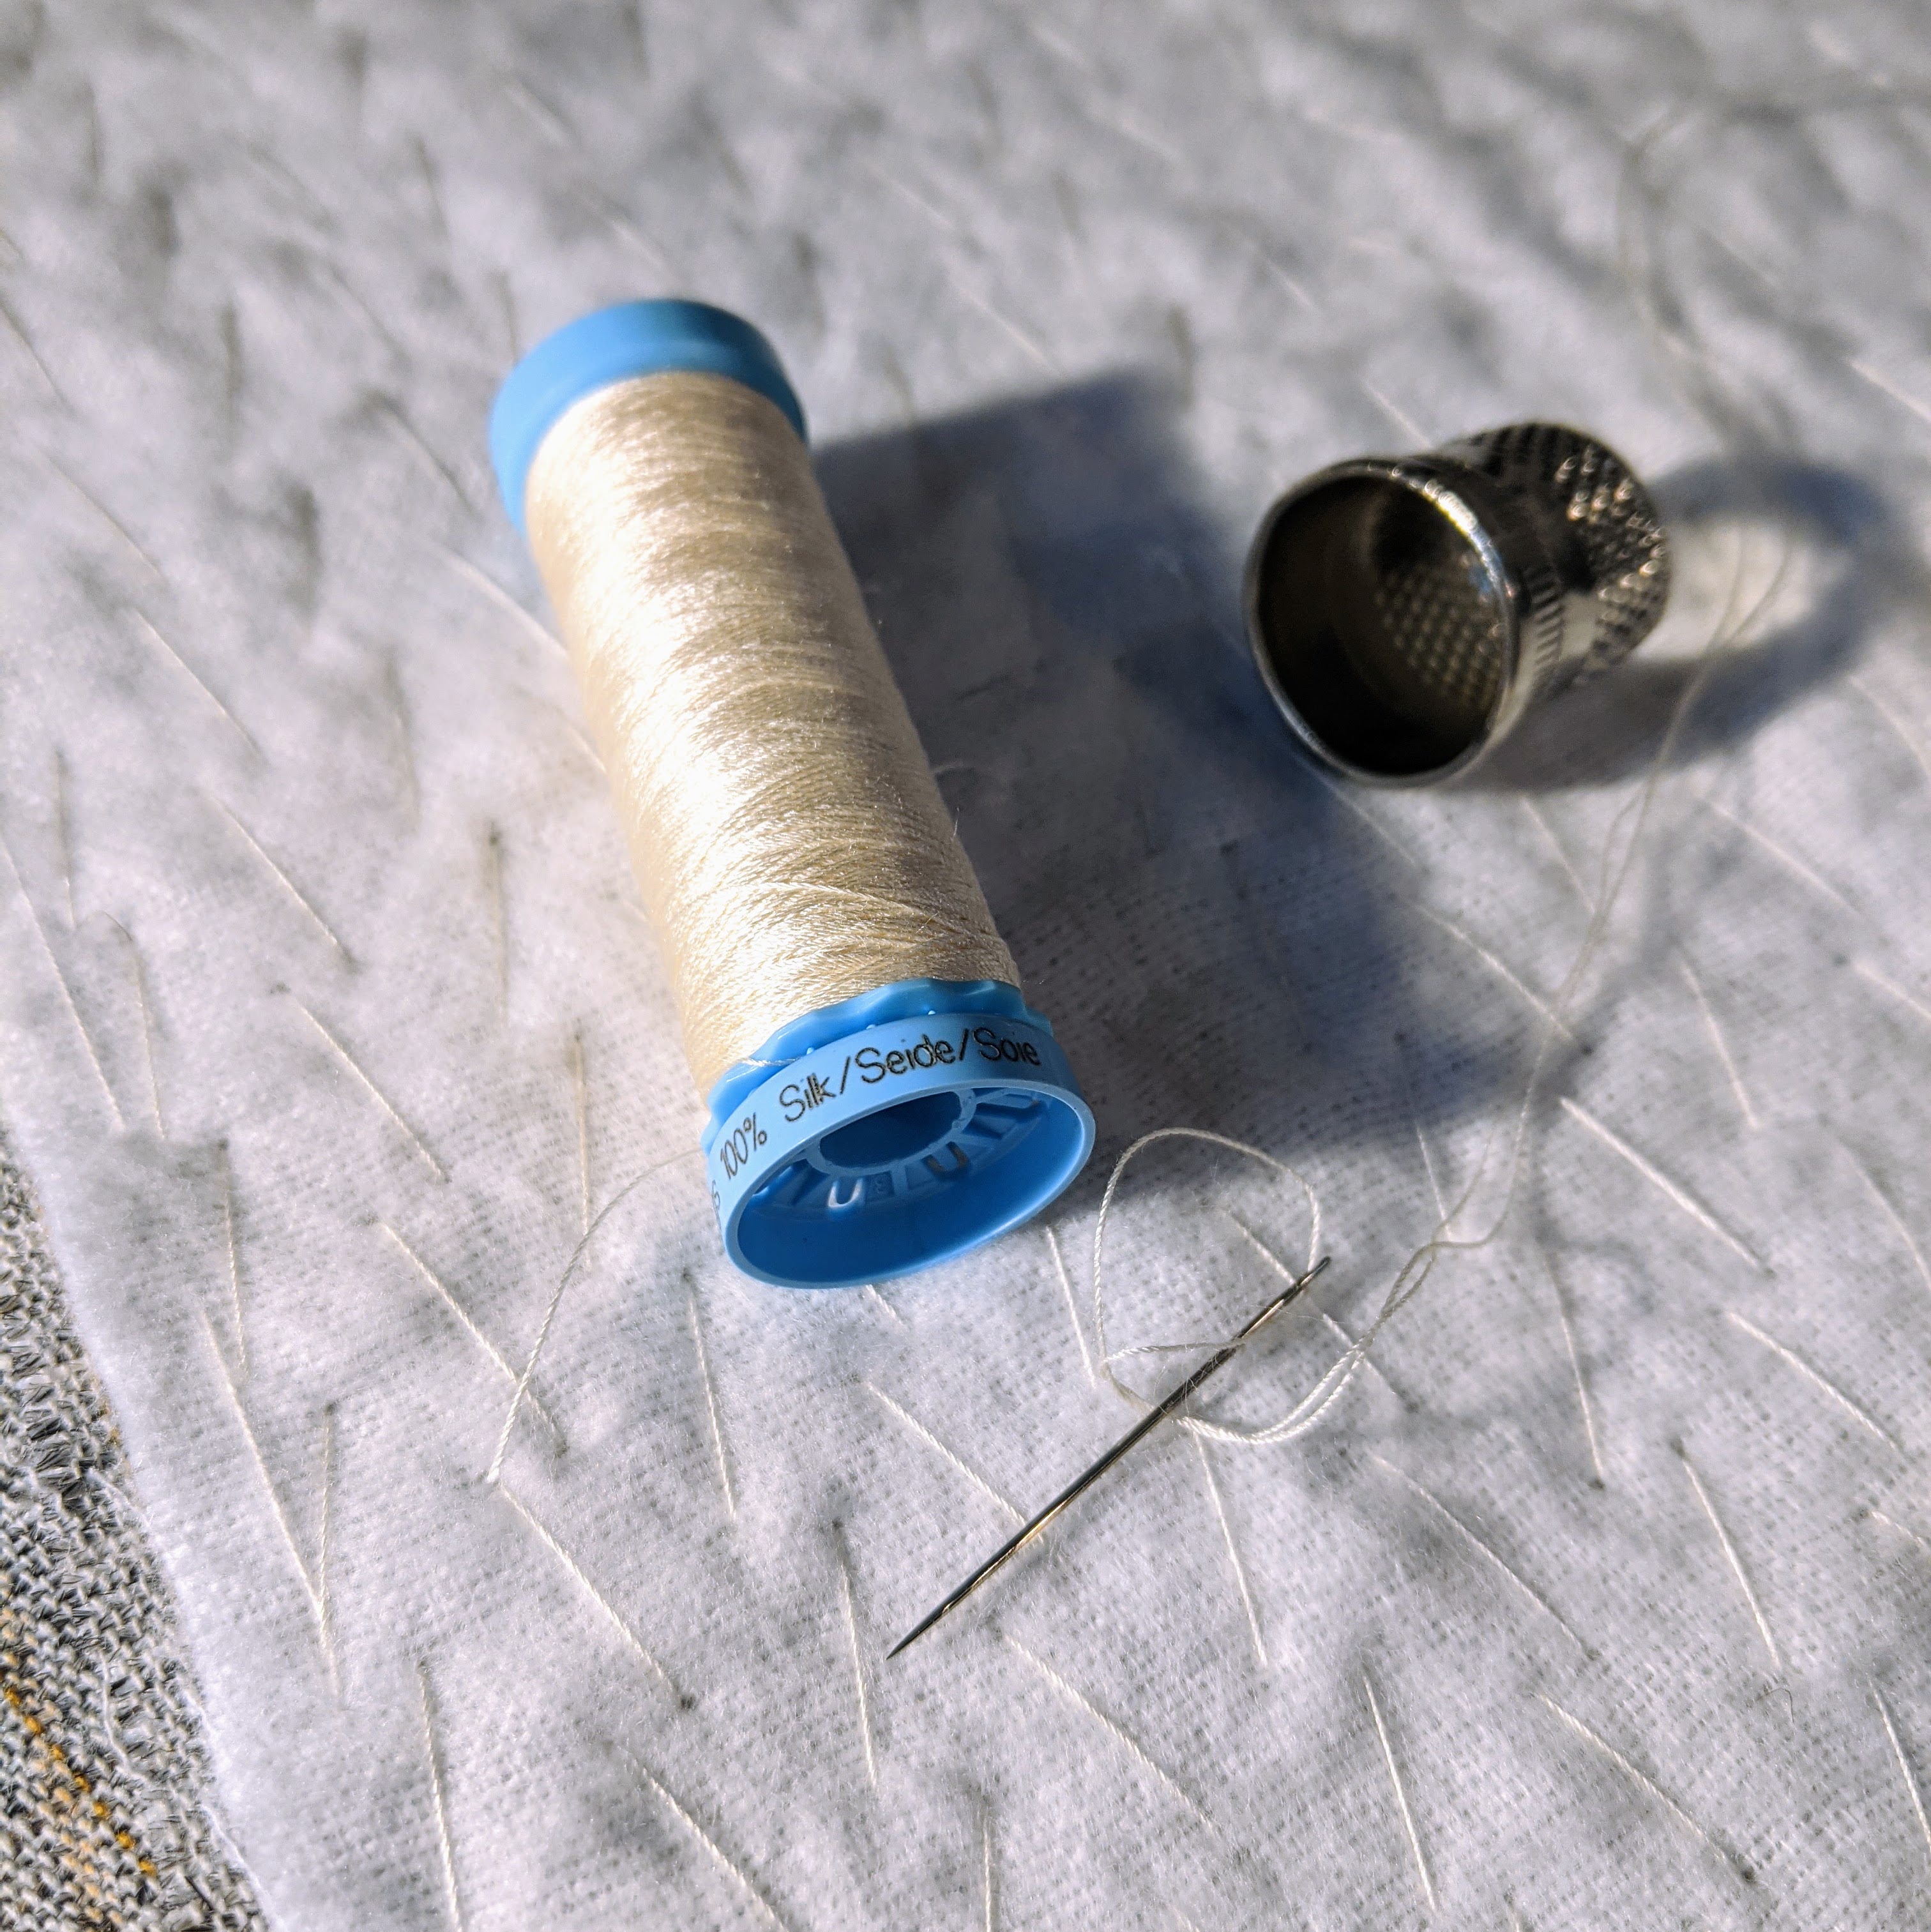
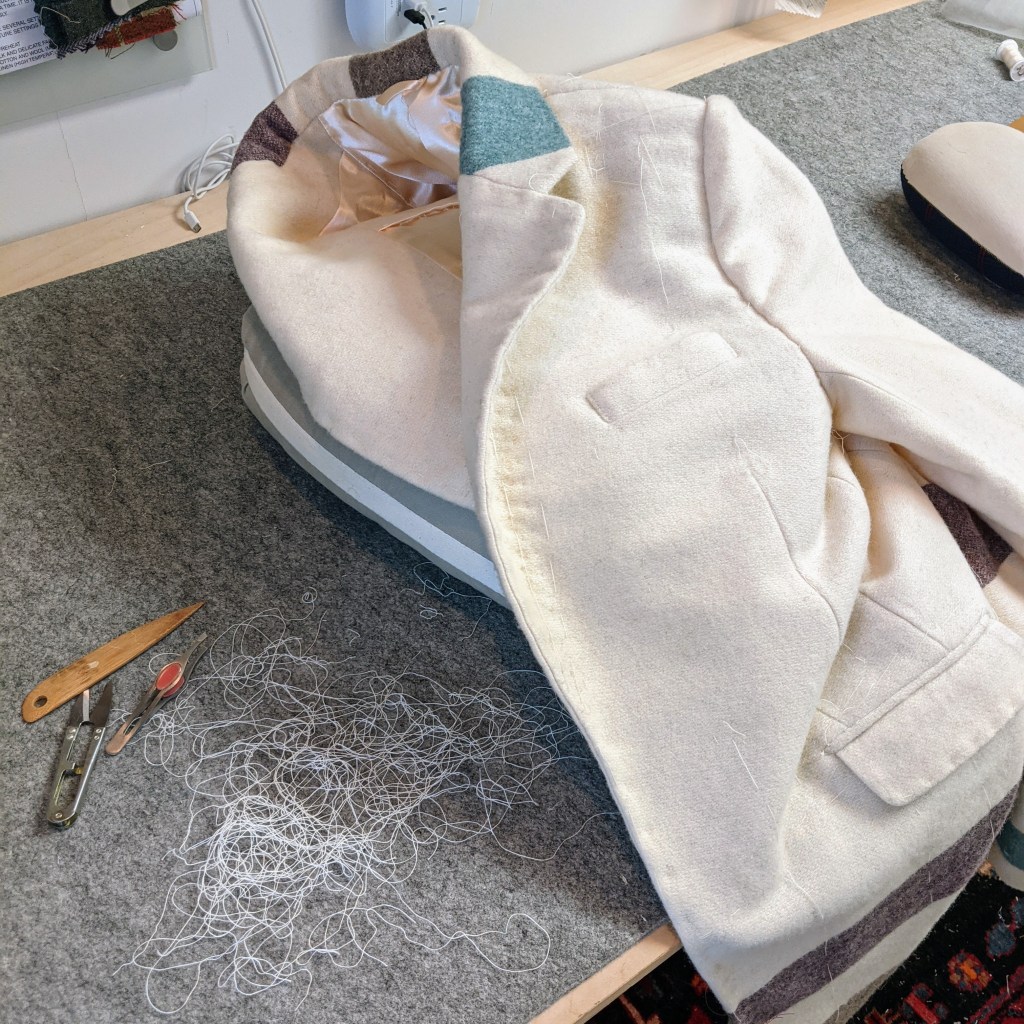
The chest piece is covered with white domette that I brought back from the UK. It’s pad stitched with silk thread which I love working with. It doesn’t tangle, and the work goes quickly. It’s set back slightly from the breakline which is just barely visible as a red chalk line. This edge will eventually be covered with a twill tape (which I had to source at JoJo’s, at an obscene price!).


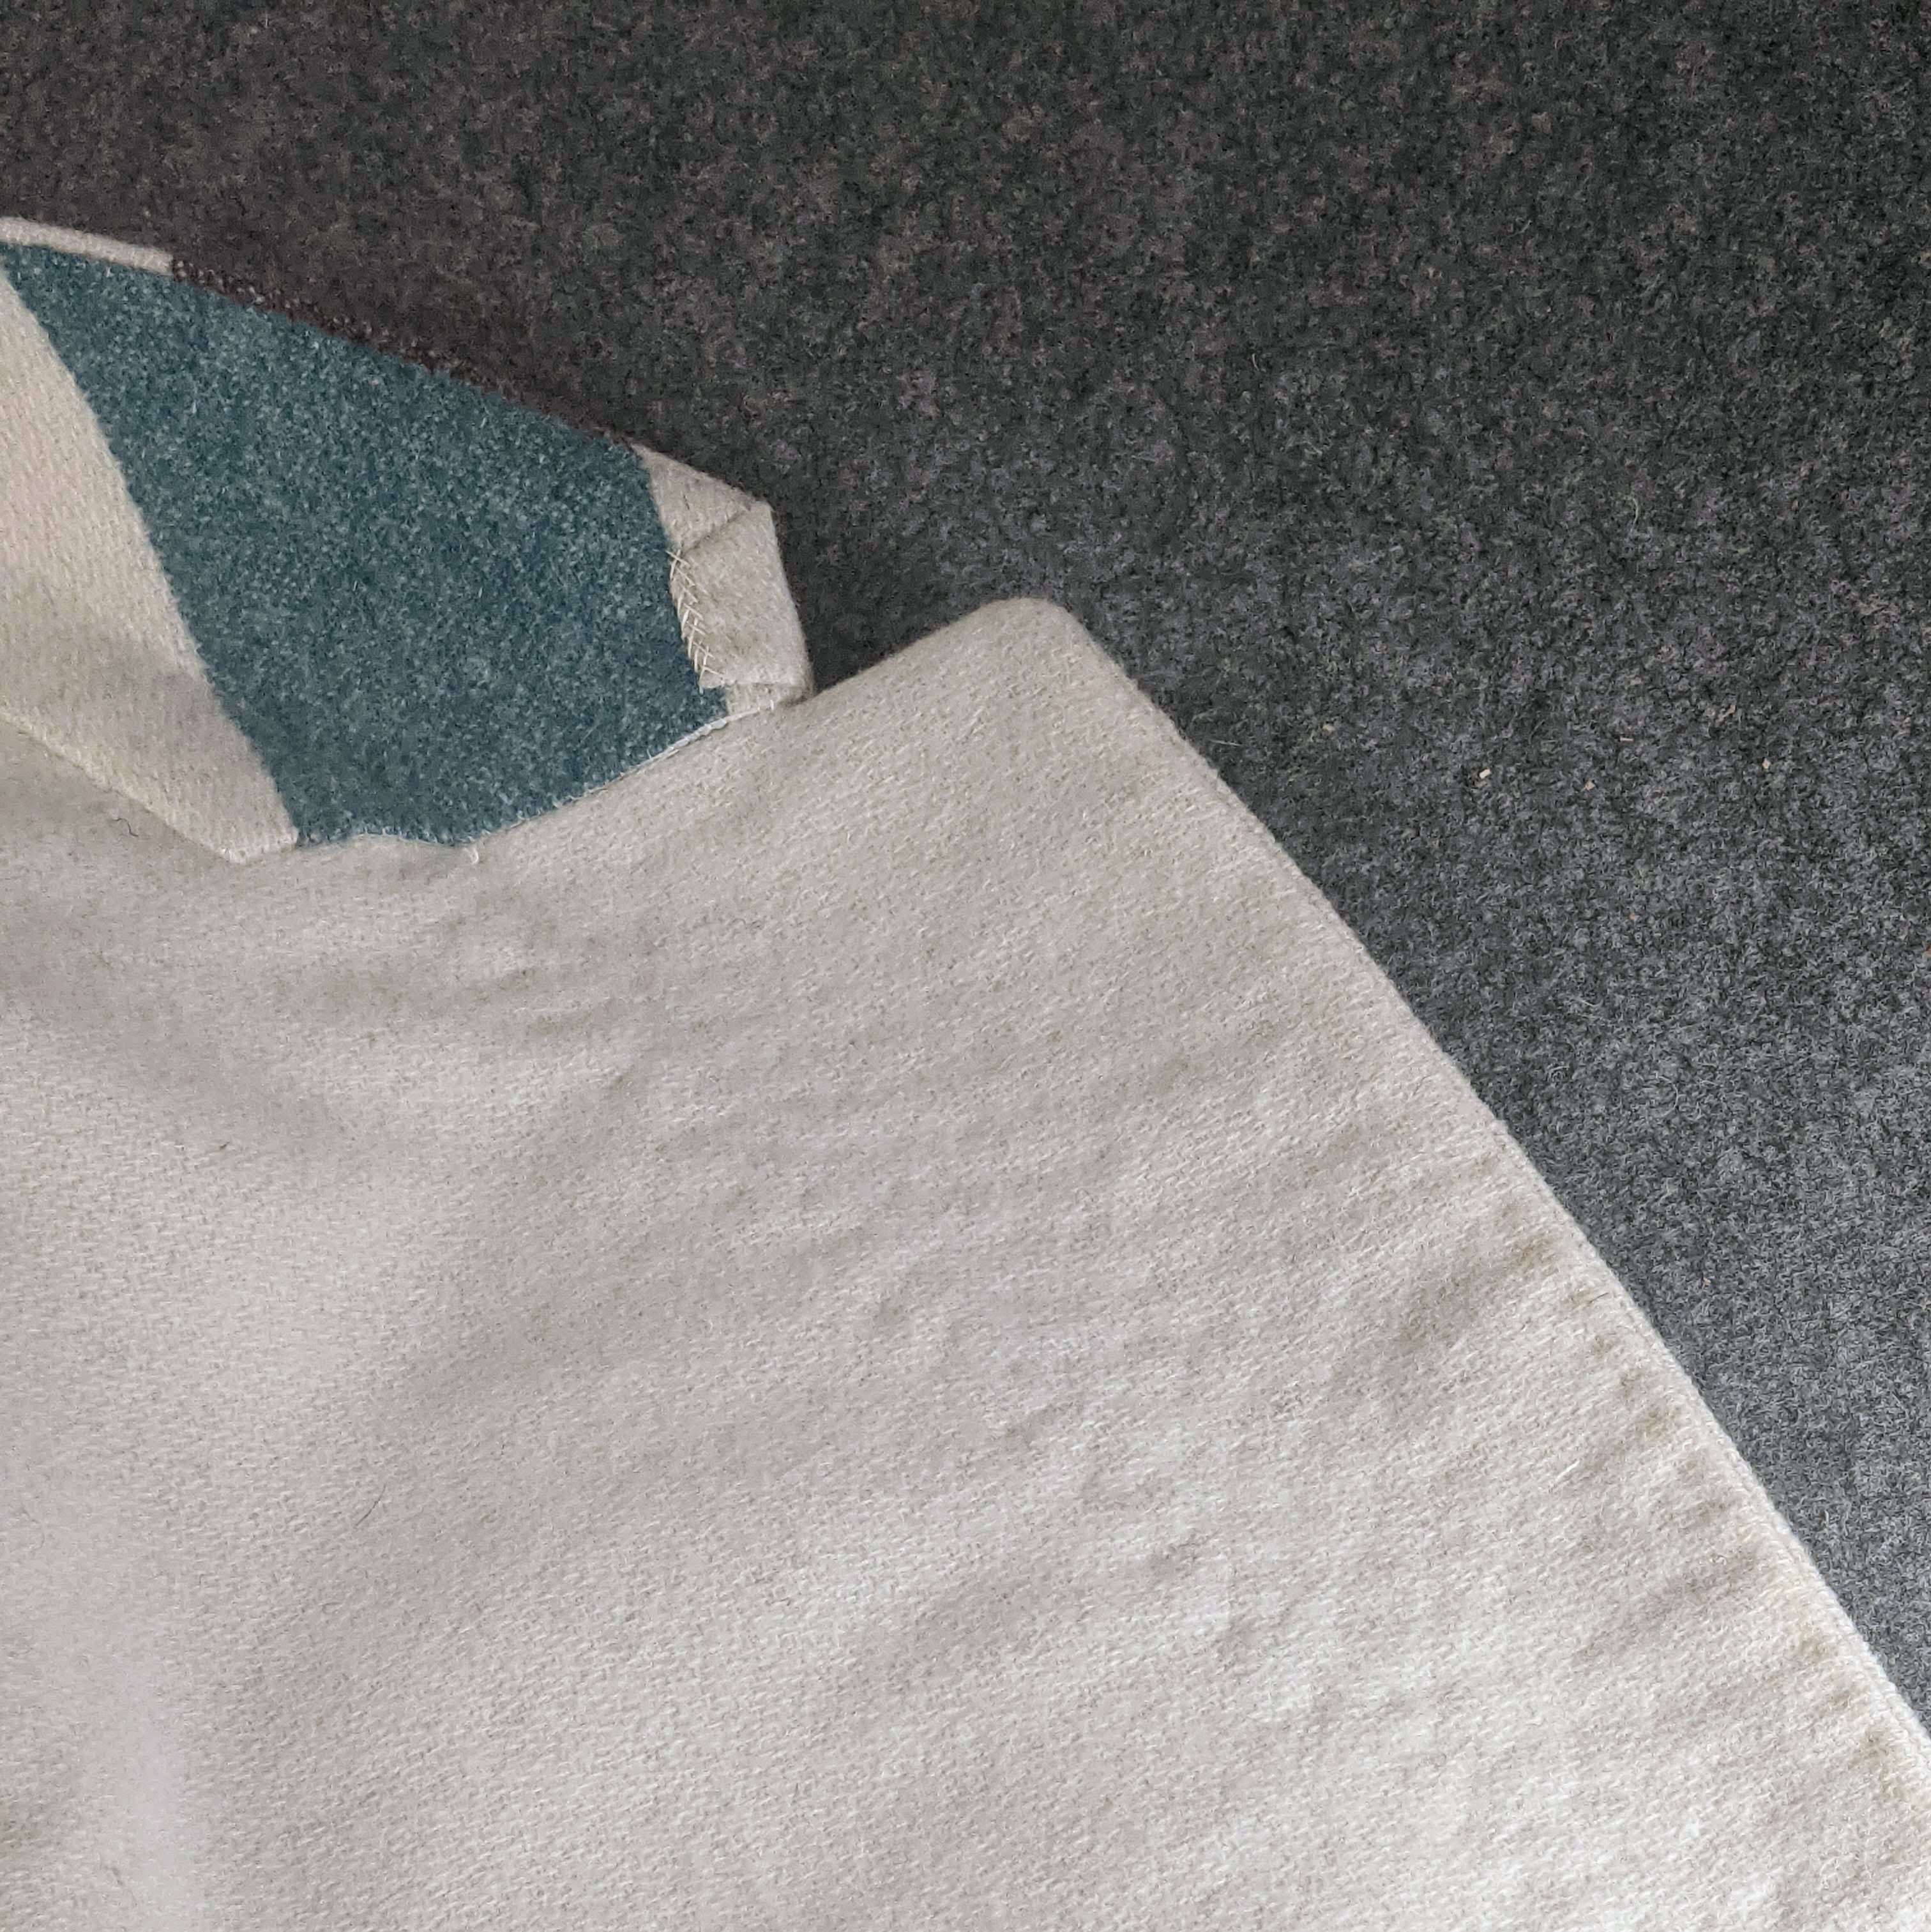
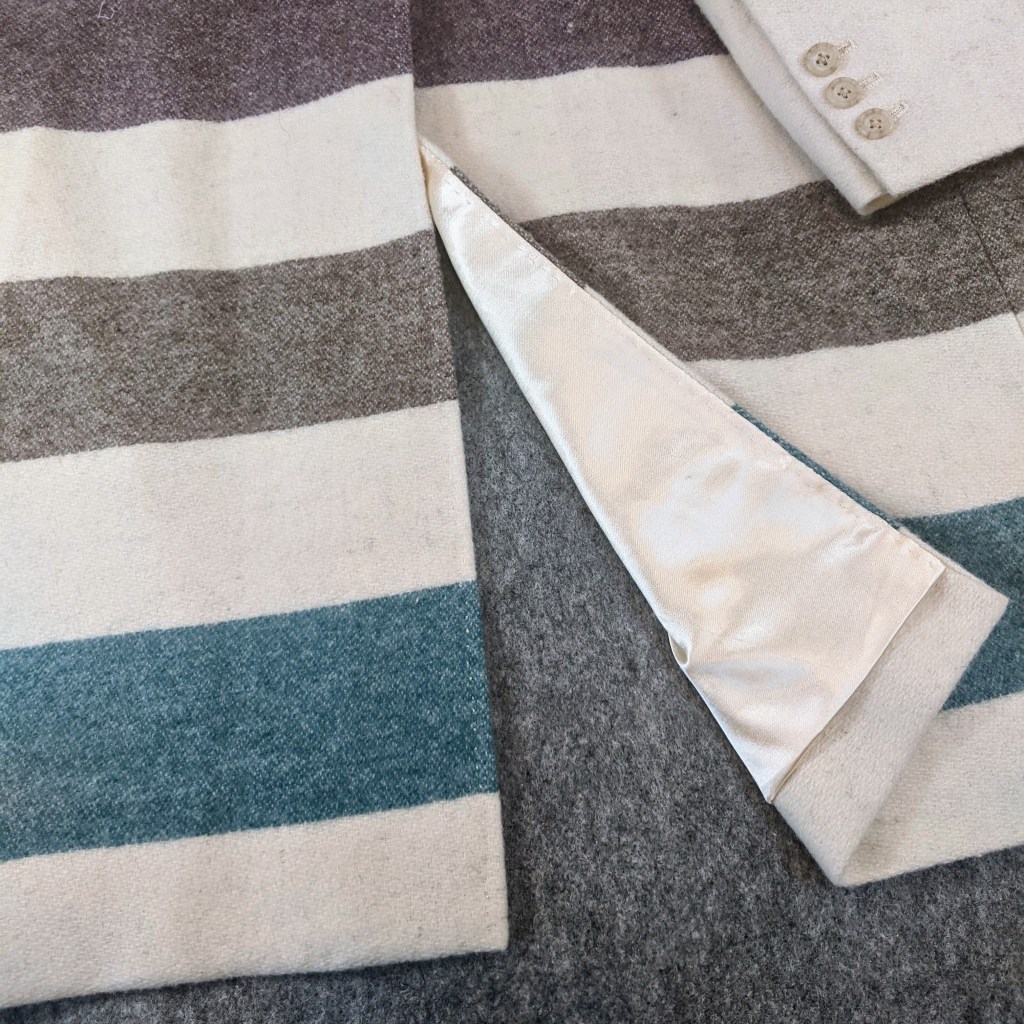
I learned to make the best vents of my life at the Academy. Here you see the back and sleeve vents reinforced with white Silesia that I brought back from the UK in my luggage! I added a strip of bias canvas to the sleeve hems because I love a substantial coat cuff.
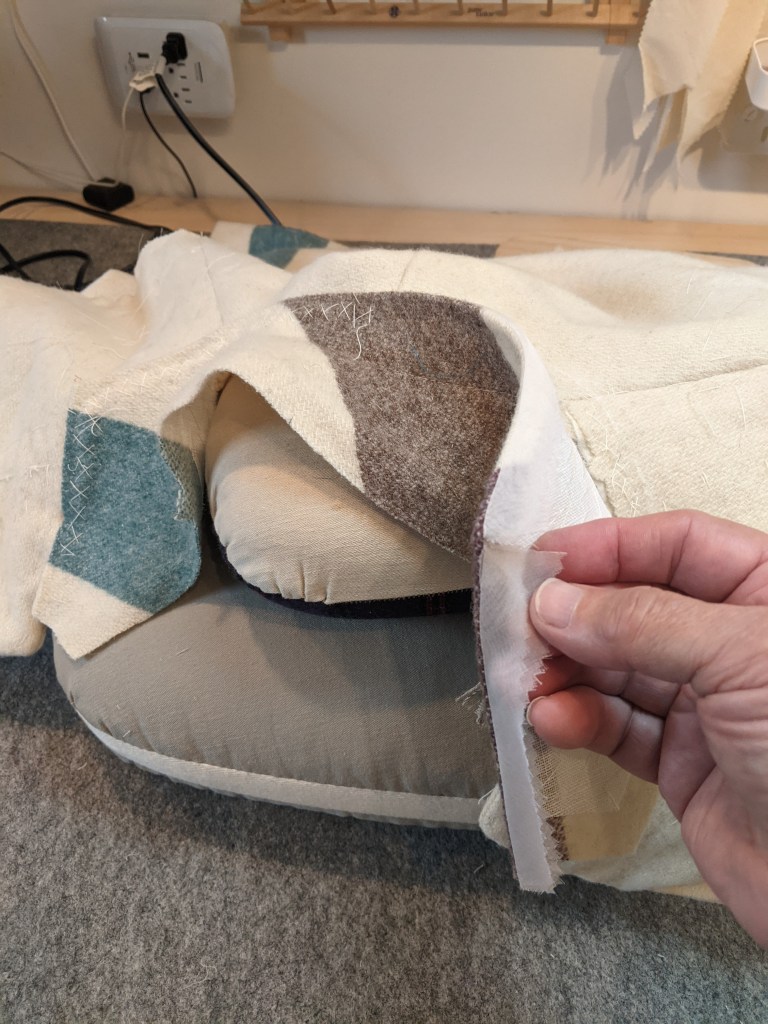
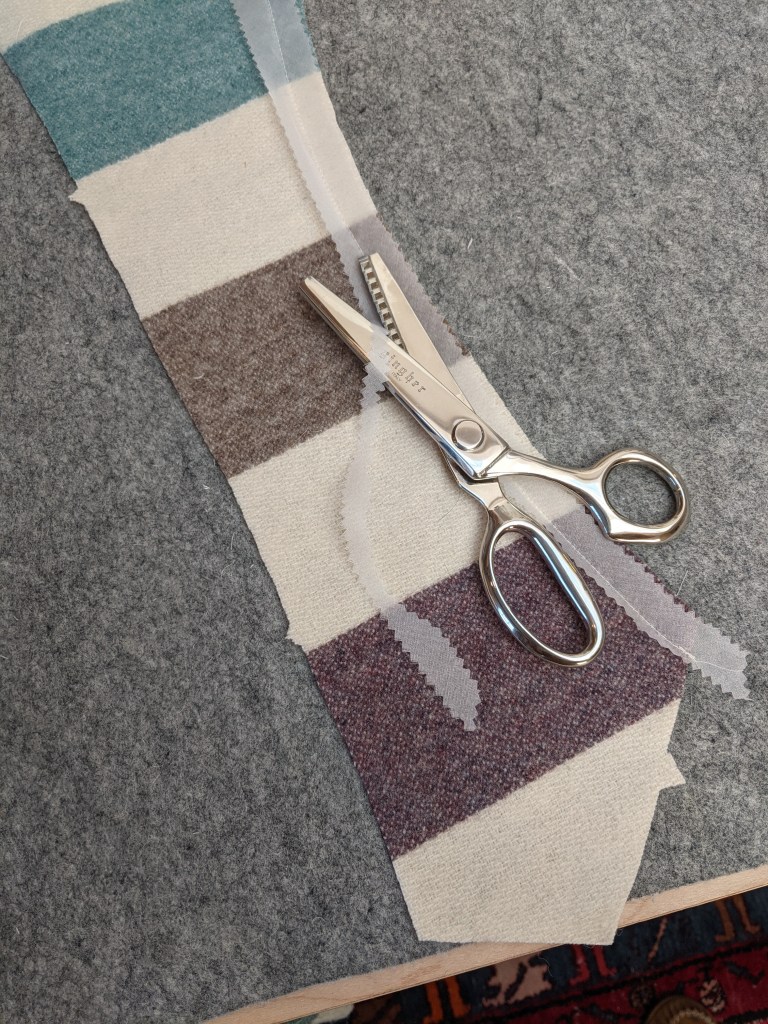
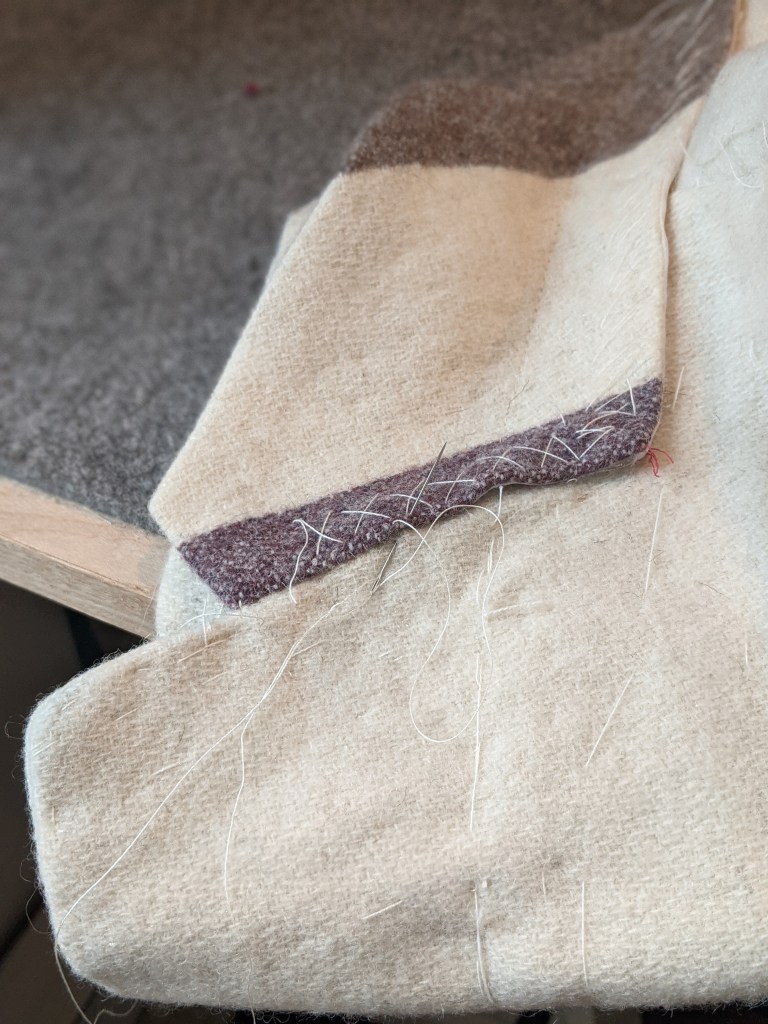
The darts are balanced with strips of bias cut wool. This technique was new to me, thank you Tailoring Academy, and I’m so glad to have it in my “tool kit”. It looks difficult but is actually very simple. I love when I can up my game with something easy. I may do a little tutorial on it someday, so stay tuned.
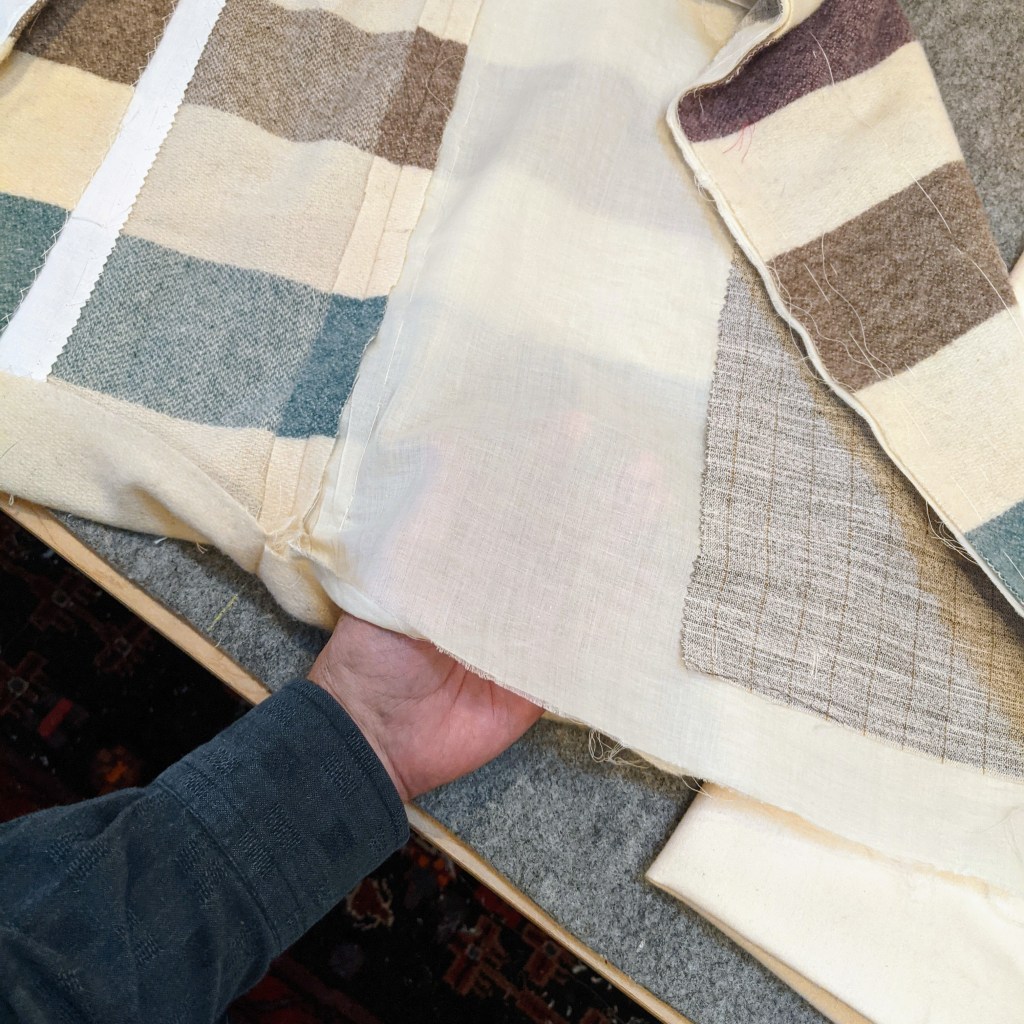
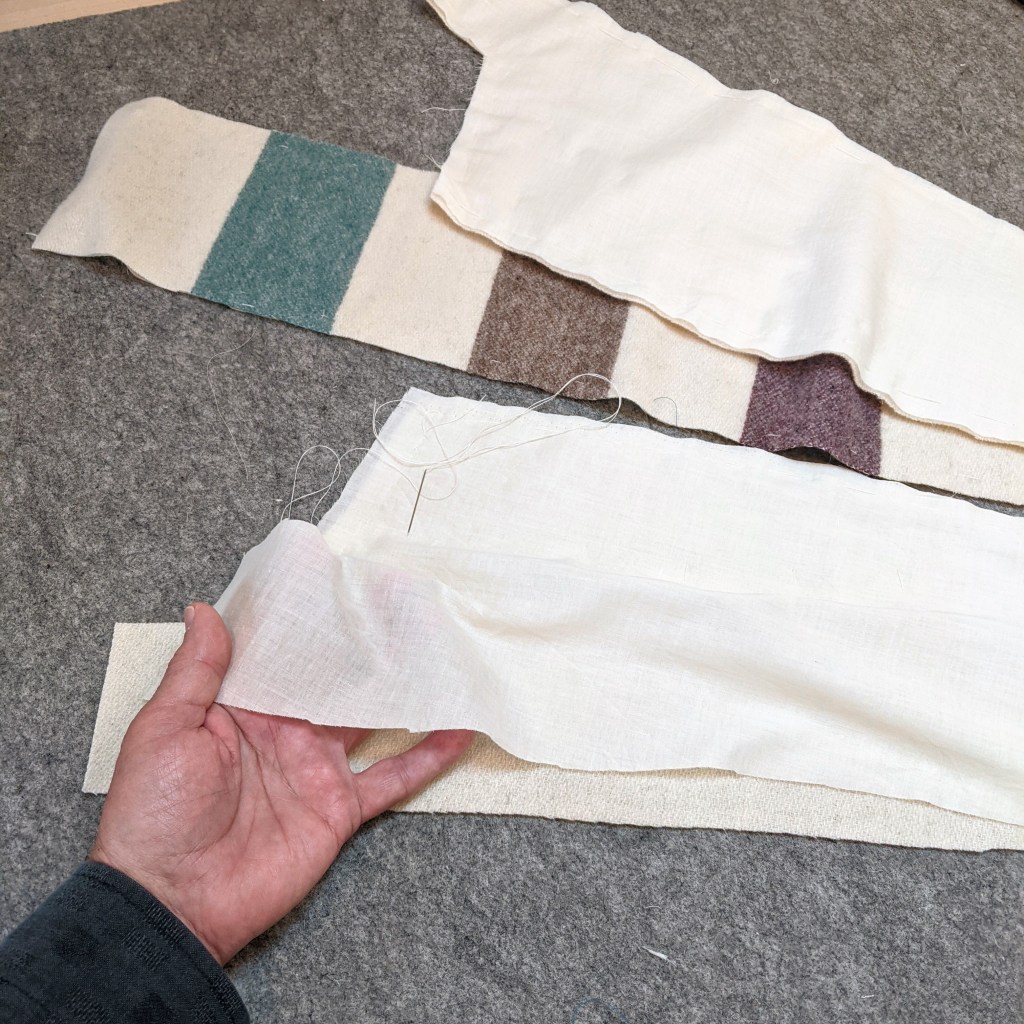
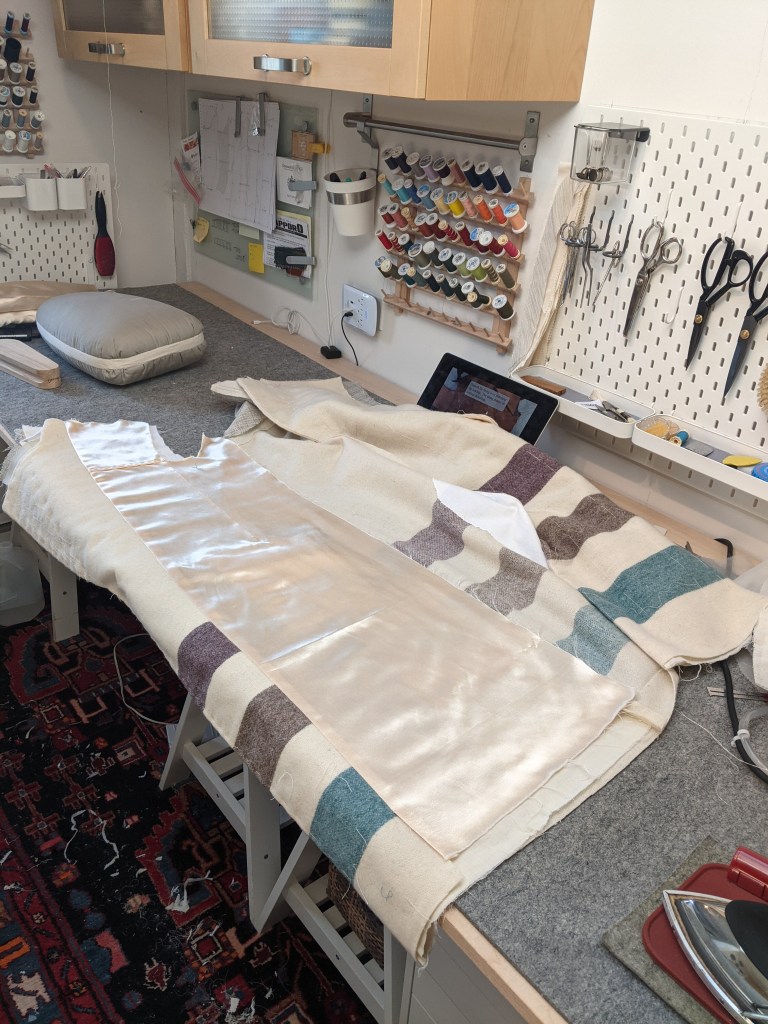
It wouldn’t be sewing without an unexpected “surprise”. Right? I never anticipated this, but I could see a slight shadow of the canvas through the wool when I started basting the fronts together. I knew I would never be able to live with it. The solution was to underline the fronts and the facing with a lightweight cotton batiste. Luckily I had some in my stash. It worked perfectly . I simply basted it to the wrong side of the wool, and proceeded to treat it as one. It solved the problem perfectly with a minimal amount of added bulk.
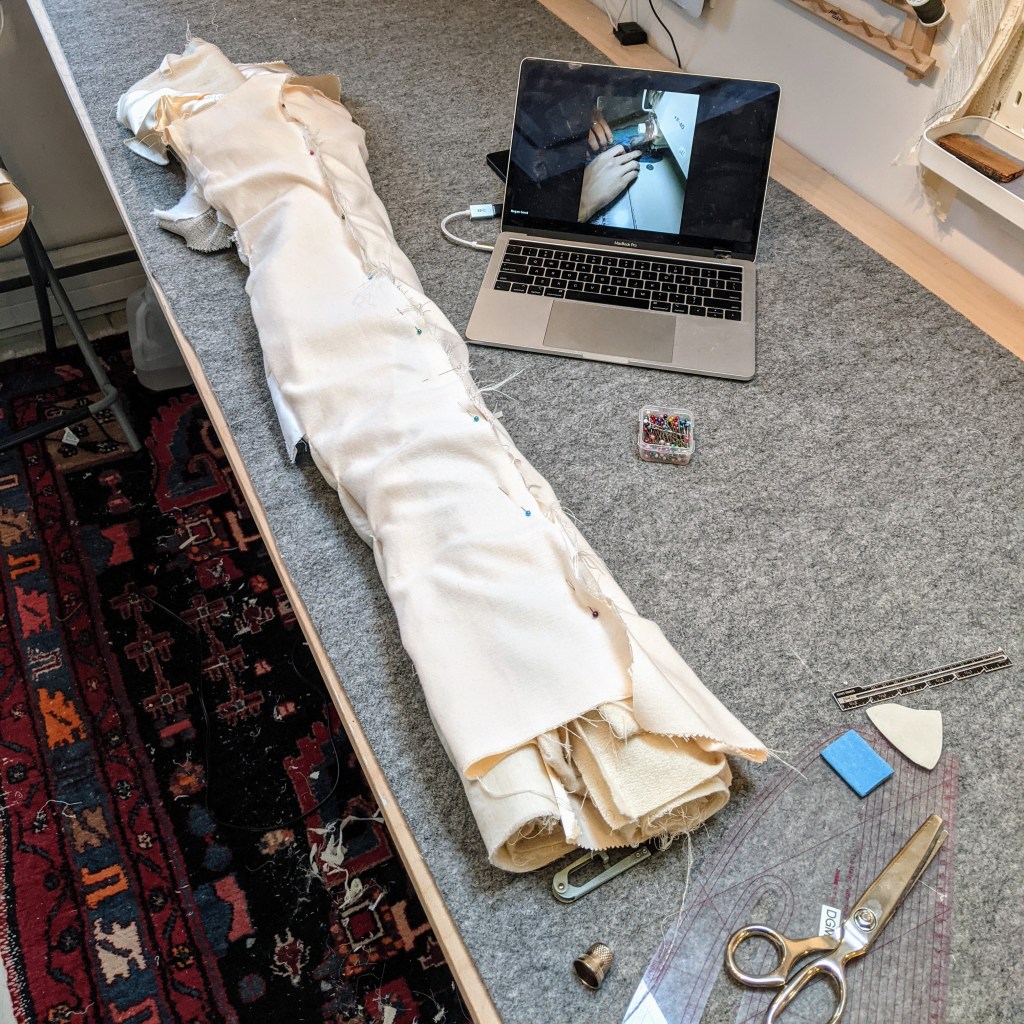
Collars are my nemesis. All my fit issues seem to coalesce there; my sloped shoulders, curved upper back and skinny neck. I had made a slapdash muslin before even launching into this project, and wasn’t reassured that the collar was going to work.
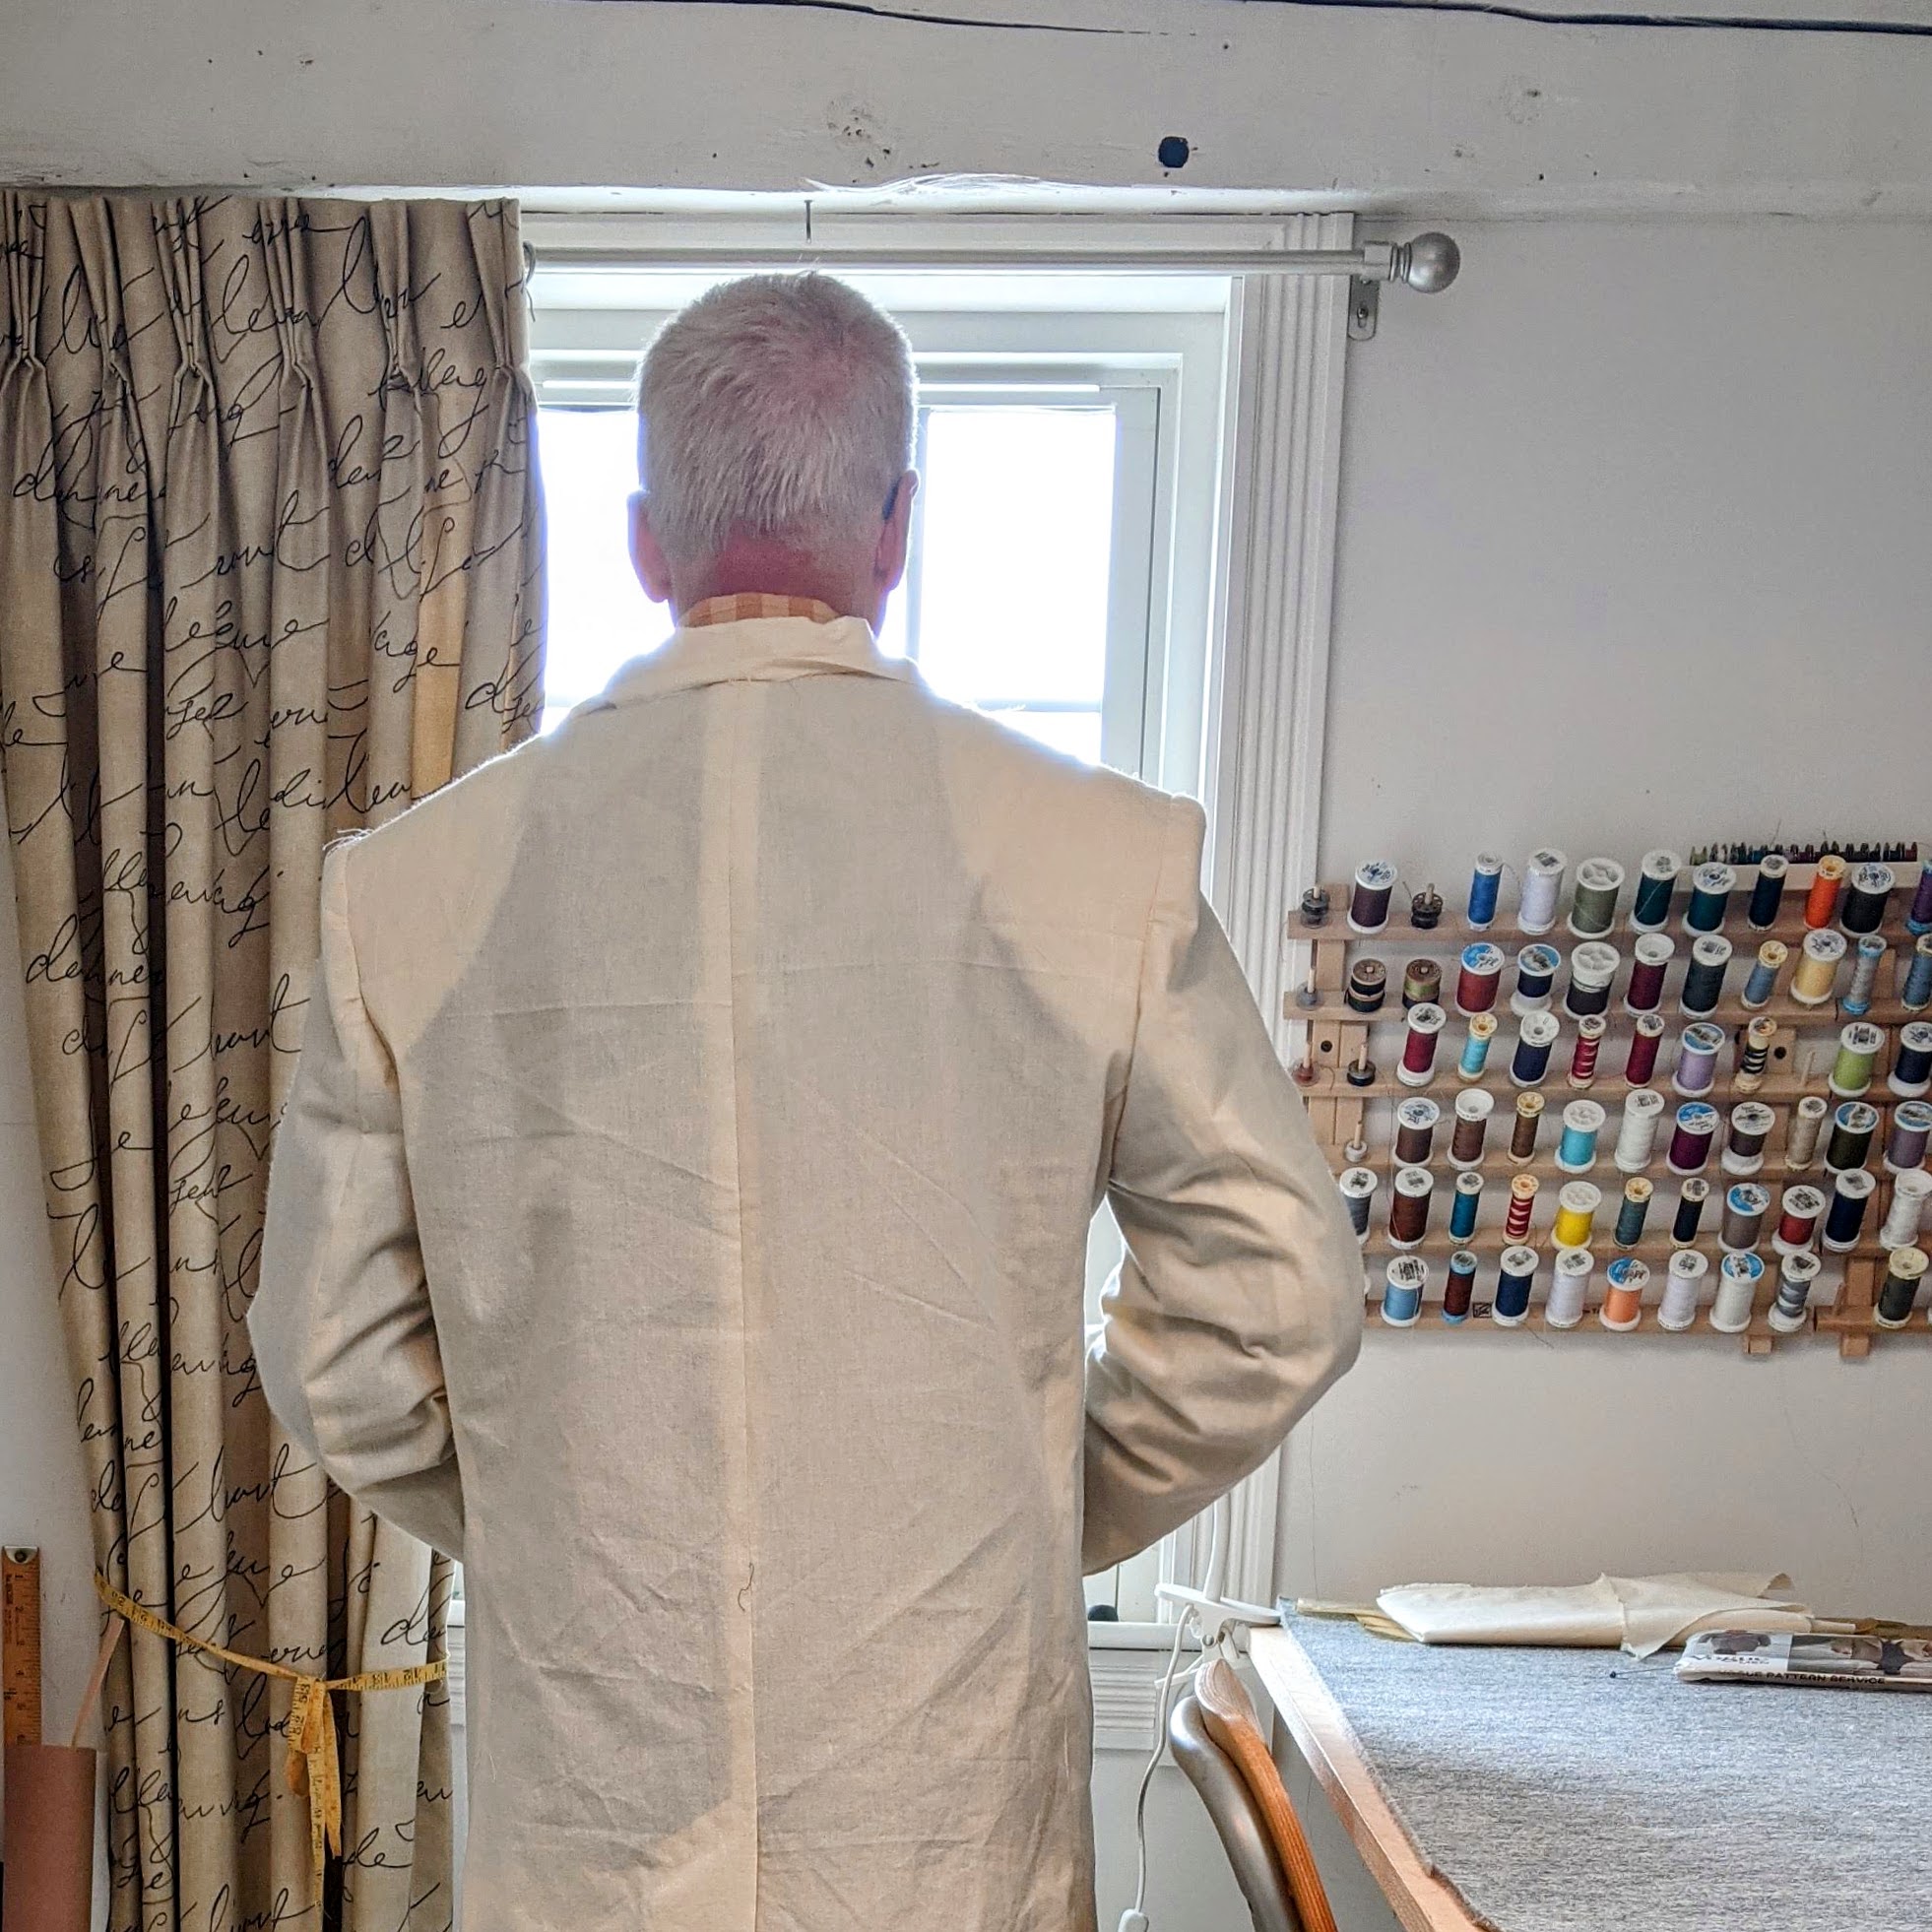
Where do you go when it looks like this???
My decision was to fall back, forget the instructions, and construct the type of collar seen on a tailored jacket. Familiar territory. Yes, it would be a lot of hand sewing, but the extra control would be worth it. I’d simply advanced too far on this coat to risk a collar disaster. Time to pull out all my Academy notes.
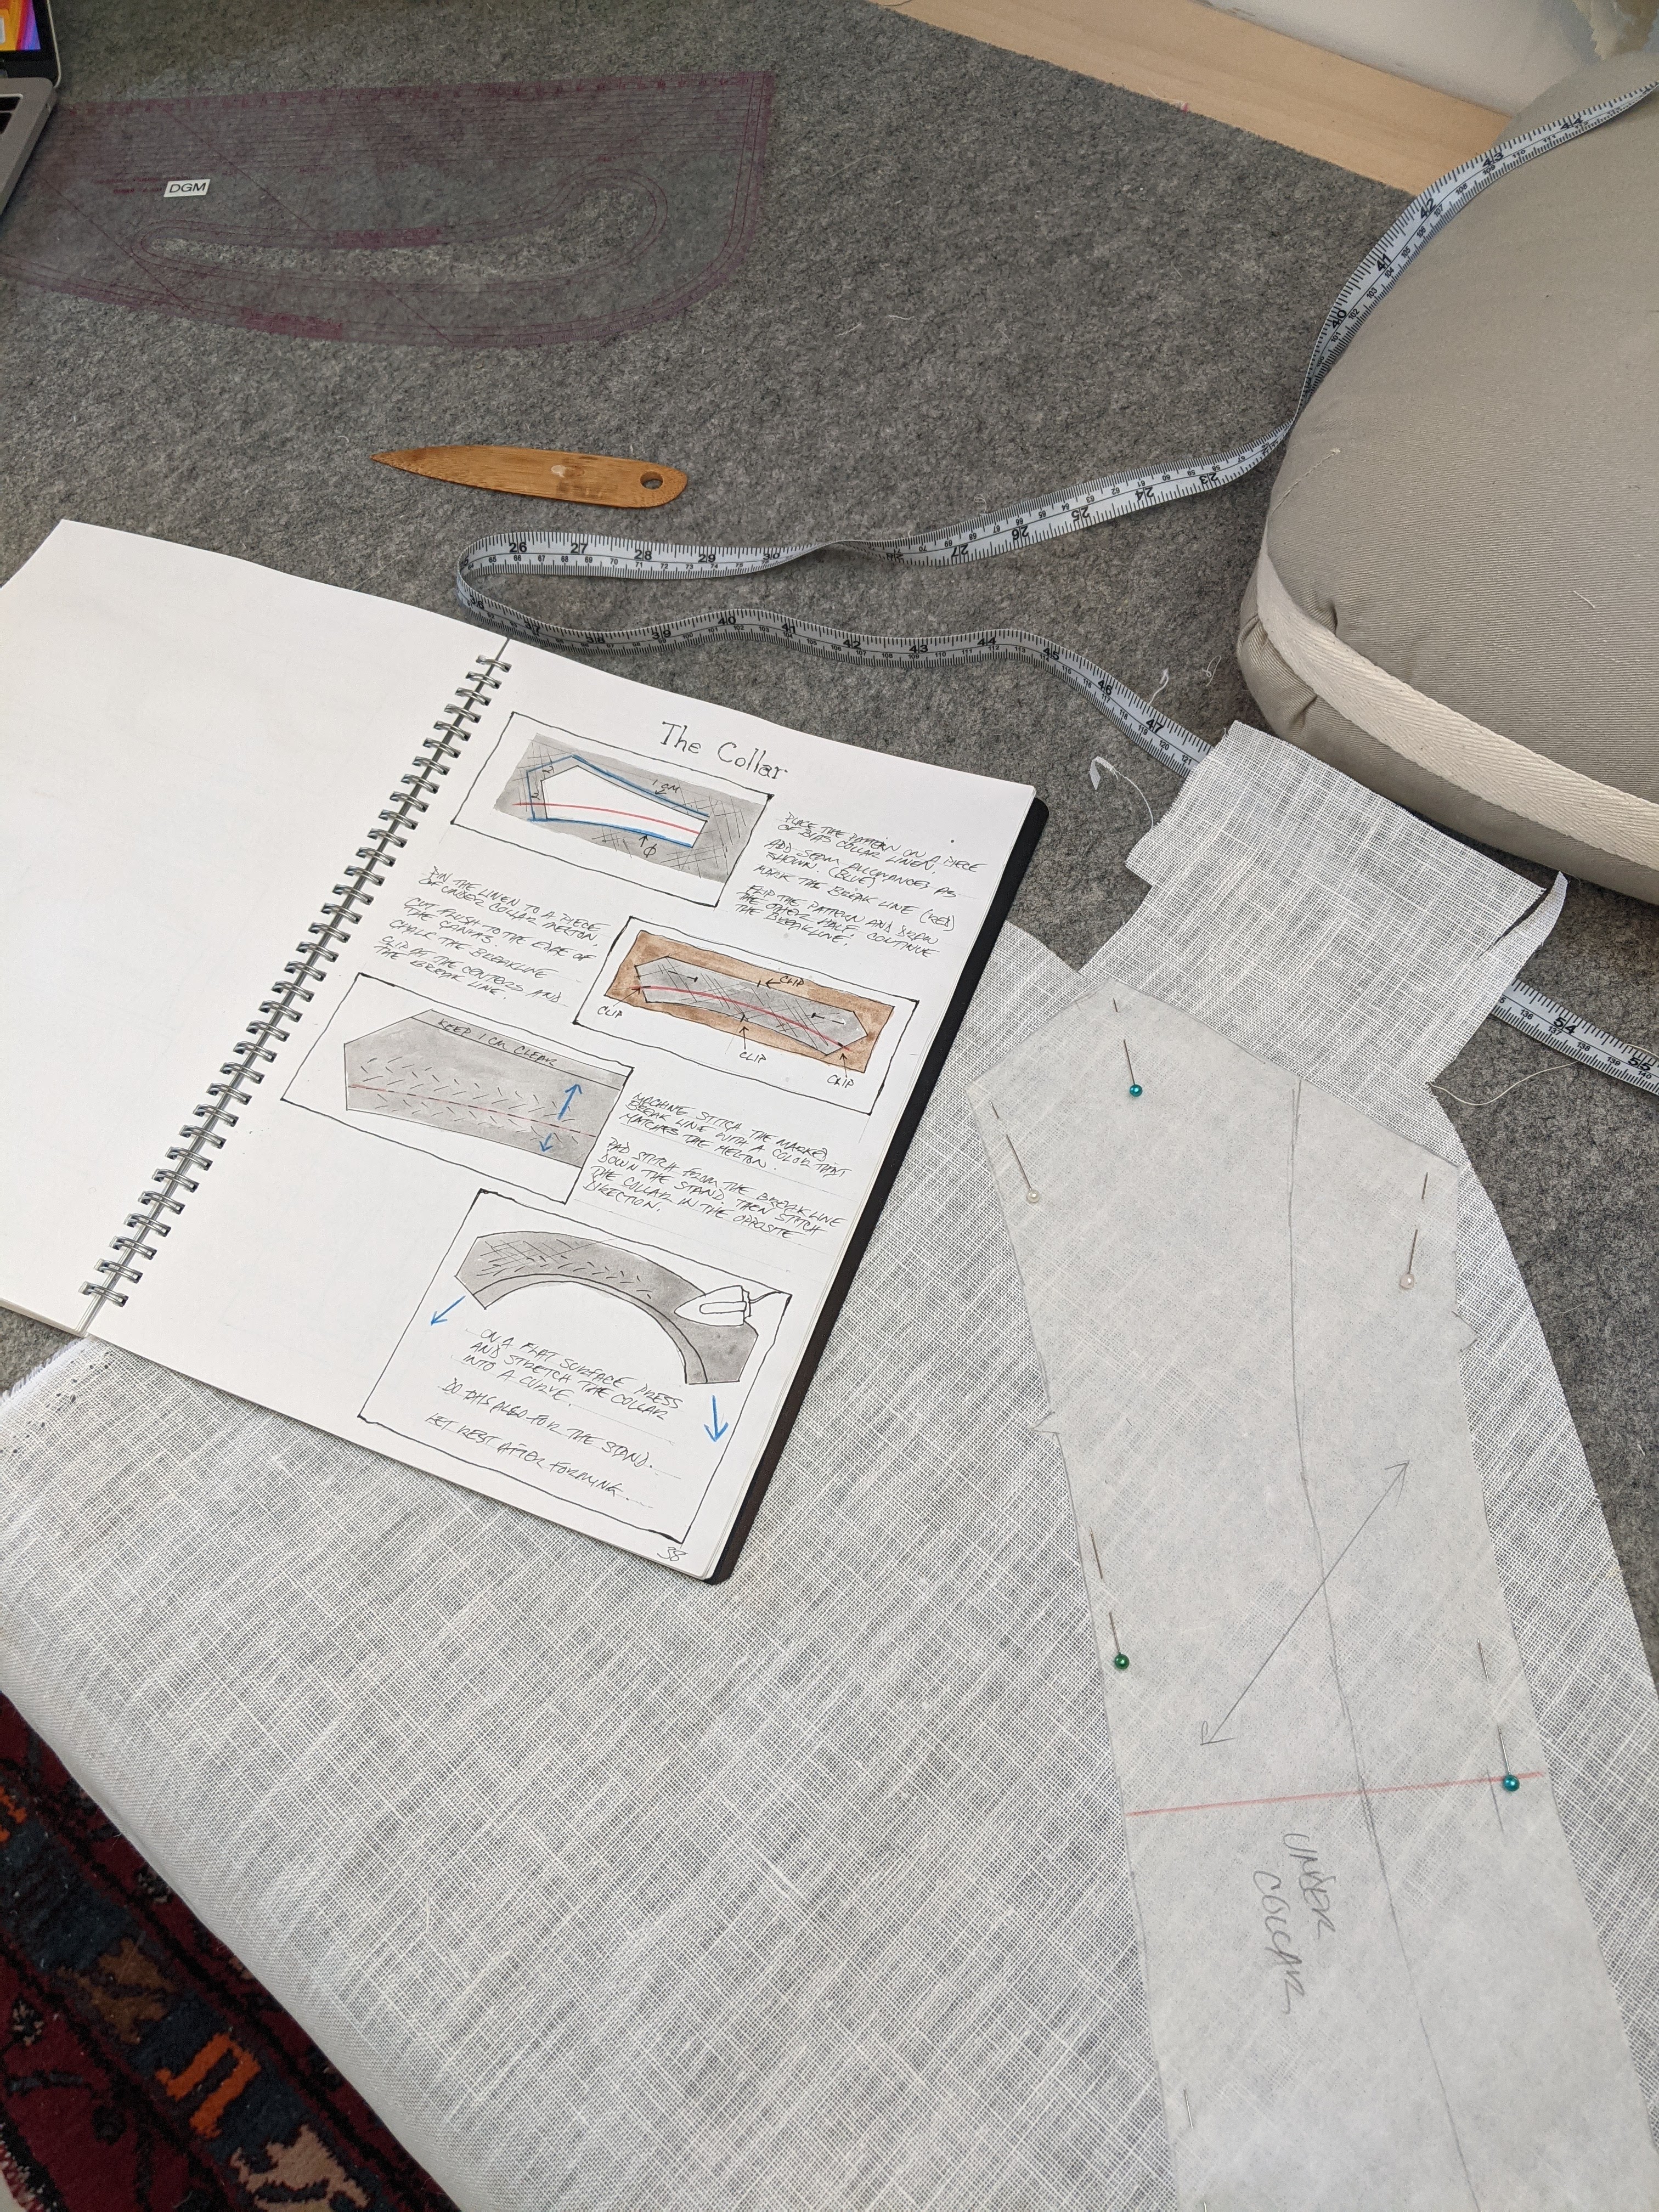
The under collar is “built” on stiff collar linen. (Another tailoring essential that came home in my luggage!) Normally this would be pad stitched to wool melton, a heavy dense woven woolen that’s almost felted. Of course I don’t have any. In fact, I’m not sure I will ever find it in the US. Undercollar felt is more common here. I would have to use my Woolrich coating as a substitute.
I was worried the wool wouldn’t hold up to all the stitches required to attach the collar. It requires at least one hundred or so tiny stitches that are barely noticeable. I had visions of the collar falling off as the stitches pulled out of what is a fairly loosely woven wool. My solution was to reinforce all the edges with strips of bias cut silk organza. I sewed the strips along the seam lines and then folded the edges back. This made a much more durable edge without adding bulk.

The under collar is pad stitched to the linen, barely visible here. Then it’s a matter of stretching the hell out of it under the iron. The linen is quite malleable when steamed and ironed, but will stiffen and hold its shape as it cools down. It’s just another reason I love working with these traditional materials. The under collar is essential “sculpted”.


Building the collar
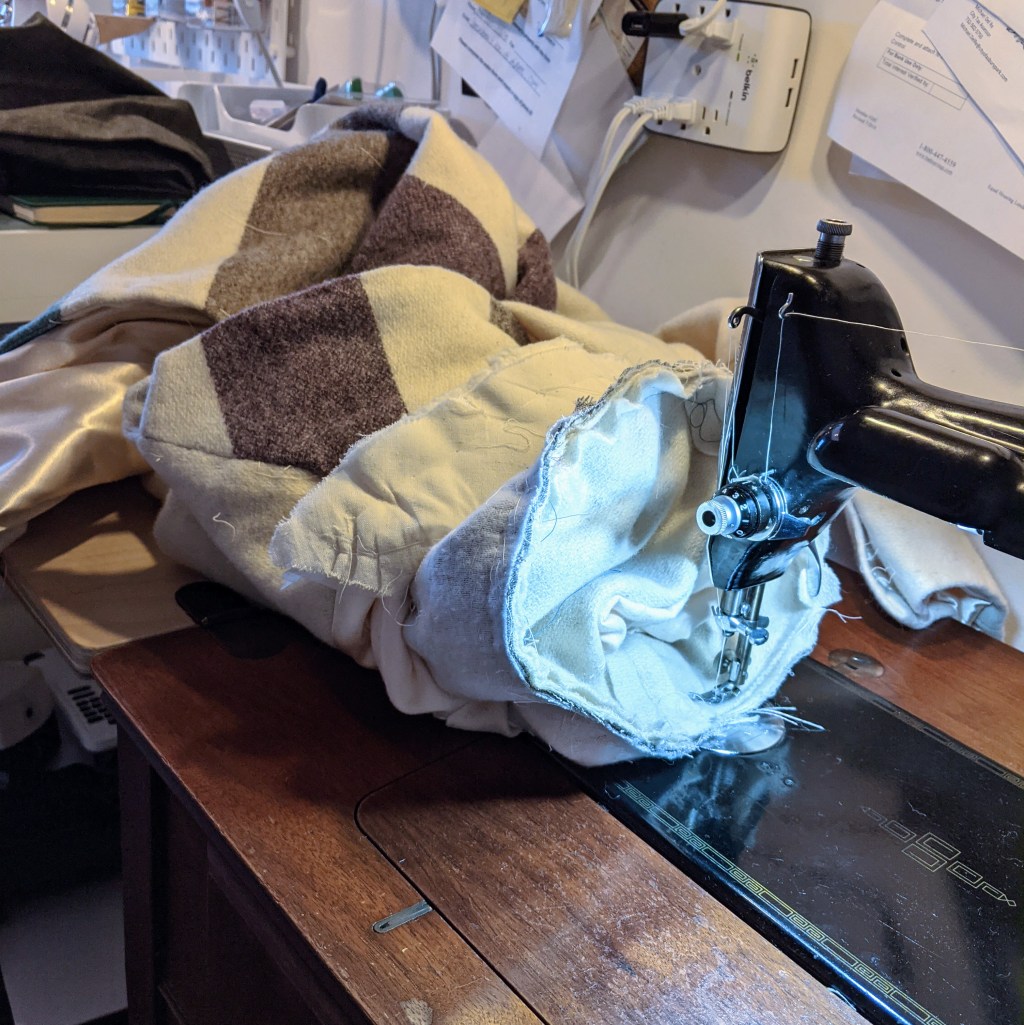
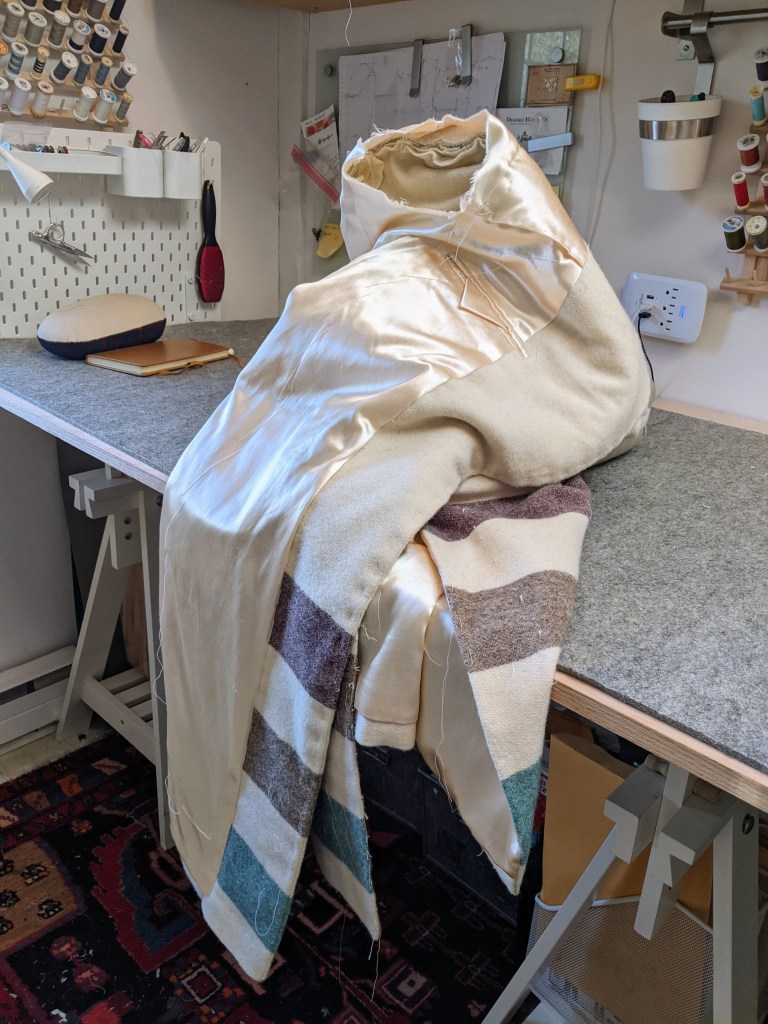
Wrestling a Yeti!
I can’t possibly go into all the steps involved in making this coat, so here are a few highlights. I know my followers love the details!
The underside of the lapel. The dimples of the pad stitching are visible. The underside of the collar is finished with a cross stitch using silk buttonhole thread.

The lining is finished with a pick stitch. Worked with silk thread.
(They have machines that do this now!)

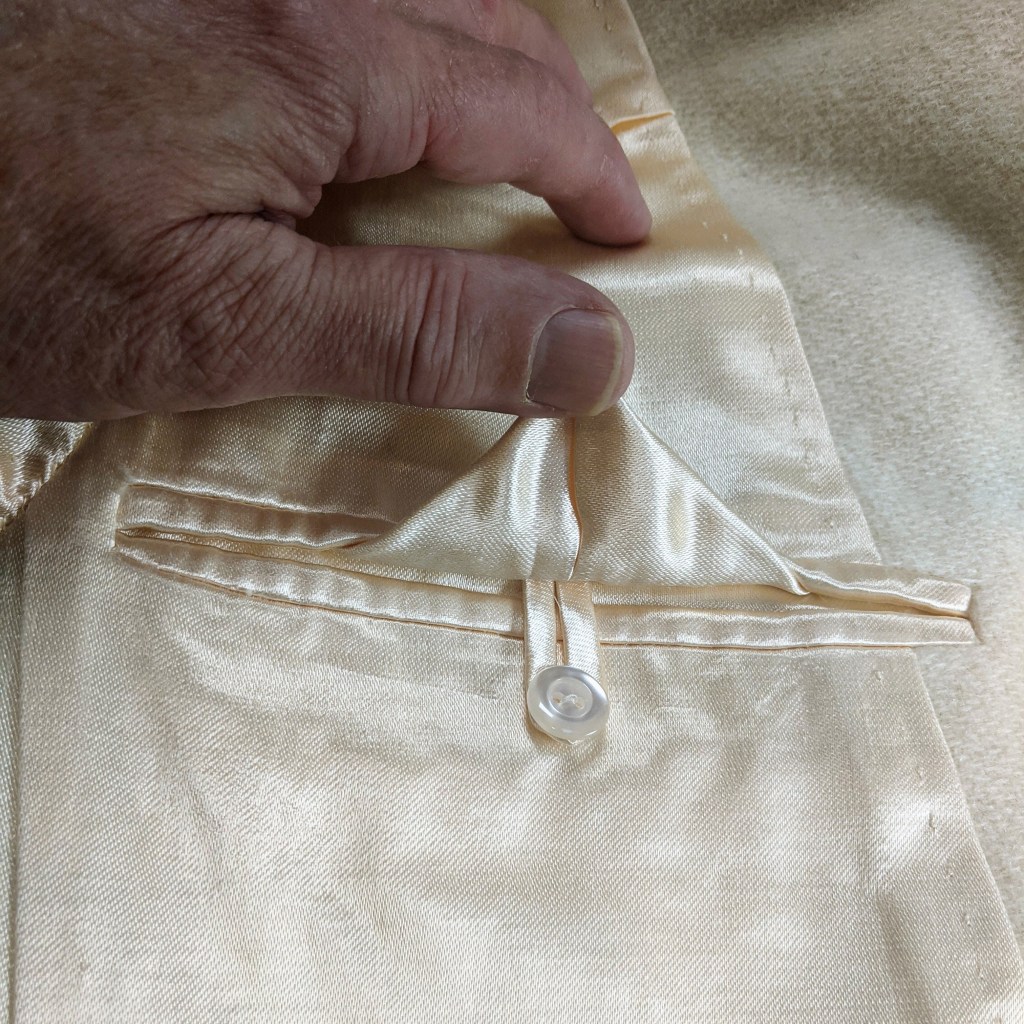
Inside chest pocket with a button loop closure.
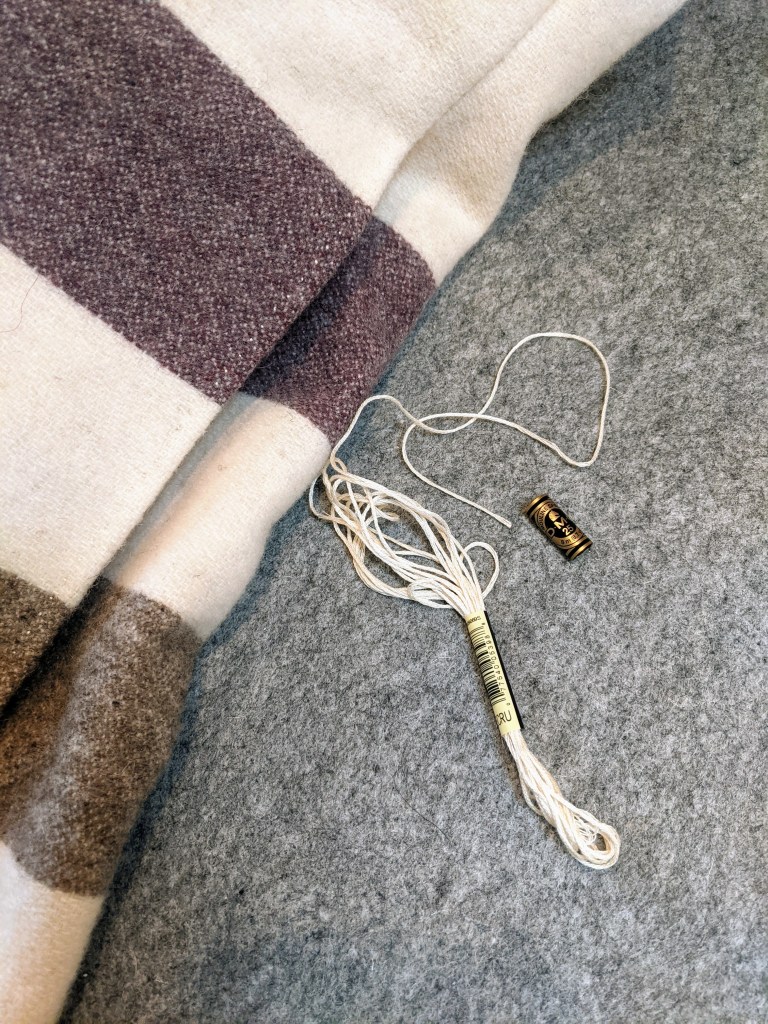
The collar, fronts and back vent are pick stitched. I like to use embroidery floss for two reasons. One, because it’s almost always possible to find an exact color match; and secondly it doesn’t tangle as easily as silk buttonhole thread. For this coat I used three strands which makes it a bit more visible. It’s all personal preference.
The top stitching is more than a decorative touch, however. It’s actually holding the pressed seams in position. In the center photo the seam is pressed to the back of the lapel, and then it transitions at the breakpoint (where the button is located) to the underside of the coat front. Without the topstitching it would be impossible to keep this arrangement.


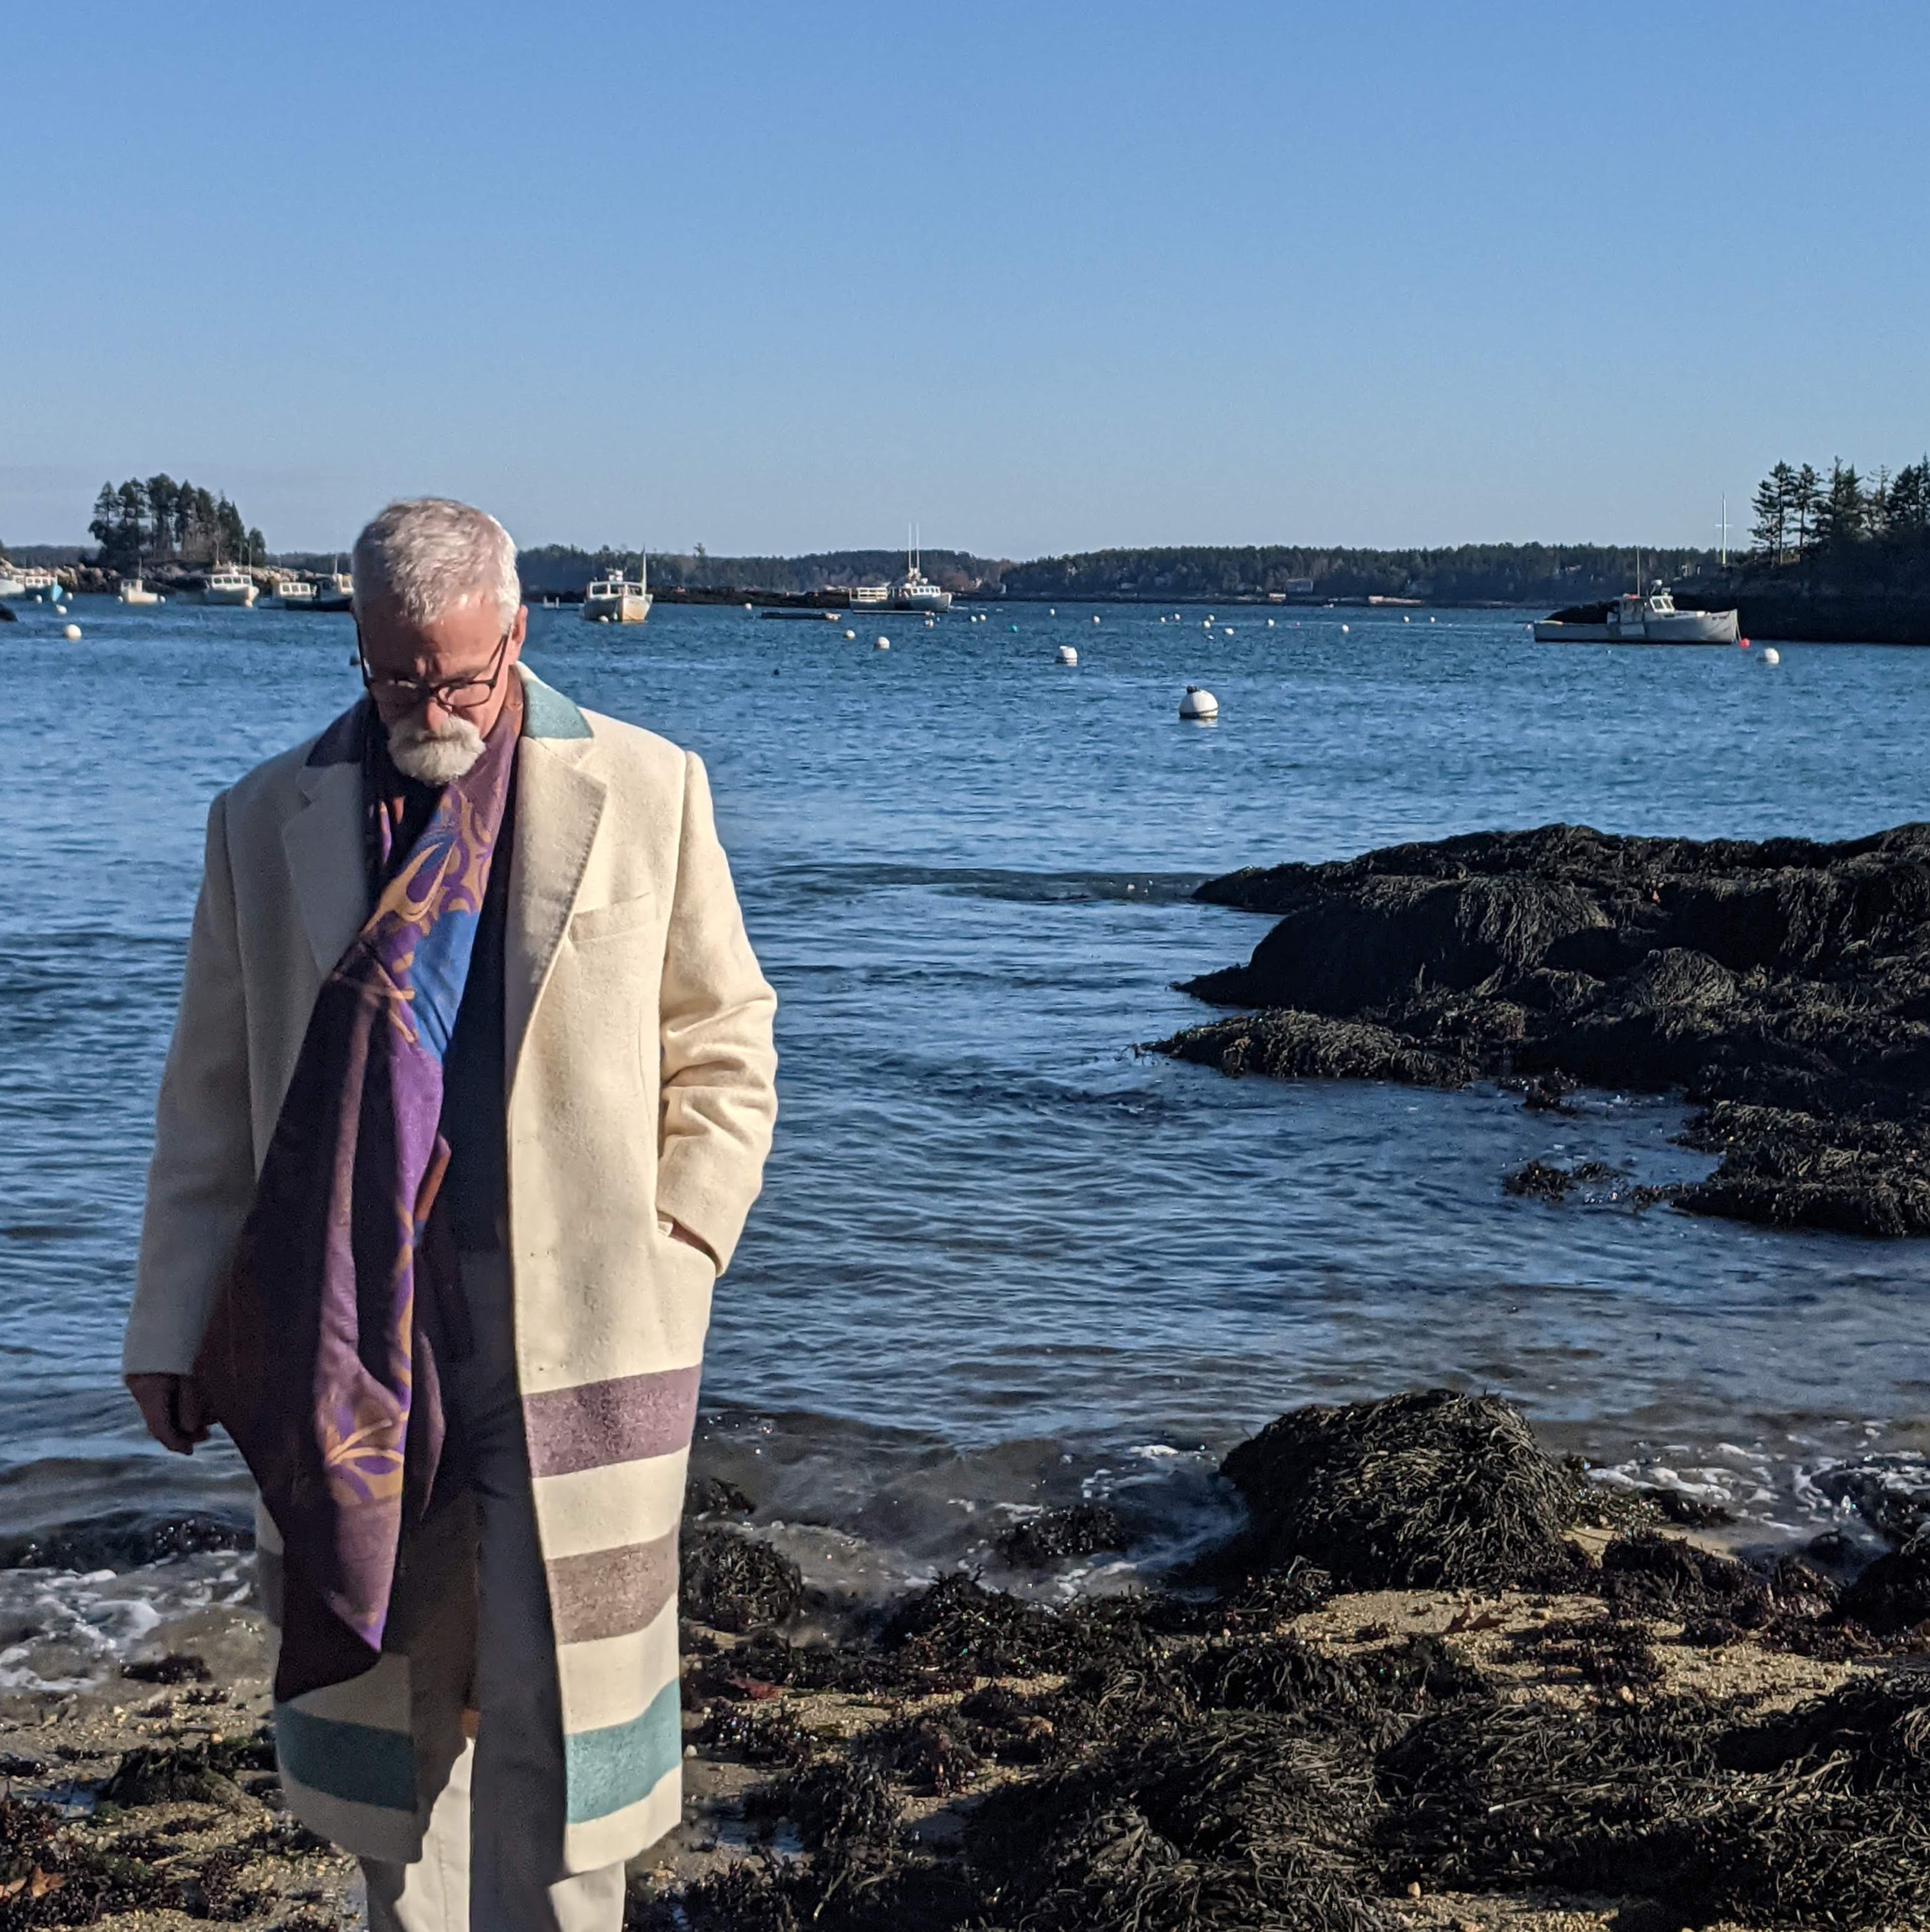
To close, in today’s clothing landscape a great winter coat has become something of a luxury. As sewists, we are the lucky ones who can create our own luxury. Personally, I never tire of making outerwear, although I think I have enough winter white coats now! Is it hard? Believe me, not any harder than anything else you’ve made. Sure, there are some challenges. But as sewists we are by nature problem solvers. I have always tried to show what’s possible via this blog, and the response has been a faithful following cheering me on. For that I am more than grateful. Keep pushing that envelope, friends, and make something brilliant. Because you can… be your own luxury brand.
I’m going to spend the next few months charting a new territory. No sewing / tailoring, rather lots of studying as I try to figure out what comes next……..but here’s where I may be headed

Credits
- Woolrich coating — Gorgeous Fabrics
- Ivory cotton batiste — Gorgeous Fabrics
- Kasha lining — Vogue Fabrics
- Canvas — B Black & Sons
- Silk button hole thread — Red Rock Threads
- Buttons — C & C Button
- Scarf — Furious Goose

A fellow Mainer, I greatly enjoy your blog and videos. They fuel my
fantasy sewing life because my reality is not enough time. Coats are
such wonderful items and yours are gorgeous. I’ve recently assembled a
PDF pattern of the Finlayson sweater you wrote about. When I get that
far I want to replace the hood with a simple collar. Just learning
about Swedish tracing paper was very valuable.
Thanks for sharing your sewing passion.
Paula
LikeLike
Beautiful coat! You might find the Melton at ATA Acoustics, which lists it as “Guilford of Maine Sona Acoustical Fabric. ” nice to hear from you, see your hints and your cap! and good luck with your studies.
Question – where do you like to get Snug Hug? Thanks 😊
LikeLike
Absolutely beautiful work…just awesome!!
LikeLike
You look fabulous in your finery. I thoroughly enjoy the vicarious adventure of you building an outfit. Not only does the tailoring fascinate me, but also the source for that scarf/shawl. Very well done.
LikeLike
Gorgeous coat, can just see you in a Fedora in the winter, picking out one of the colours of the stripes.
LikeLike
It is wonderful to see your journey in making this handsome coat.
LikeLike
Great to see this and (some of) the intricacies of making it. It looks wonderful. Thank you for sharing this.
LikeLike
What a great coat! That scarf is perfect with it.
Thanks for sharing the details of techniques and supplies. Even though I’ll likely never make such tailored coat, I’m still sad that some of those supplies you brought back are not available here in the states. I have made a coat, but tailoring was not required.
LikeLike
Truly gorgeous! I’ve been following your blog for years and am always inspired. If your teaser at the end of your email is hinting at what I’m hoping for, I’m even more excited to see what comes next!
All the very best, Tobi
LikeLike
This post is like a chapter from a fine tailoring book. From that impeccably shaped collar (I really admire that it is shaped to fit the neck and not the sad folded over version on most patterns) to the slanted pockets and the balanced darts…all of it is the best of bespoke tailoring. I did screenshot all of these pics for my personal use because everything good I know about details of fine sewing have come from you. Also would like to say that your garments are perfection for men and women and that is everything timely. So get back to YouTube and add to your famous videos! Thank you so much for this post Duane, anticipating your next chapter so keep creating and best regards, Blanca
LikeLike
Absolutely brilliantly beautiful
LikeLike
So interesting to see the insides !
LikeLike
Dear Duane,
As usual, it was great fun to read about your recent tailoring endeavors! The amount of work & the personalization you’re able to accomplish amaze me & I love, love, love the pictures! Wishing you a wonderful Christmas & a healthy, safe New Year!
Love,
Barbara
http://www.avg.com/email-signature?utm_medium=email&utm_source=link&utm_campaign=sig-email&utm_content=webmail Virus-free.www.avg.com http://www.avg.com/email-signature?utm_medium=email&utm_source=link&utm_campaign=sig-email&utm_content=webmail <#DAB4FAD8-2DD7-40BB-A1B8-4E2AA1F9FDF2>
LikeLike
Simply lovely, you look so handsome! I enjoyed the details –
LikeLike
Bang up job!
You really executed with the fabric choice as well as the changes to overall fit, the lapels and the custom collar. I especially like the hacking pockets, what a great choice.
LikeLike
Fantastic coat! I particularly love the hand top stitching. It really adds that apecia something. Happy New Year, Duane!
LikeLike
Love reading your blog. Makes me want to get back to sewing. However, since I am still working almost full-time. Because I love what I do, it will only be done when I can make some time. Keep up the great work.
LikeLike
Just drooling over the tailoring details. I am a real tailoring geek, alright!
LikeLike