
I continue to bang away on my Vogue 9262 Blazer. It’s been quite cold here in Maine (It snowed a few inches just two nights ago), so I’ve had no problem staying inside; working away in my little sewing space.
This post will be quite “tailoring geekery” heavy, so be forewarned. My purpose is just to show my process, and hopefully show that tailoring can be for everyone. I’ve said it before and will say it again. If I can do this, anyone can. So away we go.
Once the pockets are made it’s time to turn to the canvas, which is the understructure that gives a jacket its shape. I’m going to be using a premade jacket canvas which I purchased through B Black and Sons. Most tailoring supply places sell them, usually with either a light or heavier weight option. Some people may think of this as cheating, but for any amateur tailor like me, I feel it’s a reasonable option.
First, they save a great deal of time. True confession here…..I’ve only made a canvas from scratch once. It’s not beyond anyone’s ability, it’s just a very time consuming process due to all the pad stitching that it requires. Of course the premade canvas will never be perfectly matched to your shape and your pattern, but it can be damn close IMO.
Secondly, a premade canvas will probably cost less than what one would spend for the materials to make a jacket canvas from scratch. A pair of fronts for a single breasted jacket can be had for around $15 – $20. The real horsetail hair canvas which is required for the chestpiece is over $20 / yard, and is only 17″ wide. For this cotton seersucker jacket, I don’t need that kind of perfection.
So here’s how I use the premade jacket canvas.
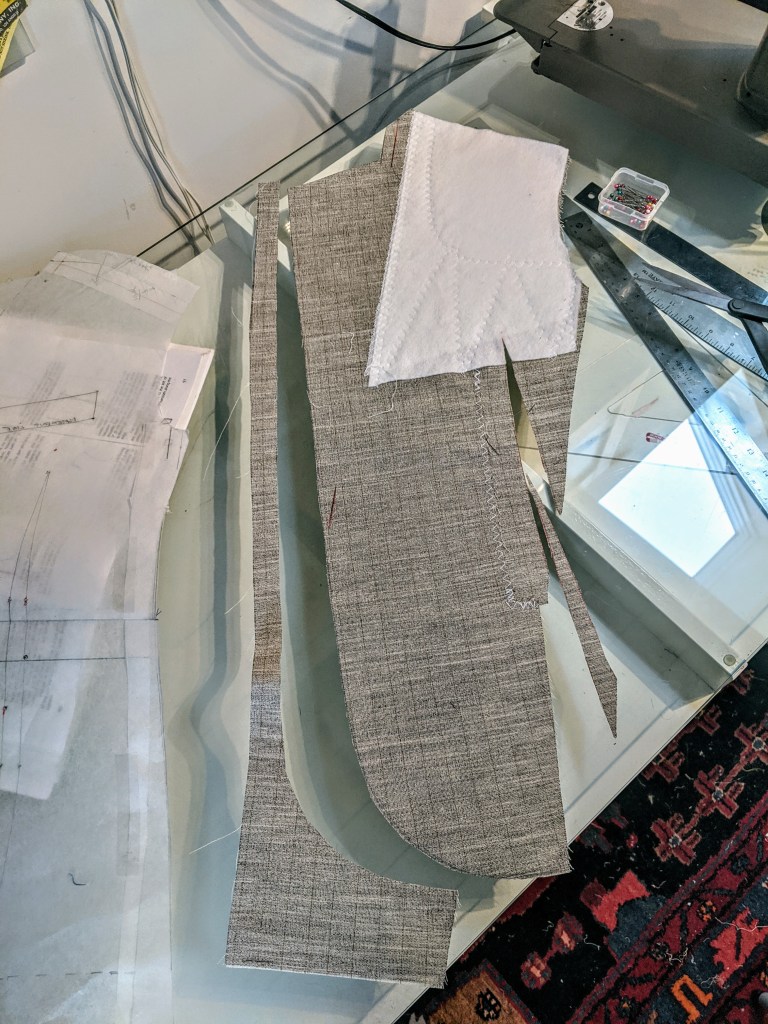
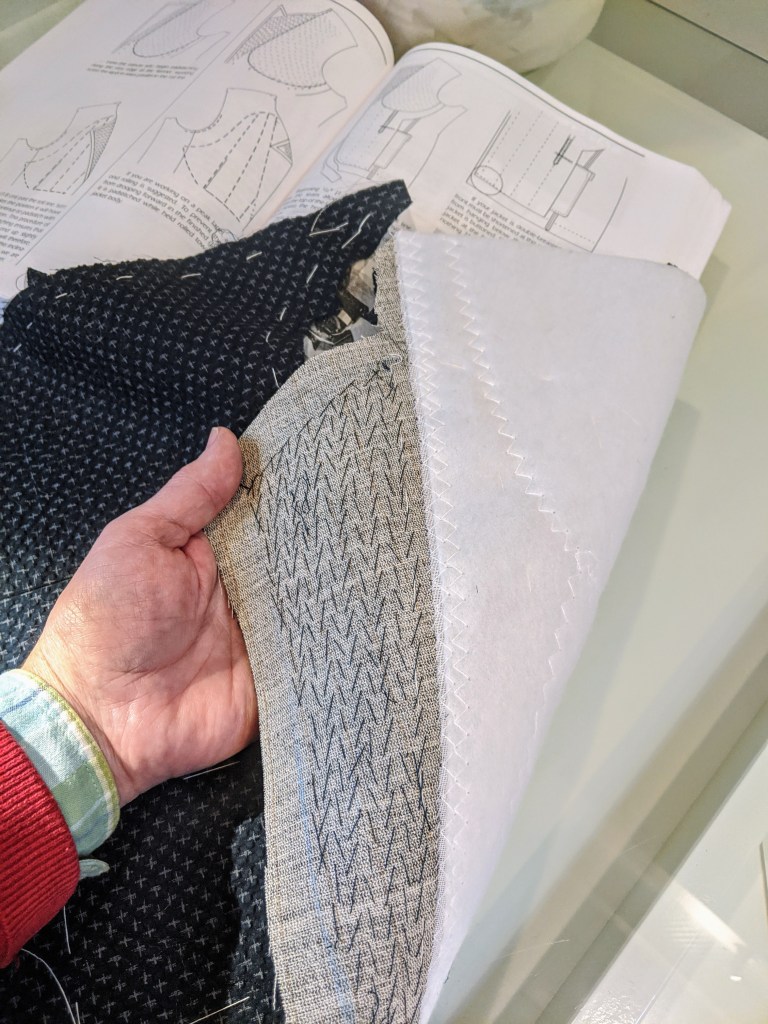
The premade canvas is generously sized, so you can adapt it to your pattern. Place your pattern on the canvas so that the felted chestpiece runs along side the lapel roll line AND the grainline is maintained. This may take a little tweaking. You may have to trim the edge of the felt a bit depending on your pattern. You will also mark the front dart if your jacket has one. Cut out the dart, and cut around your pattern leaving a 1/2″ border of canvas showing.
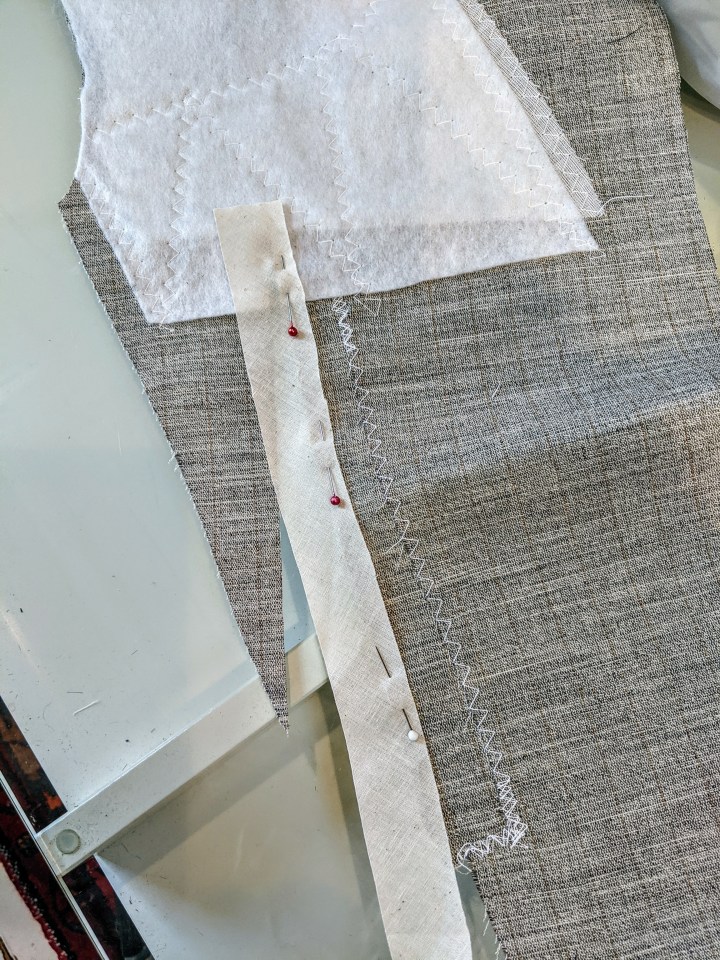
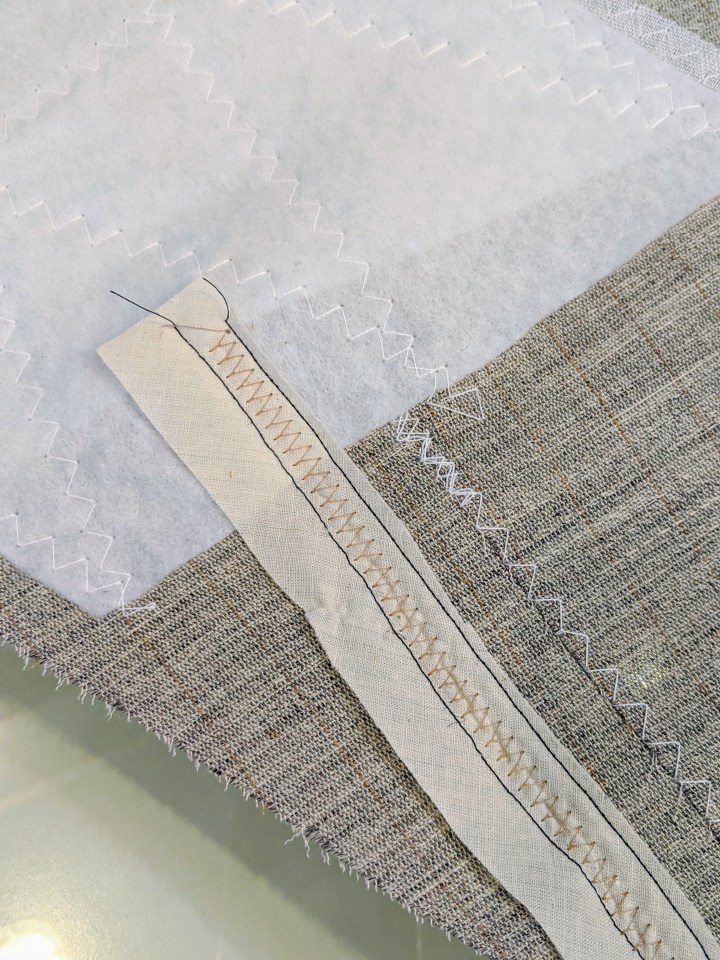
The dart gets closed with a bias strip of muslin. (bias muslin gets used frequently in tailoring, so I keep a little bin of bias scraps on hand) Sew the edges to the strip, and then close it with a zig zag stitch. It doesn’t have to be pretty. Now your canvas is mimicking the shape of your jacket.

A whole lot of basting happens now as the jacket front is smoothed and attached to the canvas. There is a sequence to it, but I won’t go into it here. To an extent, it’s intuitive. You’re layering the fashion fabric over the canvas to act as one. You smooth and baste, smooth and baste. You will need cotton basting thread to do this without pulling your hair out. It will be your best friend! I love this Italian stuff.
Let the pad stitching begin! I know there are people who can pad stitch like a machine. Each stitch is exactly the same length and they are perfectly aligned. I’m NOT that person, and I don’t believe you have to be that person either. The canvas is being attached to the lapel with little pin-prick stitches. Just work back and forth, row by row from the roll line outward. Silk thread is a godsend here. It doesn’t tangle and makes the process go quickly. As you stitch, roll the canvas to mimic the eventual roll of the the lapel. This will make your finished lapel want to curl back toward the body naturally. It’s a fascinating process that fusible interfacings can’t accomplish.
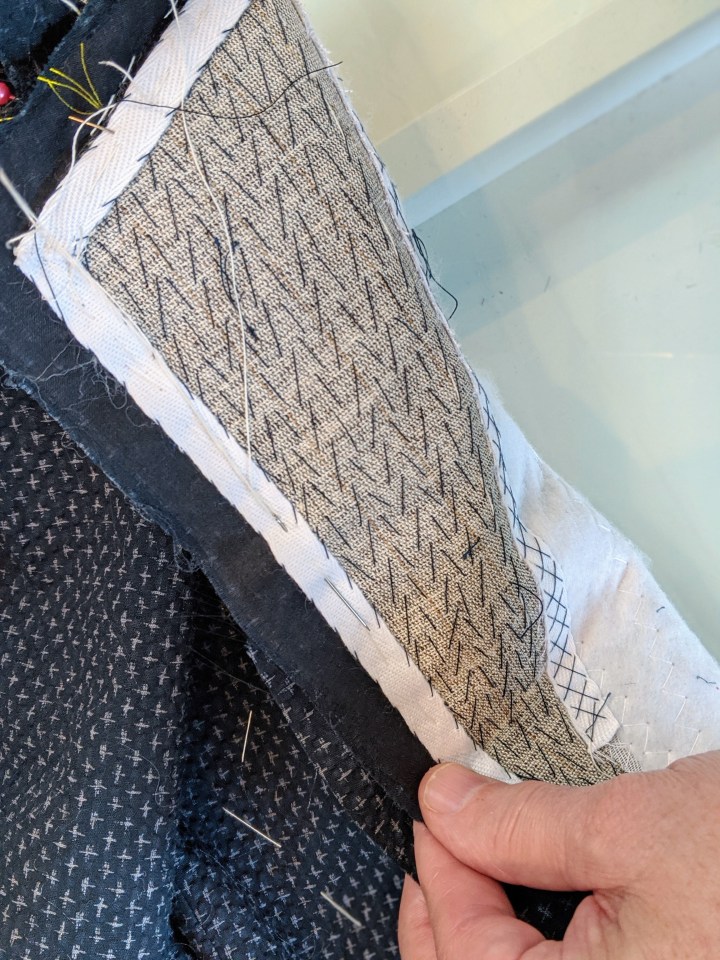
Cotton twill tape is applied to the edge of the canvas along the top of the lapel and down the jacket front. It’s also cross stitched to the roll line. Again, silk thread is your friend here. I find this part of the process very enjoyable for some reason. I sit by a window, put on some music (lately, my handsewing soundtrack has been the duo First Aid Kit) and stitch away.
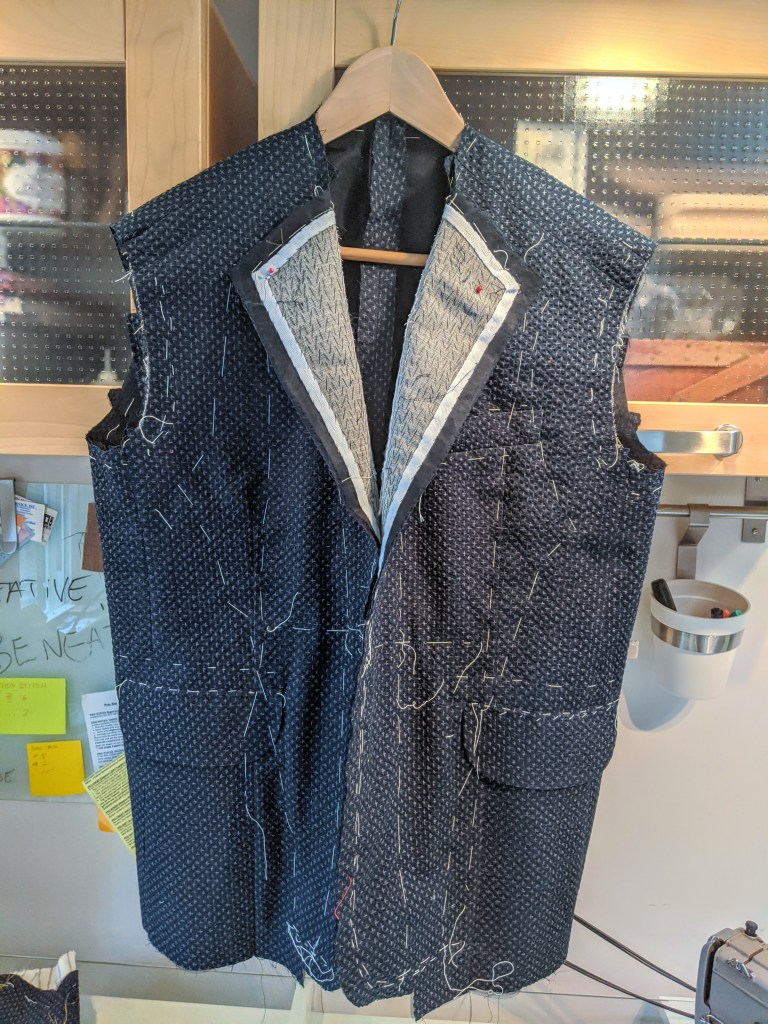
The body of the jacket can now be sewn up. Stand back and admire your tailoring skills!
Next time I’ll deal with the sleeves and work on the lining. (Which can feel like going back to square one!). This project has been a pleasure so far,( in spite of big mistake at the start) , and I’m so grateful for the support I receive from the sewing community. These are stressful times filled with uncertainty. Having something solid and tangible in my hands (even if it’s my seam ripper!) is comforting. Hopefully you’re finding comfort in your sewing endeavors as well. Stay home and stay safe everyone!

I’m getting ready to complete a cashmere coat I was tailoring, then I got pregnant and put it away. After 25+ years, I think I want to finish it! Thanks for the inspiration.
LikeLiked by 1 person
This is fascinating stuff…just received the big roll of twill tape and can’t to copy what you are doing. Of course I am not as skilled but you do make it seem attainable. Hand stitching is the best therapy these days. Thanks so much for sharing your tailoring geekery here! The flap pocket technique worked great for me, so thanks for that skill sharing too. Stay well, and be careful with that seam ripper
LikeLiked by 1 person
Impressive stitchery, never you mind being a resource for resources.
Looking forward to the “next installment”.
LikeLike
Very nice work Duane, i am just learning to do interfacing the ‘kenneth d king’ method from his jacket bluprint course. Regardless of how much time I have on my hands, i just don’t have the patience for hand stitching/pad stitching. If i can machine stitch it, then i do it. That being said, i will hand baste sometimes.
LikeLiked by 1 person
Sounds like you’re finding what works for you. That’s what really counts in the end. Now you’ve got me curious about the KDK method!
LikeLike
I’m really enjoying watching this come together. It’s frustrating that now I have the time to try these techniques, I don’t have any of the kit! Bah! 👏🏻👍🏻
LikeLiked by 1 person
I feel the same way! I’m at a standstill right now. I’ve resorted to ordering thread and buttons on eBay and Etsy. Waiting for them to arrive. Then I can finish this jacket off.
LikeLiked by 1 person
Thanks for all the tailoring lessons, I am paying close attention, I am going to be tailoring a coat soon.
LikeLike