
Again, most of my bomber jacket progress was documented on Instagram. So this may be repetitive for many of you.
I haven’t been keeping up with the fashion trends lately, but for awhile bomber jackets seemed to be everywhere. I may be late to the party, but I’m making one!
My inspiration actually came from a vest that was in the window at Bergdorf Goodman during the holiday season. It was a quilted wool plaid vest, worn with wide wale corduroy pants in a sort of clay color. Dare I say, a sort of LL Bean look for the guy who can drop “four figures” on his weekend wear. I don’t recall the designer. Ralph? Did I take a picture of it??? Of course not!
Instead I came home with a picture of this….

Because I have all sorts of places I can wear a sparkly jacket with embroidered foxes on it! This is the 60+ brain at work.
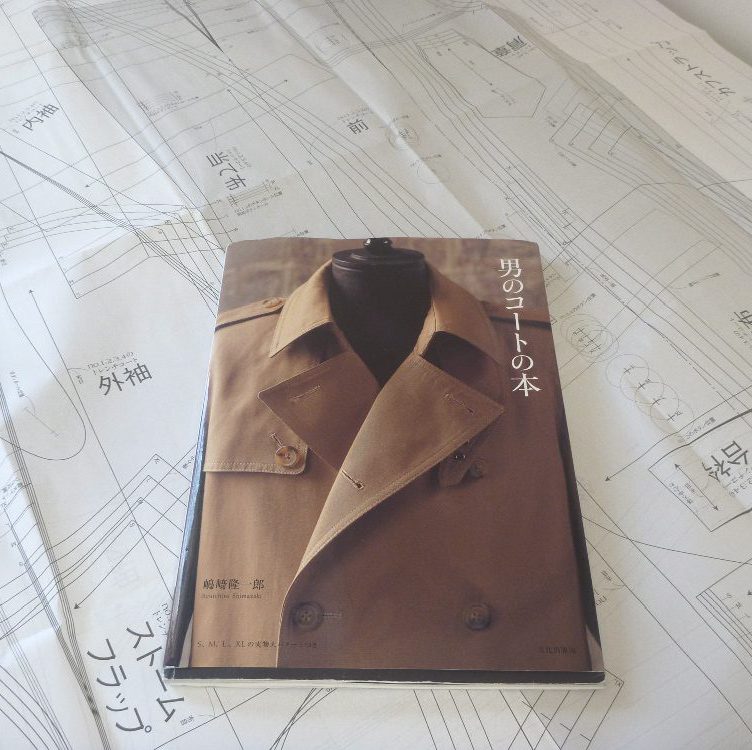
Anyway, the fabric, lining material and a Vogue pattern from the 80’s were already in my stash. The fabric was bought years ago in one of those NYC garment district stores where one can hardly squeeze in. There was an entire bank of men’s sport coat woolens piled against the wall. Easily 25 rolls. They were probably $15/Yd. I pulled a couple out, acted a little hesitant and the price dropped to $10. I bought 4 yards, and it’s been in a plastic bin ever since.
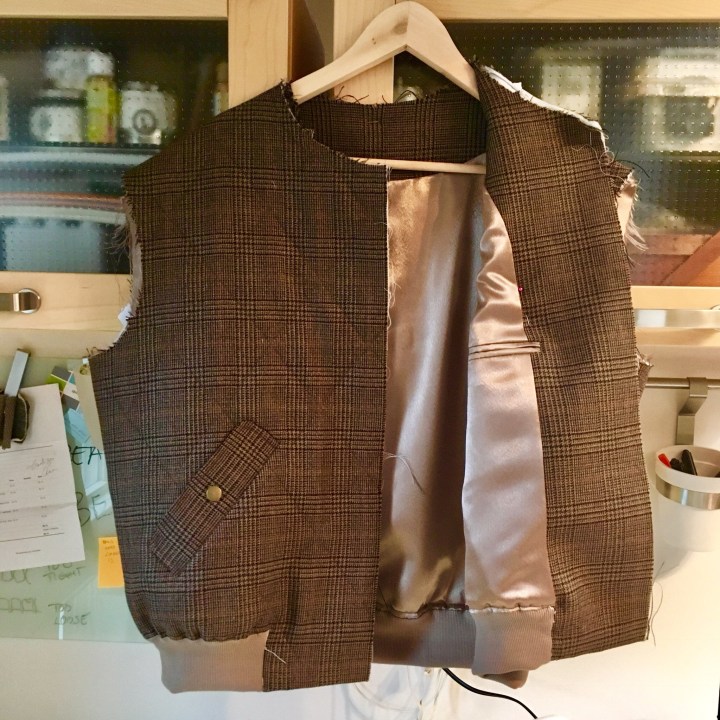
The zipper and ribbing are from Botani. At the time, they had a much better selection of ribbing than Mood. Not sure if that’s still true, but it’s a store worth checking out.

I purchased a walking foot for my Janome Magnolia in preparation for this project. It was a godsend. I would never have been able to do the quilting with my trusty Singer 301. I layered up the wool, a very thin cotton/poly batting from JoAnn’s, and used the flimsiest cotton I could find for the backing, also from JoAnn’s.
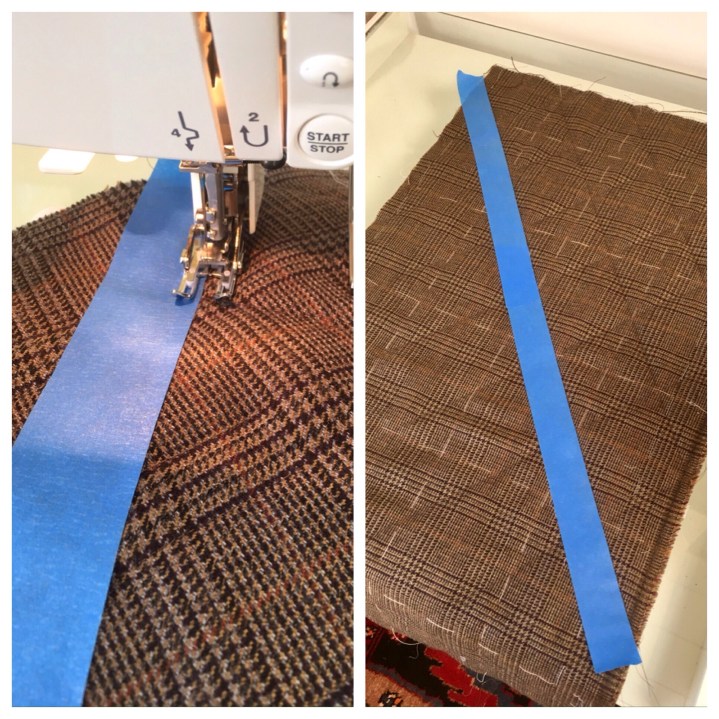
I marked my stitching lines with painter’s masking tape. If it works….it’s good!
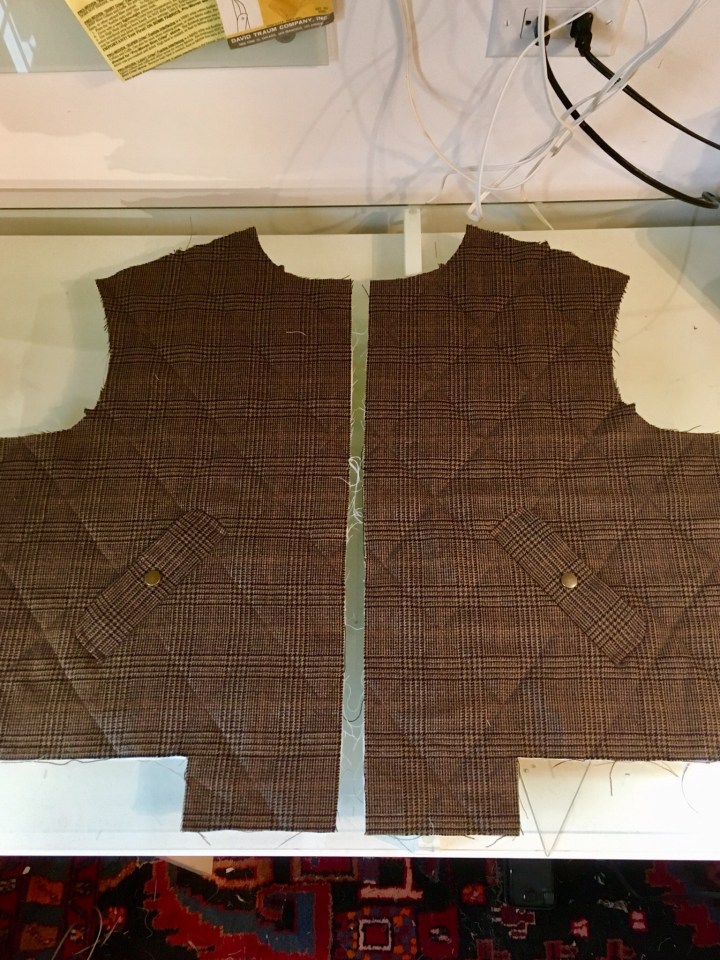
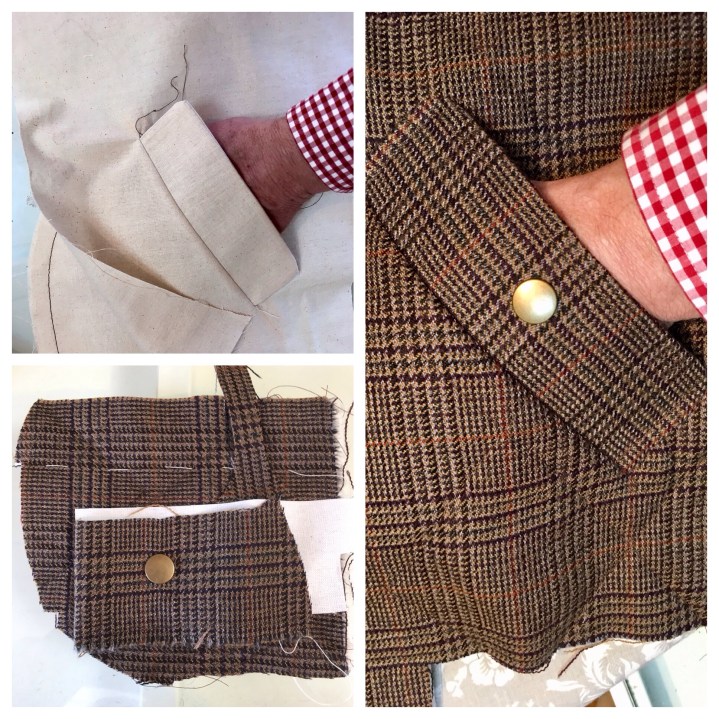
Because I had plenty of fabric, I blocked out rectangles of fabric for the fronts and backs. The rectangles were quilted, and then the pattern pieces pieces were cut out. It’s a bit of a fabric hog, but much easier in the end. It just takes a bit of thinking / planning up front. It’s just important to establish where the side matching point will be, as well as the center fronts. Someone on Instagram called this kind of forward calculating, “Grownup Sewing”. I love it!
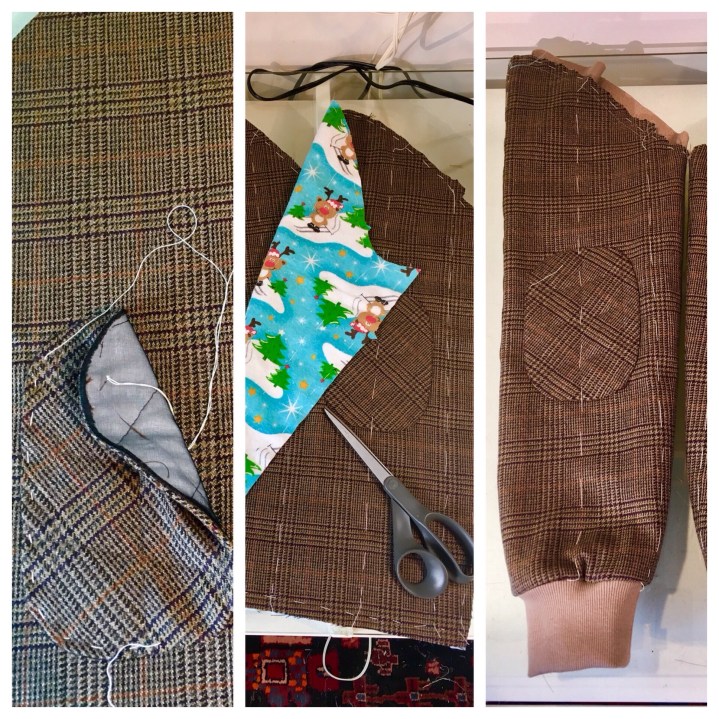
Also in the “grown-up sewing” category … Making a mock-up welt pocket, putting in an inside pocket (because you will kick yourself forever if you don’t), practicing setting snaps, watching about 7 different videos on sewing a separating zipper, and interlining the sleeves with flannel (because being cold is never fun).
Attaching the ribbing was it’s own special ordeal. The YouTube videos make it look SO easy. My reality involved lots of cursing. I hope never to use the stuff again.
Approaching the finish line. Next time a little backyard photo shoot.
Knit ribbing??? I’d love to hear your stories.

Knit Ribbing, for the most part I use my serger and coverstitch machine to work with it. Not sure how I would handle the collar on your jacket. For your Singer 301, you can purchase a walking foot. I have a walking foot, for mine, buttonholer, zigzagger and additional pattern cams so that your machine can handle most if not all the tasks your throw at. It is nice that you have the additional machine to help when needed. Your jacket is just beautiful.
LikeLike
This looks so good! The ribbing looks great too… I don’t have any great technique, but if I’m attaching a knit to a woven, I baste first on the machine (with the walking foot) then take it under the serger… I usually hold my breath… maybe that’s the trick…?! 😅
👍🙏👏😊
LikeLike
Howdy! This is my first comment here so I just wanted to give a quick shout out and tell you I genuinely enjoy reading your blog posts. Can you suggest any other blogs/websites/forums that go over the same subjects? Many thanks!
LikeLike