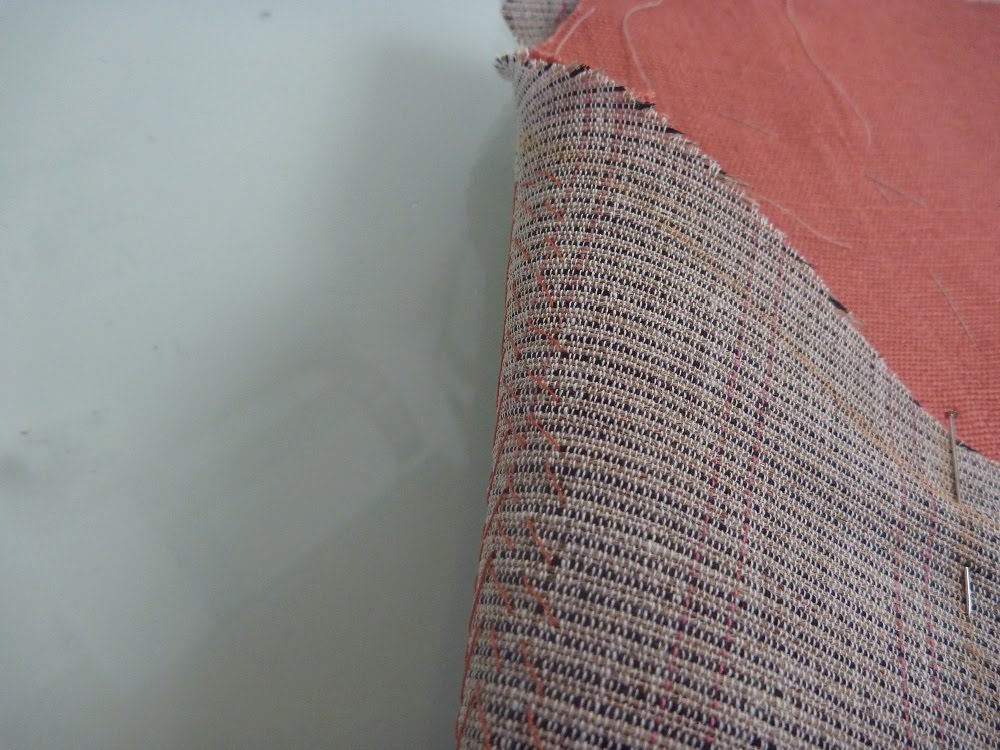

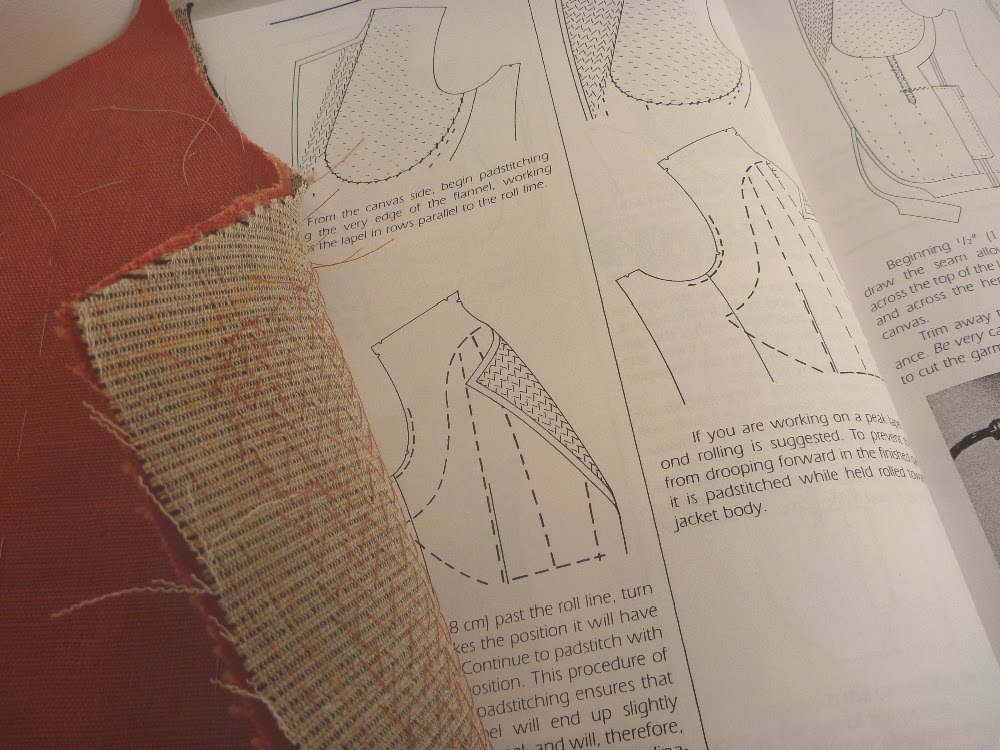

OK, moving along. The next step is to pad stitch the lapel area. I was really dreading this for some reason, but it wasn’t difficult at all. I think all the practice on the plastron paid off. The pad stitching begins along the roll line in parallel lines. This time, however, the pick stitches will be on the fashion fabric, so an attempt must be made to make them as small as possible. Fear not, it’s not hard to do. Plus the stitches will be on the back side of the lapel. After a few rows, maybe an inch into it, the lapel is rolled over into the position it will take on the jacket. Holding the lapel in position the pad stitching continues in rows until reaching the seam allowance. The lapel will now have a natural tendency to roll towards the body when the jacket is worn. Magic!
Last of the pad stitching
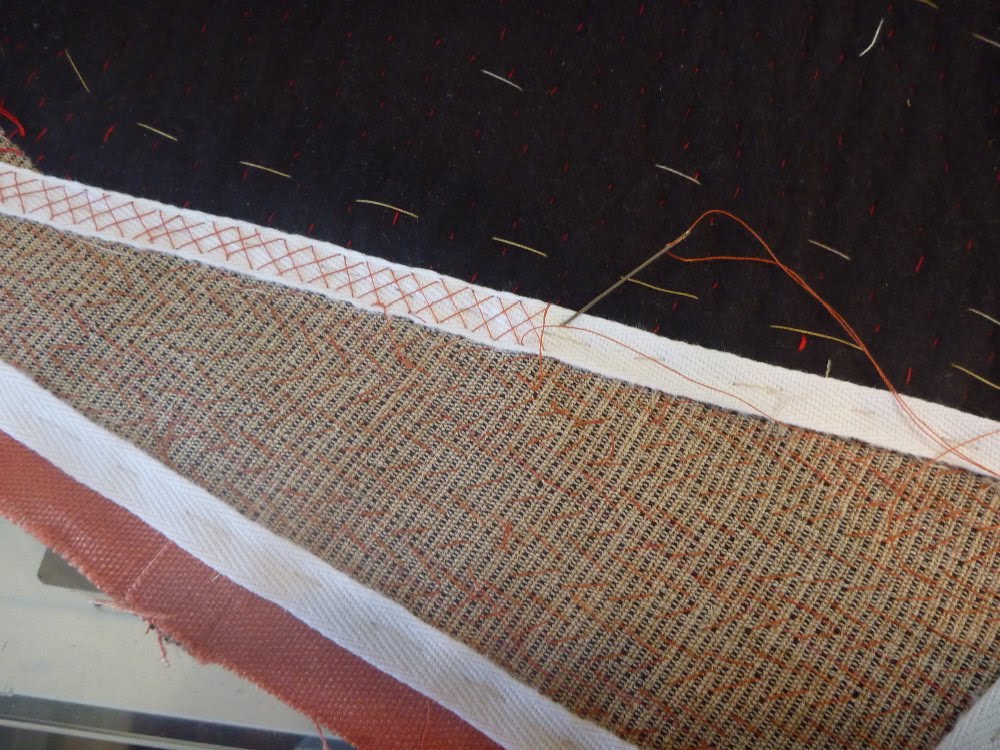
The seam allowances of the canvas must now be gingerly cut off. Talk about nerve wracking. One slip of the shears and hours of handstitching are down the drain. Once trimmed, 3/8″ twill tape is hand sewn onto the canvas at the seamlines. A strip is also placed next to the roll line and cross stitched into place. There’s a whole lot of zen going on here.

I sense slow and steady breathing here.
LikeLike
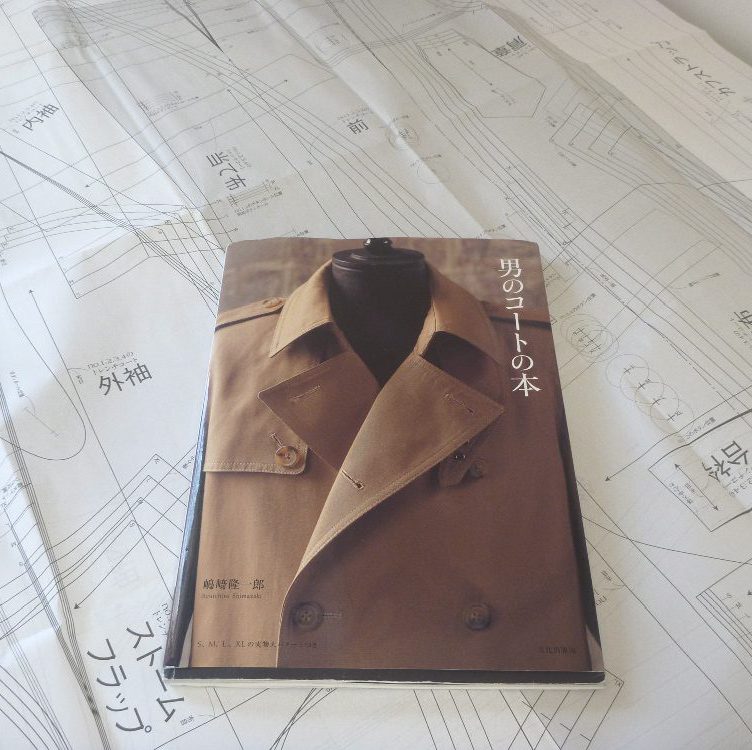
Hi ~ I am learning pad stitching of lapel, and the book in your pic is very informative, would you mind telling me the name of the book ? Thanks !
LikeLike