
My last post was mostly about a big mistake that I made. But that’s all in the rearview mirror now. It’s full steam ahead on the Covid-19 blazer.
This post will cover some simple tailoring techniques. Keep in mind that I’m not a professional. These are just some techniques that have worked for me, and they can work for you too.
I think it’s safe to say that we’re all interested in elevating our workmanship. This is especially true for sewists interested in tailoring. The work can be slow……very slow. But it can be so very rewarding. So here we go….Geek out!

Because my seersucker is light weight, each piece is underlined with silk organza. I’ve never done this before, and at this point I can’t recommend it highly enough. It has totally transformed the hand of my fabric. If you’re not familiar with it; organza is almost weightless, sheer and “springy” as opposed to “stiff”. I cut it out using the pattern pieces and then baste it onto the wrong side of the fashion fabric. The resulting effect makes the seersucker almost wrinkle proof. When scrunched up, the fabric wants to spring back into shape. It’s like magic.
Eventually I will trim it out of the hems, but for now it’s just about getting each piece underlined. Cotton basting thread makes this process go smoothly.

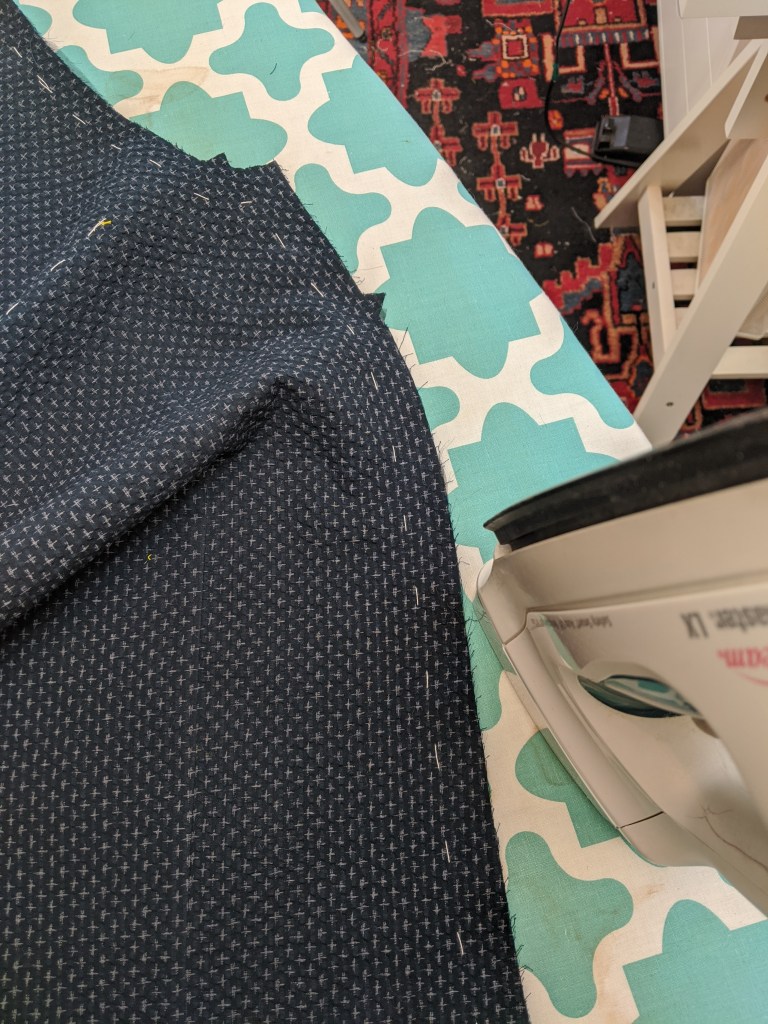
There are four darts on V9262, and they contribute greatly to its trim fit. It’s really important that they be done well. I basted around the darts as part of the initial basting process. The dart is marked with tailors tacks. I folded the dart and basted once again close to the stitching line to hold everything in place. The organza wants to spring open, so it needs to be “tamed”. I stitch from the bottom to the point and then tie off the threads with a good knot. This is a good couture sewing habit to get into. If the dart were ever to be pulled open at the tip, it would be near impossible to fix. A knot solves that problem. Who says you can’t do couture sewing!
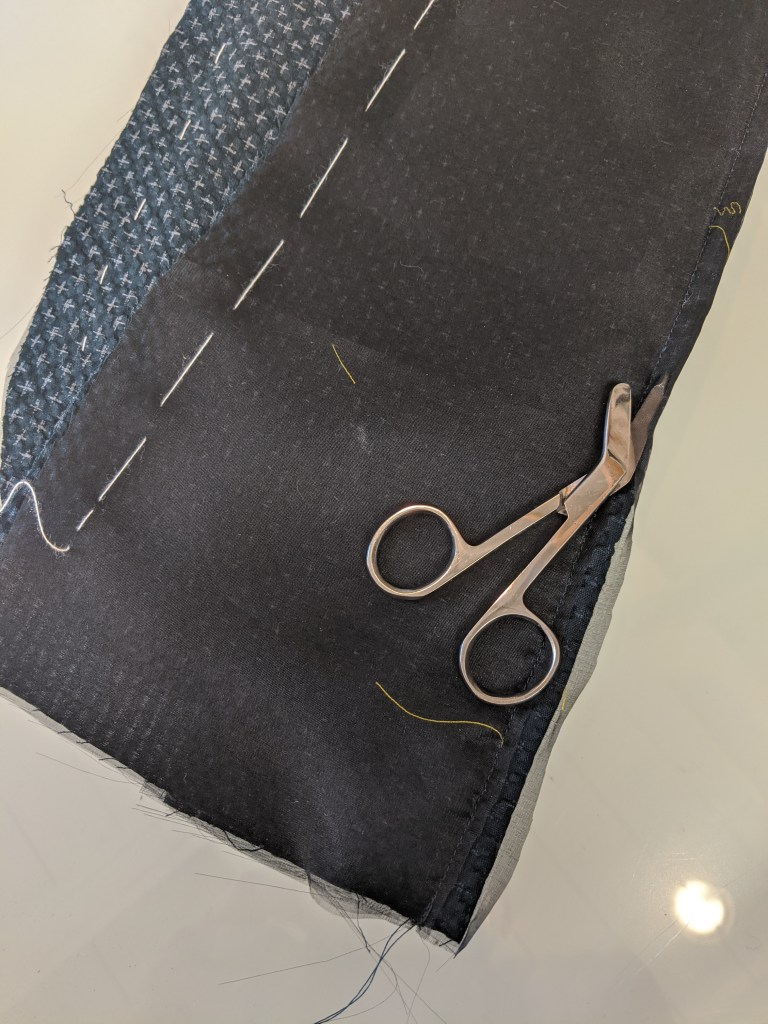
After stitching the dart I used a very small pair of bandage scissors to trim the organza out of the dart. I use these little scissors all the time and find them invaluable. Trimming the dart made it press much better. And speaking of pressing. There was a question about pressing seersucker on my last post, and whether it would flatten out. That has not been an issue. The pucker is woven into the fabric and can’t be pressed out.
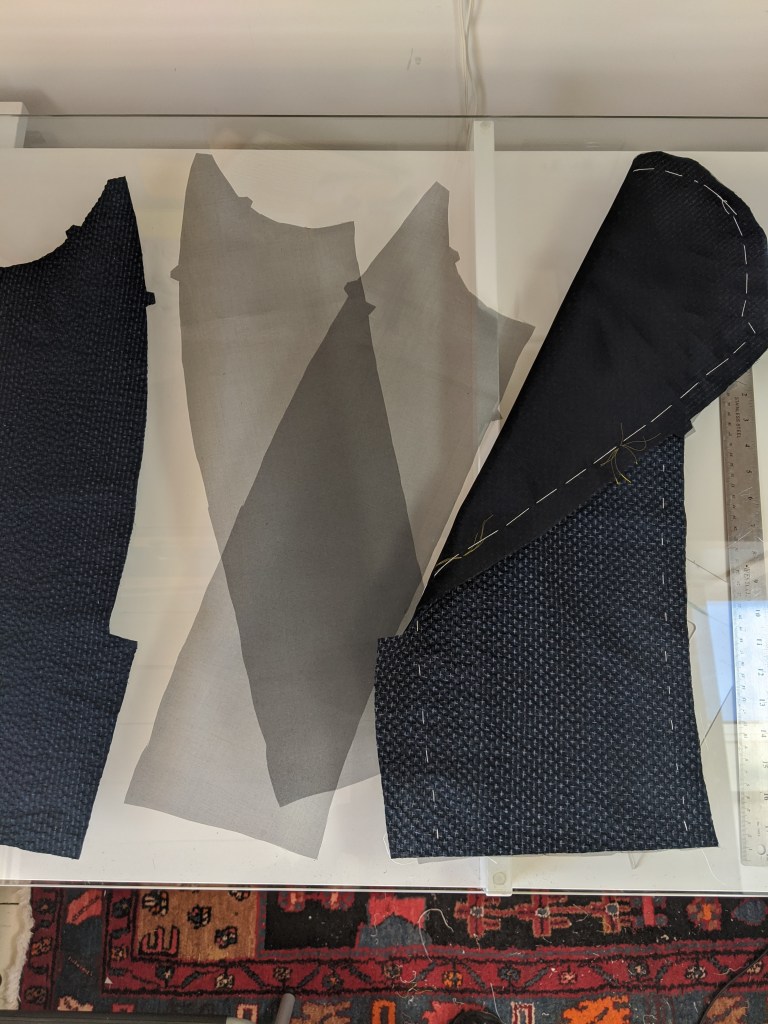
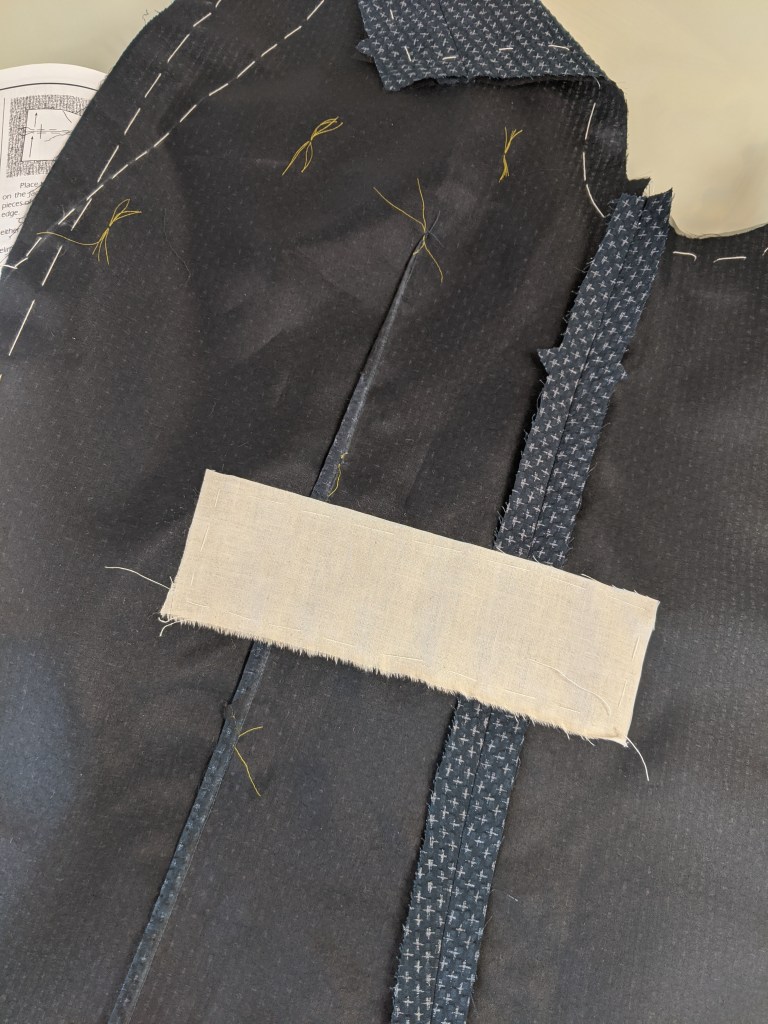
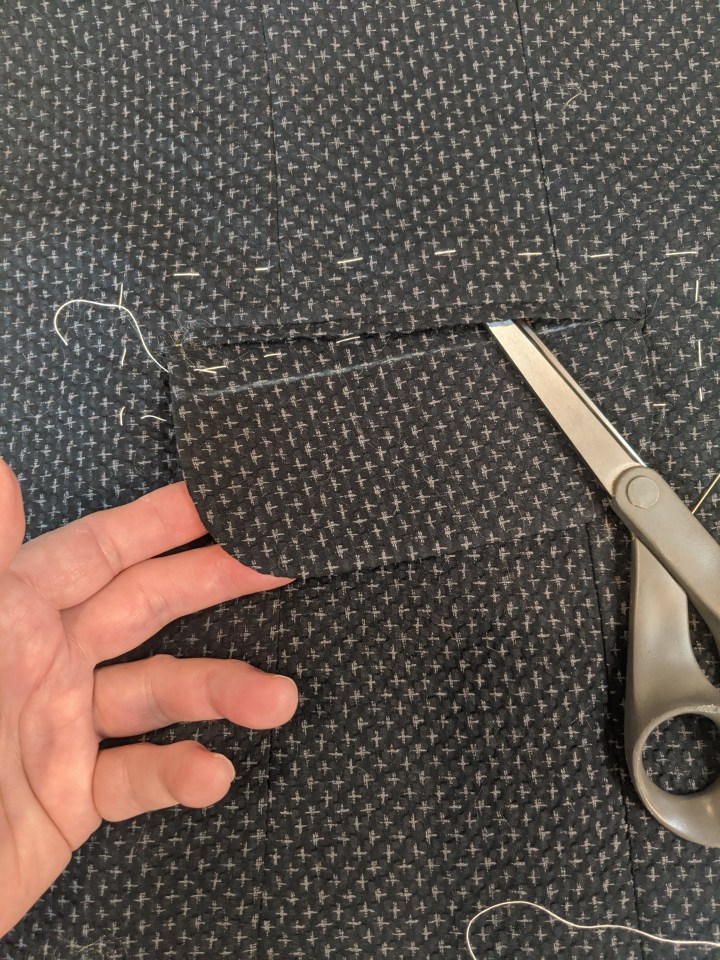
Most of the work on a tailored jacket is spent on the fronts. I’m going to be using a pre-made canvas, so all the pockets have to be made first. The pockets at the hip extend from the jacket front to the side panel, so those two pieces need to be sewn together first. So here’s a tip on how to do that.
If a jacket has a significant amount of “waist suppression” the front pattern piece will have a substantial concave curve to it. This makes your jacket nip in at the waist nicely. This Vogue pattern has lots of shaping. Your instructions may have you clip this seam once the front and side panel have been stitched to make it lay smooth. (This pattern calls for it).
Clipping the seam is completely unnecessary. Not only does it weaken the jacket, it makes future alterations at this seam impossible. For a man who might gain weight in the front (like me!), this is the seam that would be let out to make more room for a “protuberance”. (That’s tailor talk for a beer belly!) Here’s how to do it.
Take your iron and “bend” the curve in the opposite direction. (Make it convex) Stretch and bend while applying your iron only along the seam allowance. The steam will help it maintain the shape. When the front piece is returned to its natural position, you’ll notice that the seam allowance will be all wavy. Now you can stitch the front to the side, and there will be no need for clipping.
Vogue 9262 calls for almost all of the pieces to be backed with fusible interfacing. I’m talking ….. fronts, back, facing, collar! I really have a hard time wrapping my head around that. I think it’s fair to say that if we’re taking the time to make a tailored jacket, we deserve better. I tend to go “deep into the weeds”, but it’s just because I enjoy the process and all the traditional materials. But it’s not necessary to do everything, and there are steps I skip. And even though I don’t use them often, there’s a time and place for fusibles. But a whole jacket? Sorry, I can’t.
Welt pockets. I won’t go into how to construct them here. My suggestion is to find a text that will guide you. I mention it all the time, Roberto Cabrera’s text is the one for me. The advantage of a good text is that you can skip the pattern instructions and make a pocket that “works” for you. I’ve made his double welt pocket enough times that I feel comfortable with it. And that translates into a successful pocket.
The helpful hint here is to baste a muslin reinforcement 2″ wider than your finished pocket behind the pocket placement line. After all, you’re slicing a big hole right in the middle of your project. That’s why we fear welt pockets, right? This just makes good sense. Additionally, if you’re going the traditional canvas route, the reinforcement will eventually get sewn to the canvas to help stabilize the pocket. So a fusible would not work in that scenario.
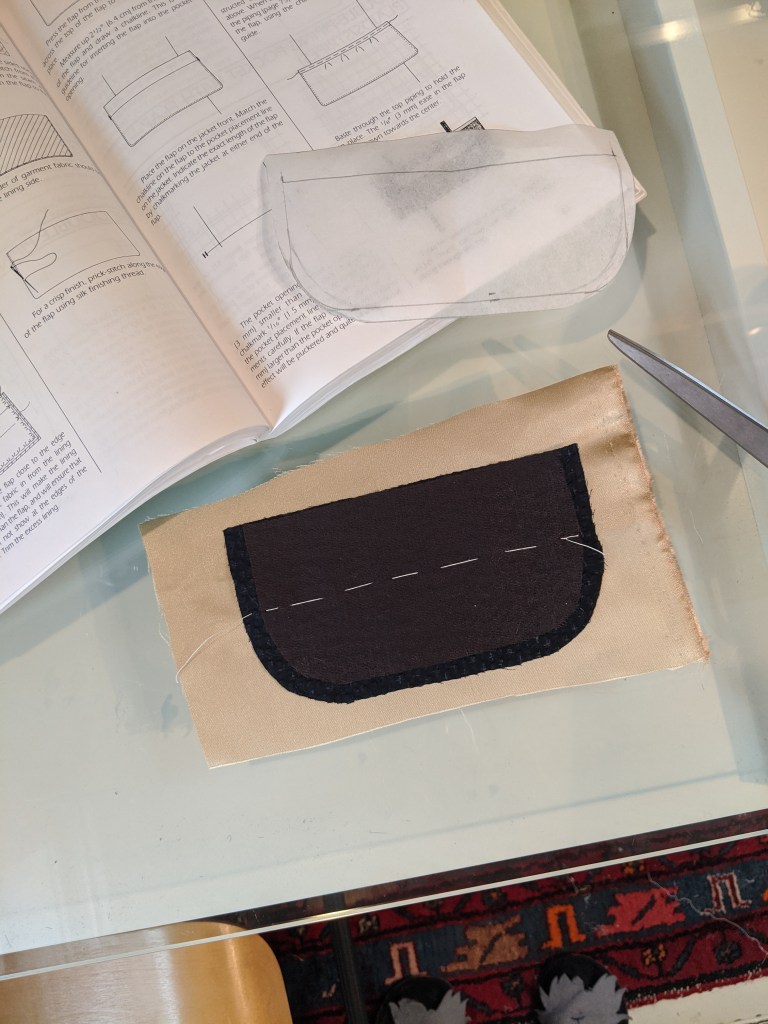
I’ll end this post with a little tutorial on how to make a better pocket flap. It may take a little more time, but you will never be irritated by having the lining show on your finished flaps. Because, let’s face it, that’s so unprofessional.
Start by redrafting the pattern piece. The finished width of the flap should be 2.5″. You will want a 1/4″ seam allowance on three sides and 3/4″ at the top. It may be hard to see, but I applied a fusible interfacing to the backside of the flap. Pro-Weft Supreme Medium Fusible from Fashion Sewing Supply is my “go-to”.
Baste the flap face down on a piece of lining that is face up. (Right sides facing).
Using the flap as a pattern, cut out the lining.
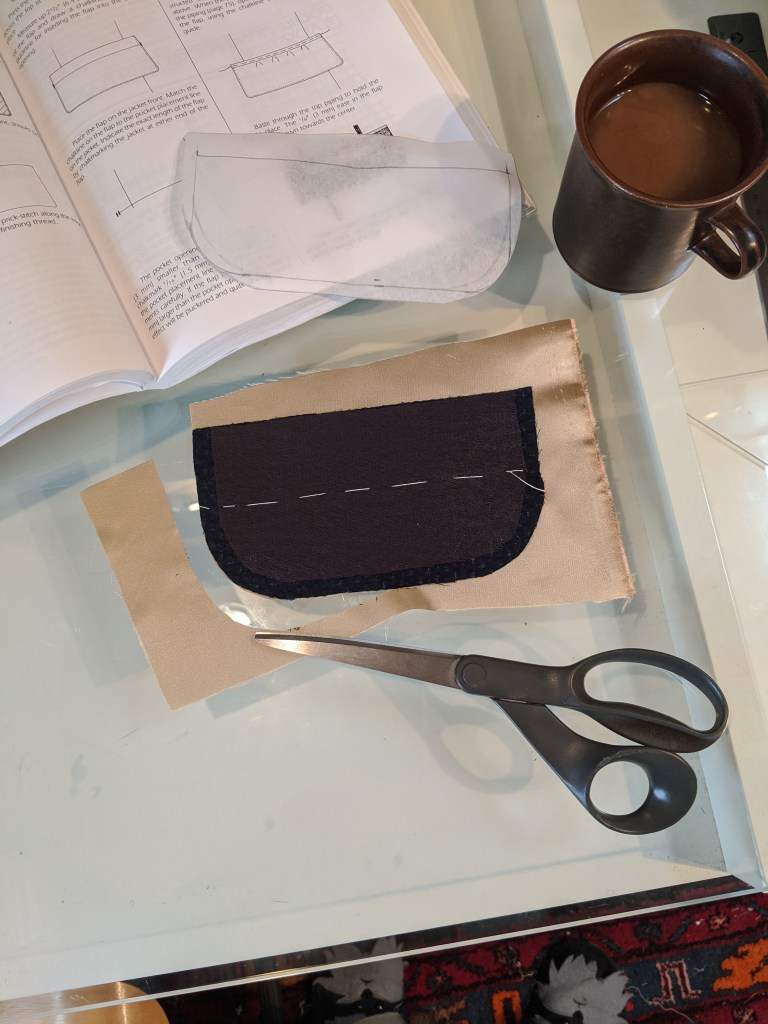
Here’s the tricky bit, so just be patient with yourself. Pull the edge of the flap back, and baste it in place with small stitches to make a border of lining about 1/8″ wide.
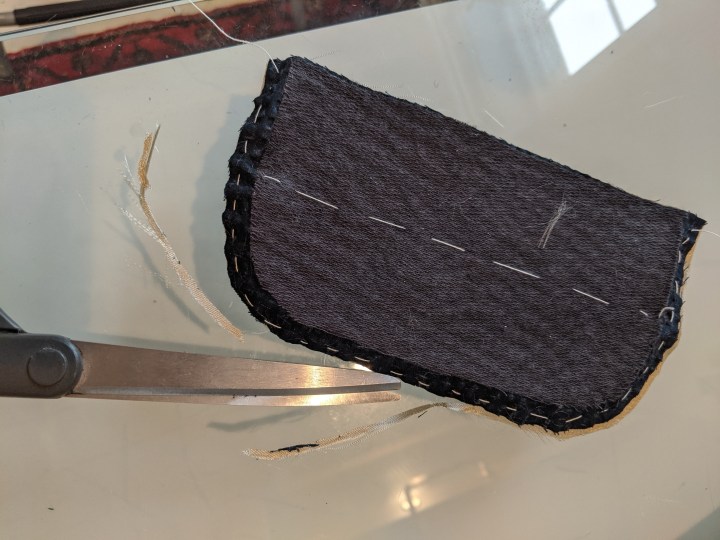
Now trim off the excess lining.
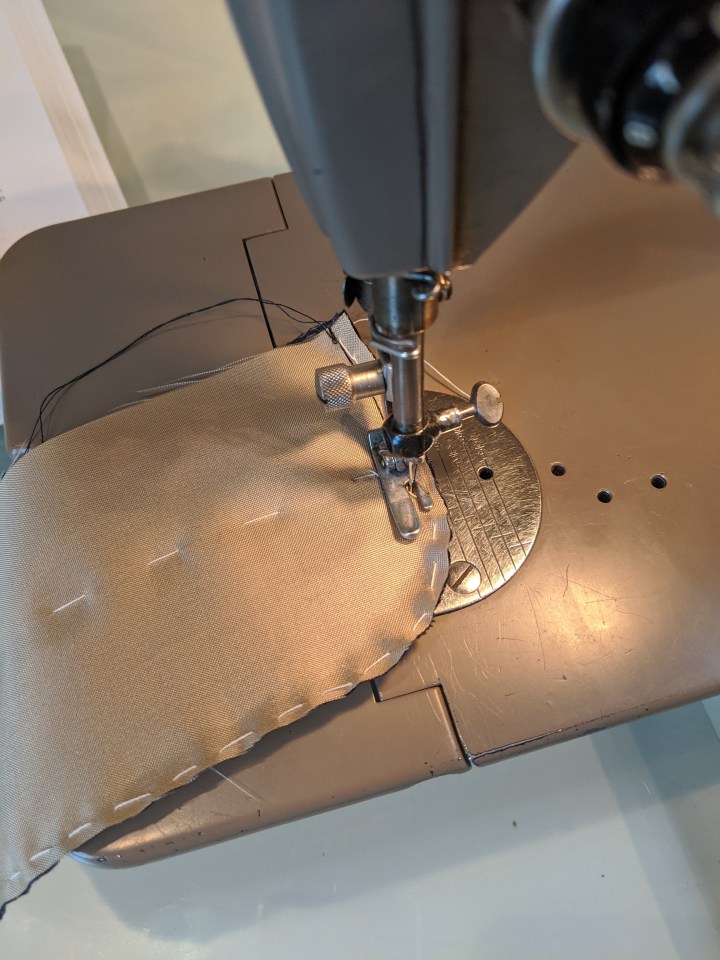
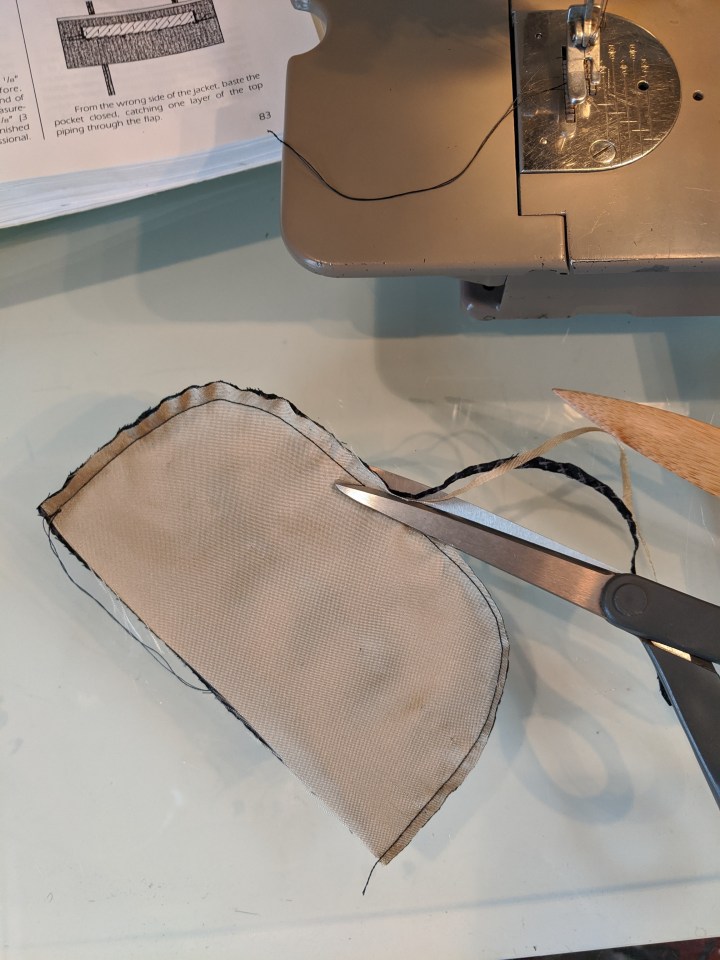
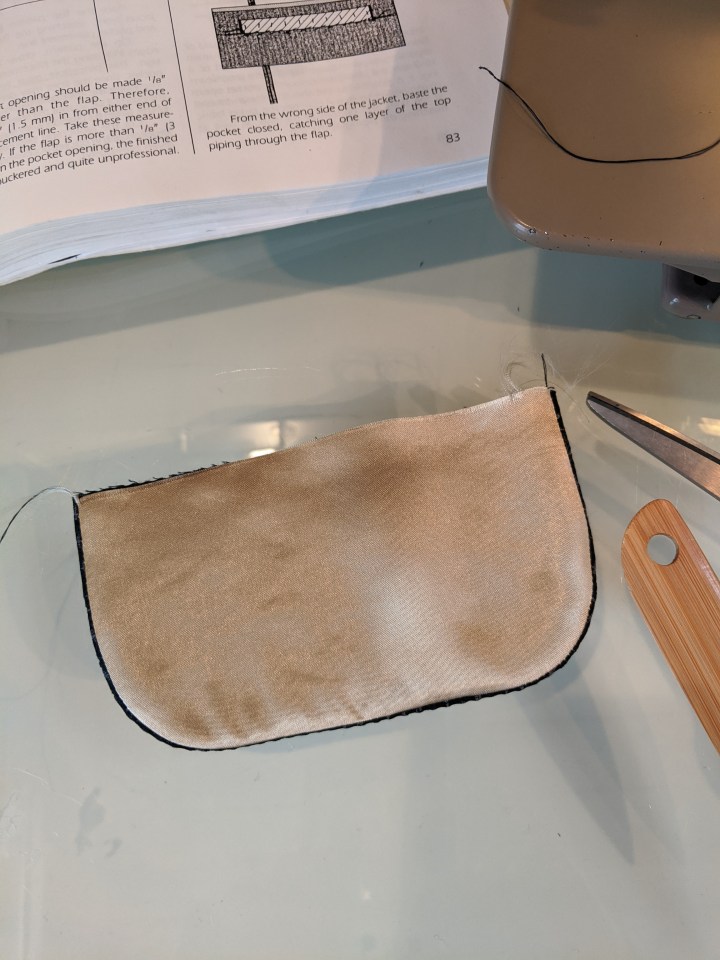
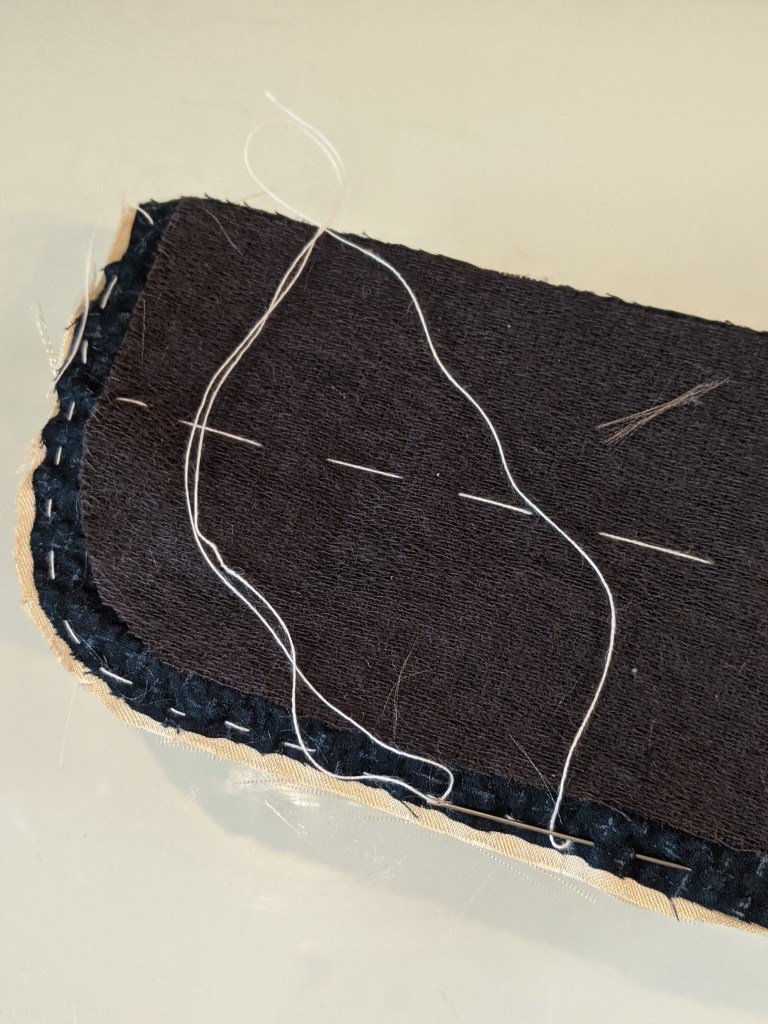
Almost done. You will have better luck sewing with the slippery lining on top. Stitch at 1/4″, trim the seam down, turn and press. You will now have a neat little border of the jacket fabric on the backside of the flap. No more lining peeking out around the edges. Go on and celebrate your tailoring skills!
Now it’s just a matter of sliding the flap up into the welt and completing the pocket.
Once the pockets are finished, my attention turns to the canvas. But that’s enough tailoring geekery for now. Hopefully everyone is staying out of harms way and finding solace in the act of making something. Until next time.

Enjoying the deep dive, even thought i use my bernina’s, i just might get out my singer 301 and join in the process. I am loving the silk organza and i think would do wonders for my wool crepe fabric giving support.
LikeLiked by 1 person
Glad you explained how silk organza improves the fashion fabric—I’ve only heard it described as a terrific very lightweight interfacing. The “springiness” makes sense. I wonder if it would be better than fusible for a linen jacket?
LikeLiked by 1 person
Amazingly educational post – thank you for sharing some really great tips!
LikeLiked by 1 person
Wow, thanks for all this. I’m loving the process and your jacket.
LikeLiked by 1 person
As usual, a very informative post. I particularly like the how-to on the flap for the pockets. I’ve worked with that very fabric once before and loved the experience.
LikeLiked by 1 person
I aim to follow this post in hope that it will make me slow down some what and of course I will learn
some of the suggestions you make along the way. Many thanks for taking the time to share this.
LikeLiked by 2 people
Lots of amazing tips here. Thank you. I have also done a fair amount of welt pockets and found the slow slow approach the best. Cutting accurately is a must but practice with the same fabric to get a hang on how it handles. My worst was with thick tweed, it frayed like anything. Very interesting point about the organza. Will remember for future. I have found pressing seersucker on a soft surface will help hold its structure but it is surprising how it doesn’t mis-shape when ironing. Look forward to next episode.
LikeLiked by 1 person
I’ve done welt pockets in both Harris Tweeds and Italian boucles, and I found the best way to tame the fraying is to back the fabric with knit fusible interfacing. Knit fusible will not overly stiffen the shell fabric, and they don’t fray, much better than stiff Pelion or a woven fusible that would easily fray. Also consider making the welts wider, 3/8″ for a traditional look, or 1/2″ for a more casual/sporty look.
LikeLike
Impressive -your jacket is “lookin’ good” and the fabric is scrumptious! I’m enjoying your process and tips, and look forward to more soon. Stay safe.
LikeLiked by 1 person
Lovely work as ever Duane 👏🏻 Im off to look for silk organza! 👍🏻🙏🏻😃
LikeLiked by 1 person
Hello, found your blog while reading another I haven’t visited for a while. You sure have accomplished a lot. And it looks wonderful. Silk organza works like a dream… you will also find that when you get to wearing your seersucker jacket that the organza should also detour any wrinkles too. It works fantastic on linen for that purpose. Enjoy your time sewing.
LikeLiked by 1 person
Everything looks beautiful so far. Also, it made me smile to see your bandage scissors, since I’ve been turning a lot of tubes lately and I’d be suffering without my hemostat! Medicine and sewing can really overlap (stitching, anyone?).
LikeLiked by 1 person
Trim your pocket flap lining 2mm smaller all round then ease into place before sewing. Much quicker
LikeLike
Hi Duane, I don’t know if you will get a notification of a comment on a post this far back, but in case you will, I must say thank you so much for sharing all this info. You’ve really got me dreaming ambitiously. I’m confused on one thing so I will ask – when you say you do the pockets before the canvas, does that mean eventually the pocket bags will fall between the seersucker and the canvas? Will you padstitch the canvas to the pocket bag?? Or does the pocket come through the canvas? Thank you in advance if you do answer, Luke
LikeLike
Hello Luke, I hope this helps. The pockets are made first. Then the jacket fronts are placed on the canvas. The fabric is smoothed and basted to the canvas in a specific order. After a few basting runs down the center, the front edges of the jacket are folded back which will reveal the pocket bag. The seam allowance of the pocket bag is then sewn onto the canvas. I use a diagonal stitch which is easy and fast. Non of the stitching will ever be seen so it doesn’t have to be pretty. The top of the pocket is also secured to the canvas. This will hold the pockets in place. (Note: The other side of the pocket bag is hanging free because the canvas is not that wide.). So the layers would be your fashion fabric, the canvas, the pocket bags overlapping and stitched onto the canvas, then the lining to hide it all. Only the lapels and collar are pad stitched.
LikeLike